2025
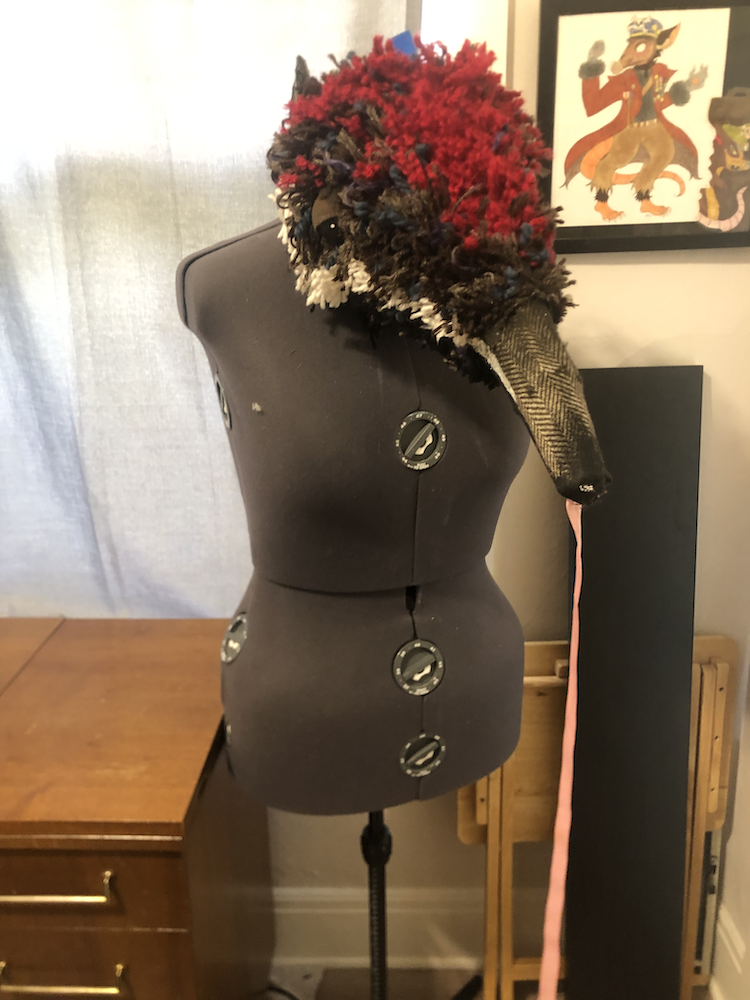
This anteater mask uses the same pattern as my General D. mask, which I hadn't picked up in a while. My old mask is getting a bit worn, and sometimes I want to wear it but I'm not in the mood for full military costume, so I thought it was time to use the concept in a new form. After I had cut out the cone, I thought the head shape would work well for an anteater, and based the rest of my design around that.
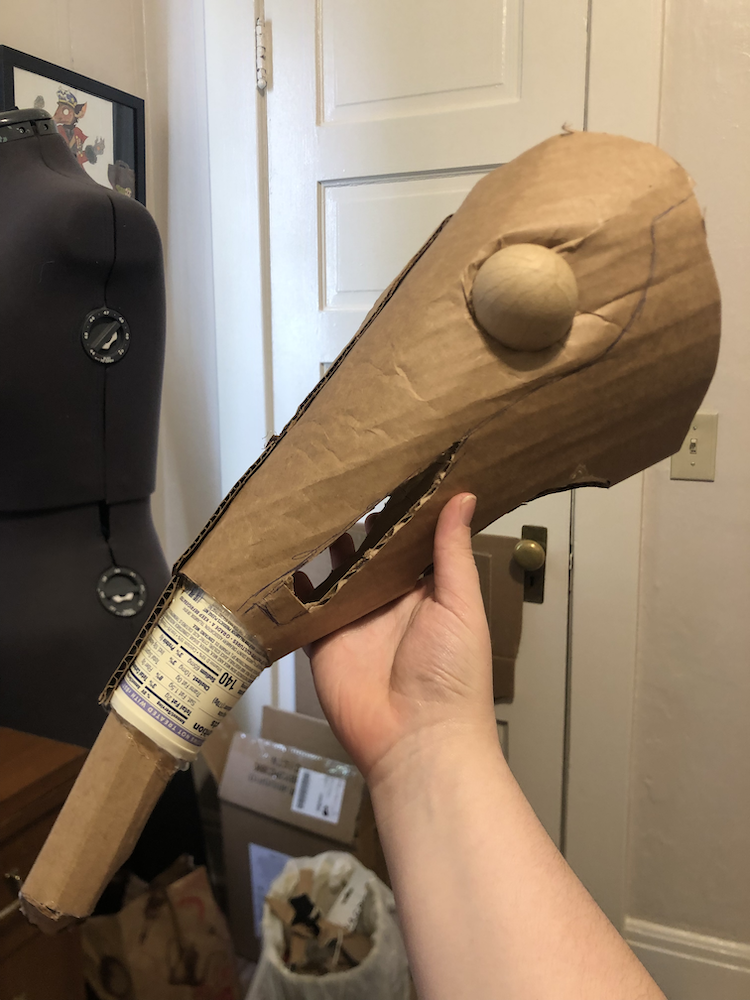
The cardboard base, with nose added on and the eyes in temporarily
I cut the viewing holes along where I planned the stripes to be, hoping they would blend in better. I also cut a larger hole along the bottom than my previous mask. I'm hoping I can also improve the vision for this second go round.
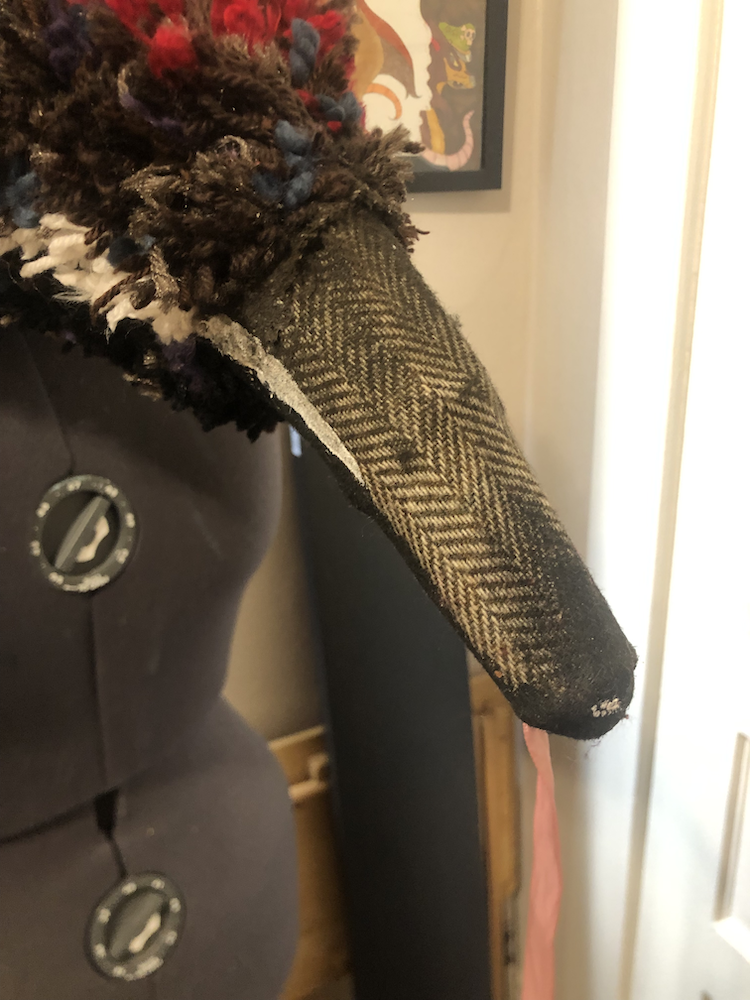
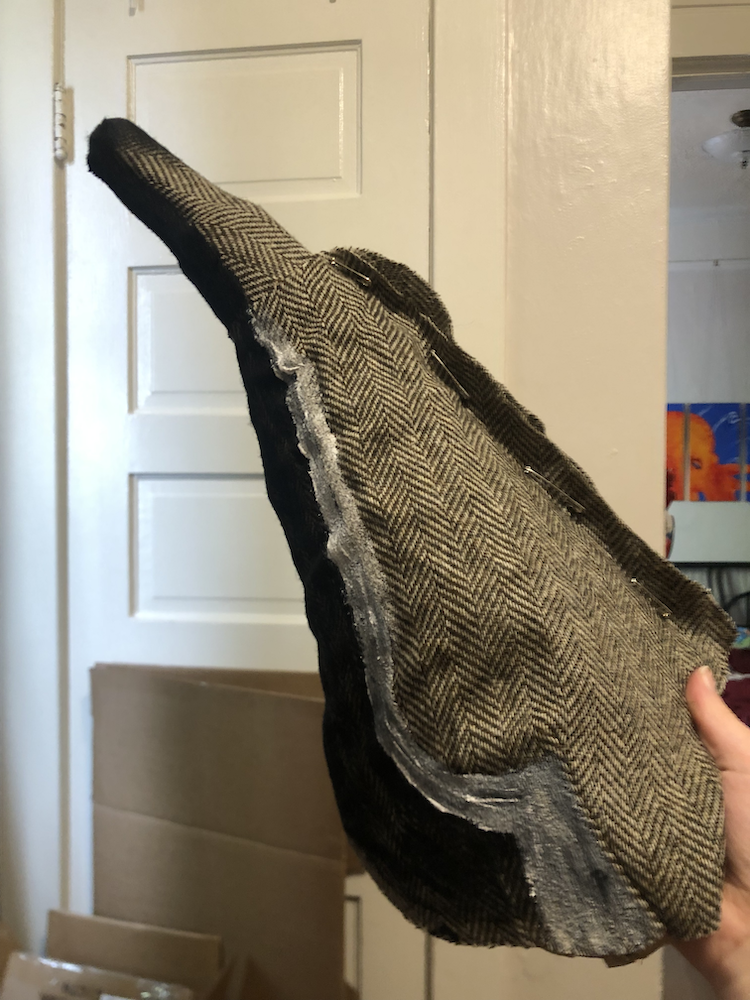
Using the same pattern, I cut out my head fabric and lining. I didn't feel like making a new pattern for the addition to the nose, so I just glued the fabric directly to the material and planned to close the two together later. The end of the nose wouldn't have any long fur on it. My next step was painting out where the different fur colors would be, both as a guide for myself and to keep it looking consistant when the fabric underneath peeks through.
this is a caption. with a link.
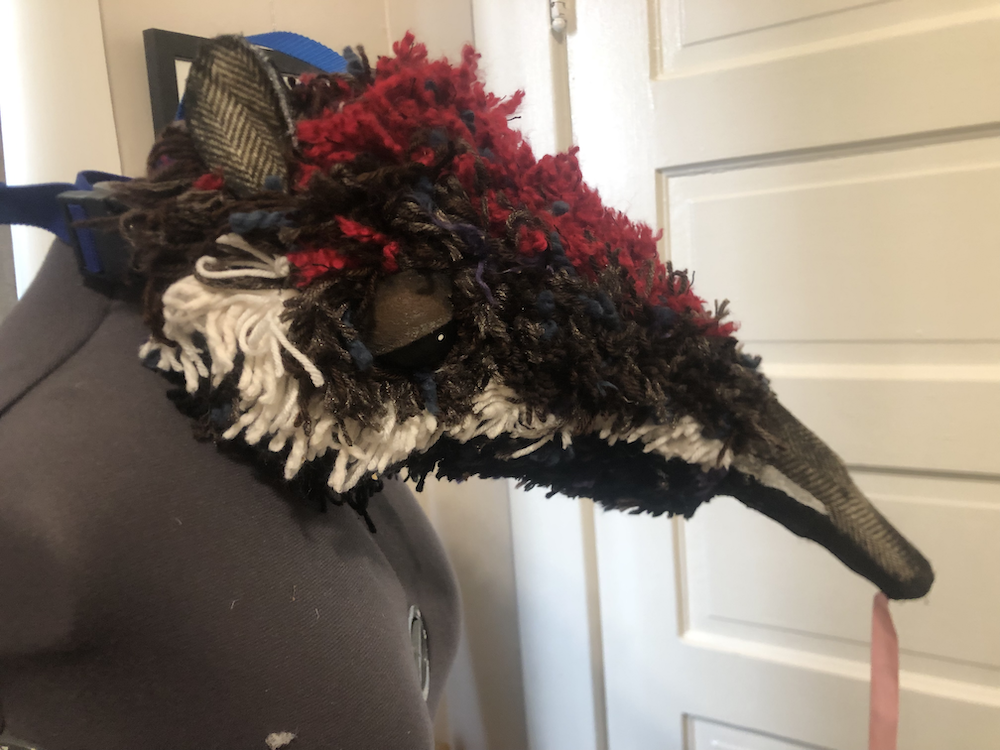
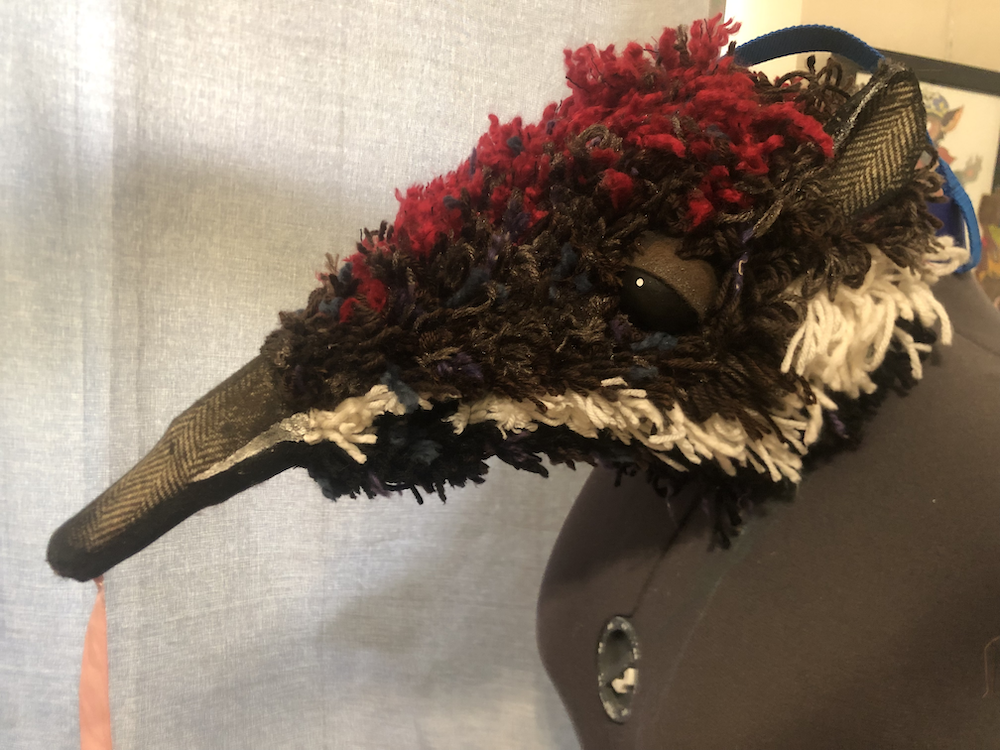
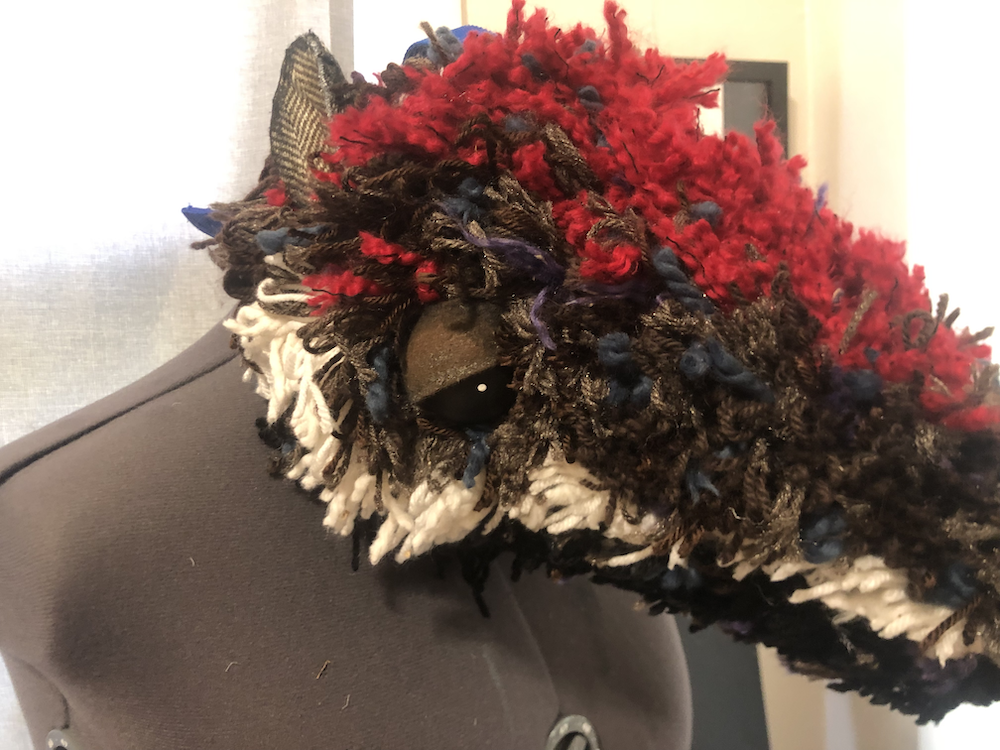
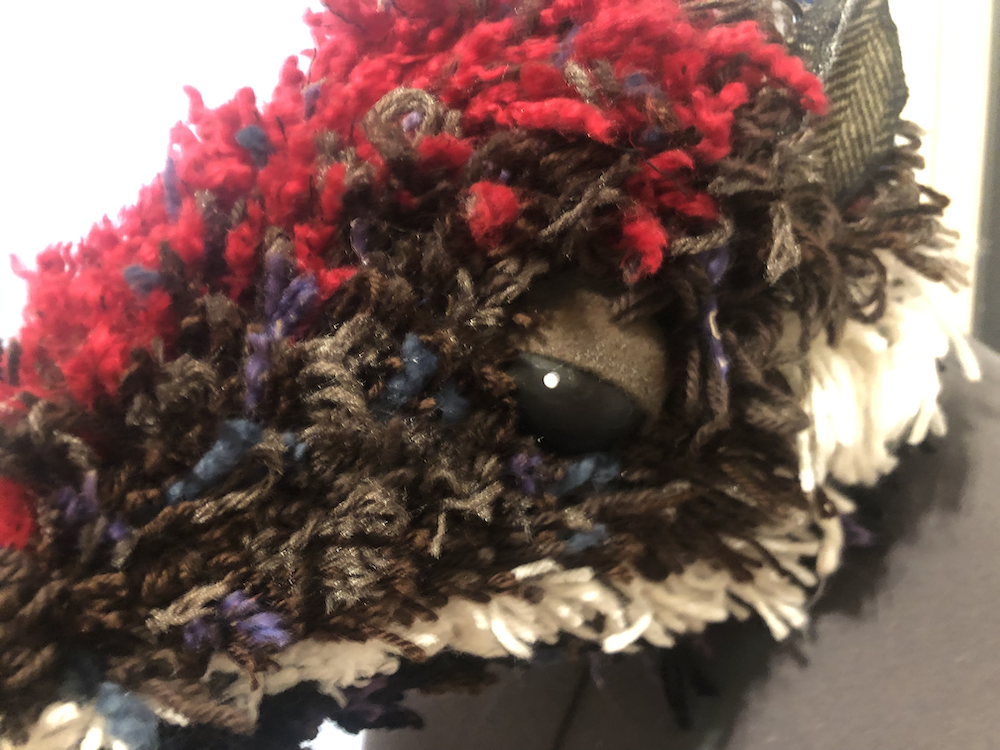
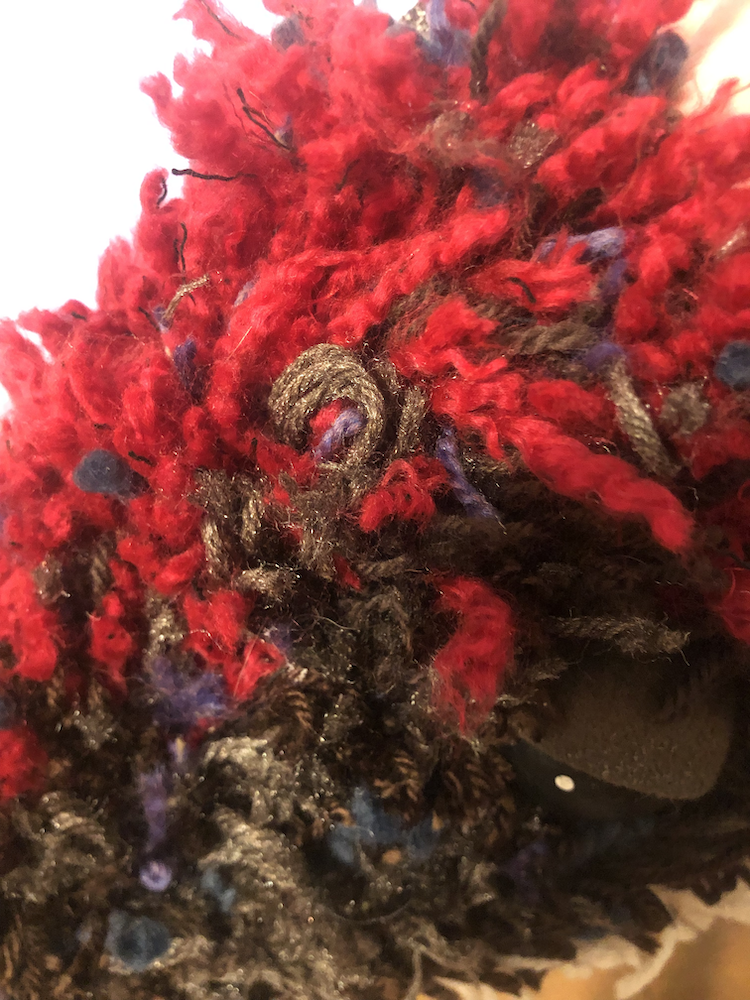
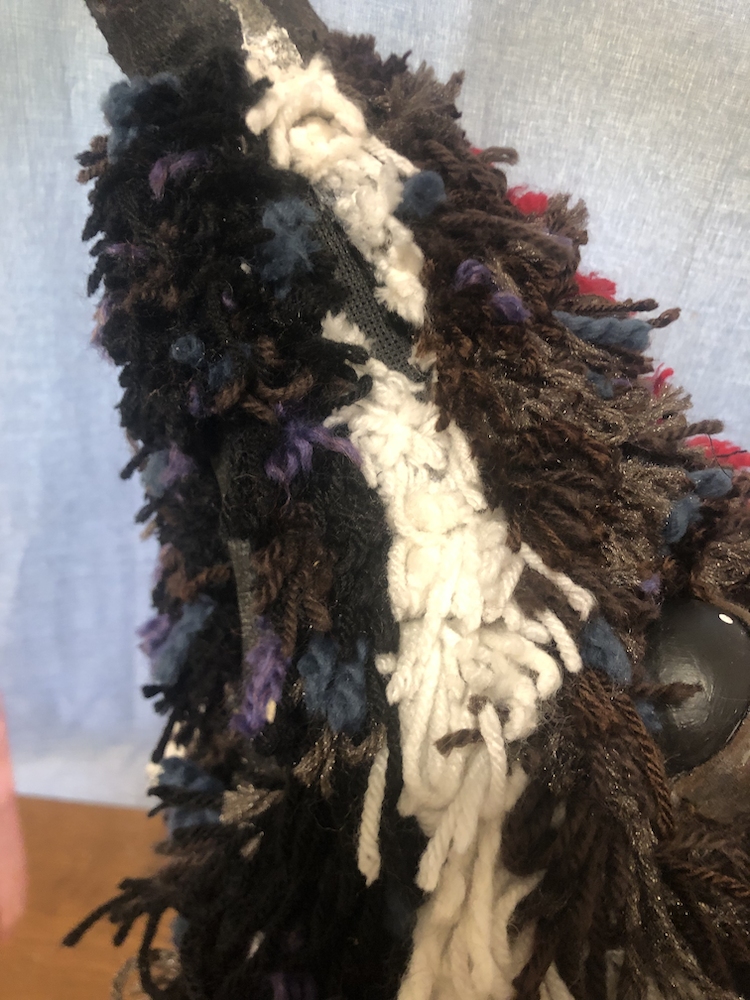
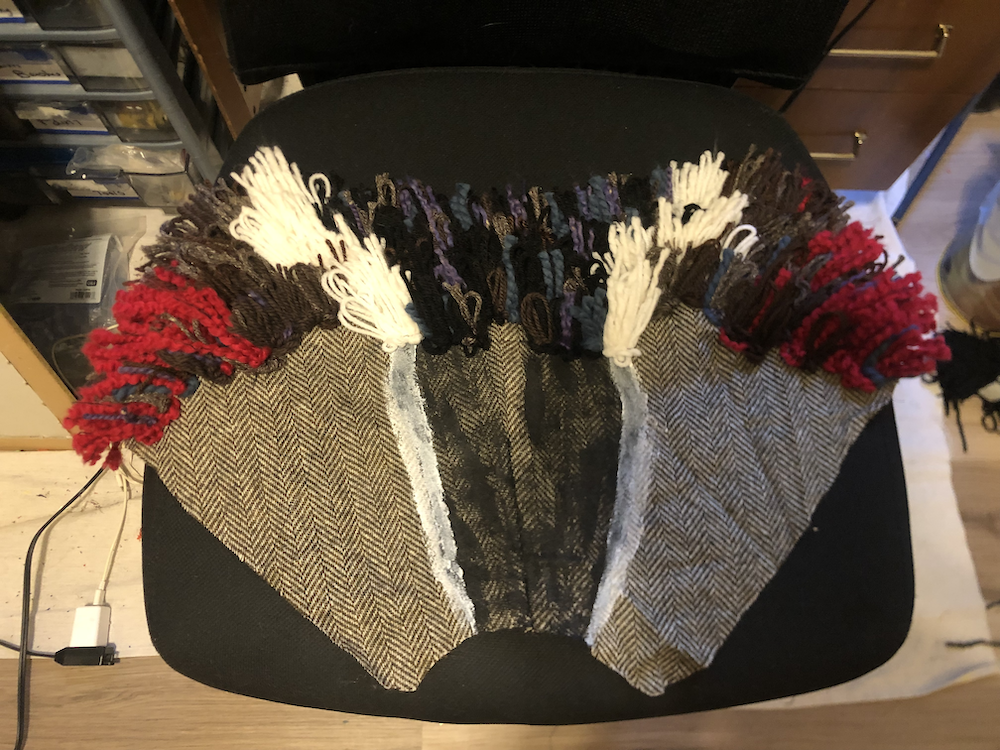
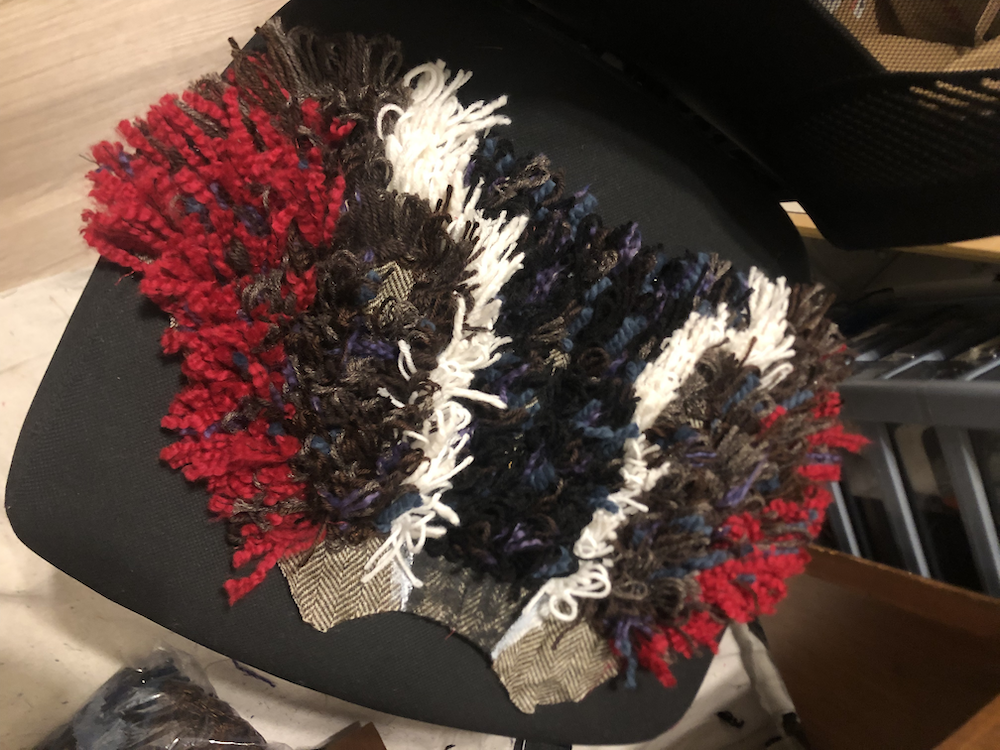
Now it was time for the yarn wefts. I've used yarn wefts for many of my projects, and I consider it one of my signature styles, but I haven't made many projects where I really layer on the different colors and use the yarn for blocking out different sections. I wanted this mask to use up a bunch of scrap yarn from previous projects, and really put a lot of texture and variation in even the solid sections. The underside of the head is black, with bits of blue, purple, and the brown I'd be using later. Next is the white strip. The brown on top uses 4 different brown yarns, fading into red, with a little more of the purple and blue. I have a tendency to cut way more yarn pieces than I need, so the black and white were already cut from Bustopher, the brown from Brúni, and the blue from my rat puppets. The red is super soft and I love it a lot!
An hour or so in
Another hour or so
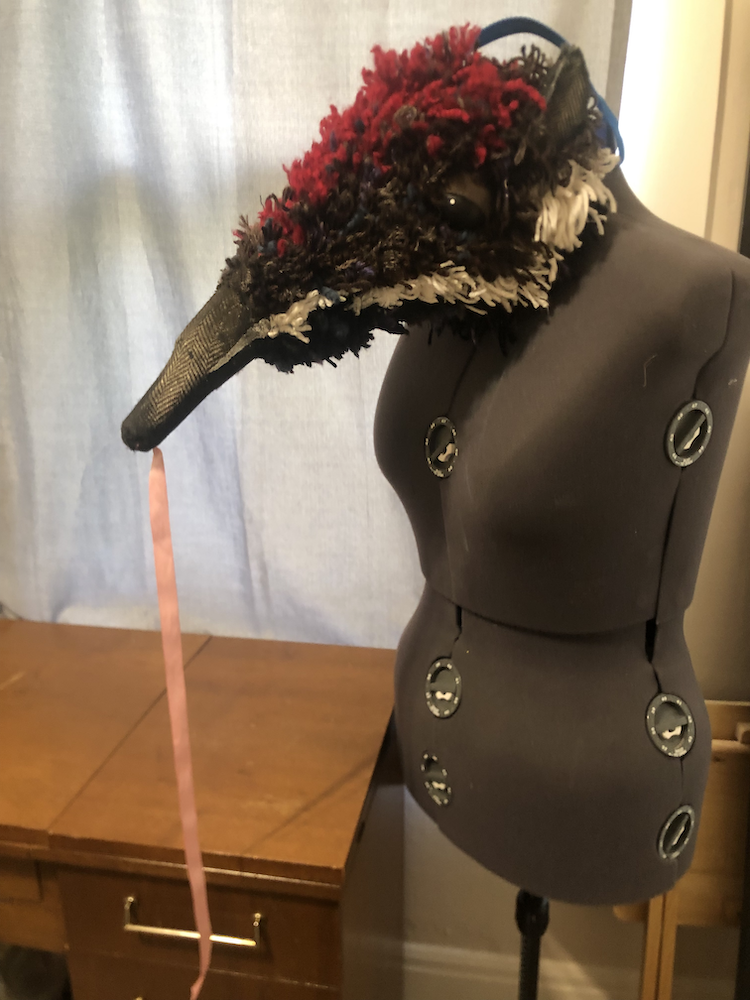
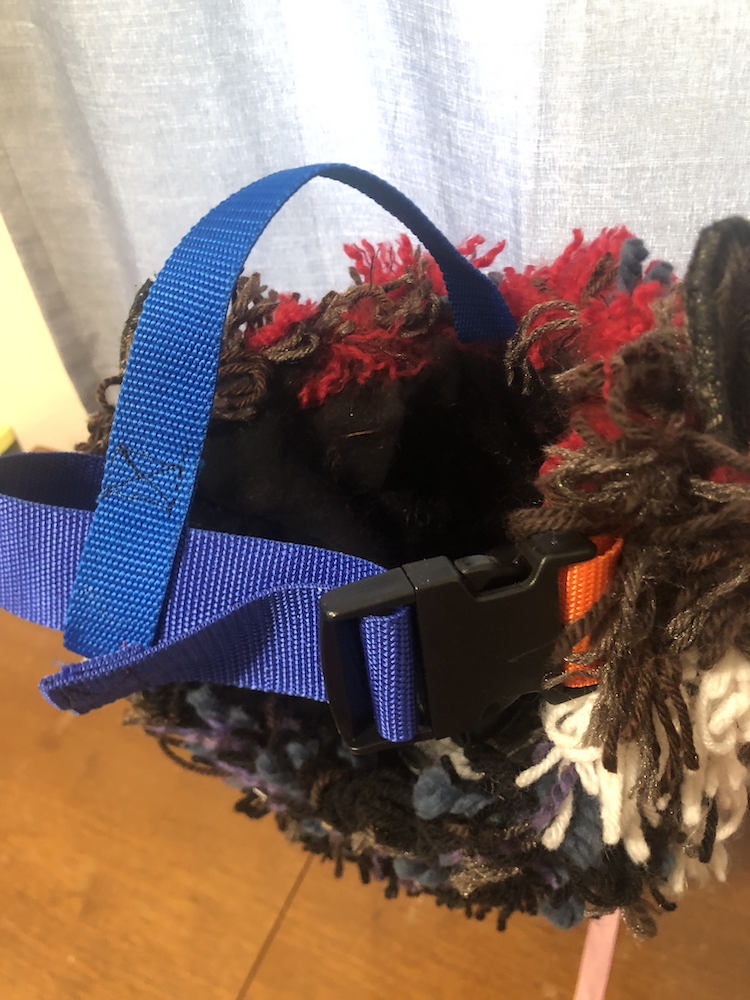
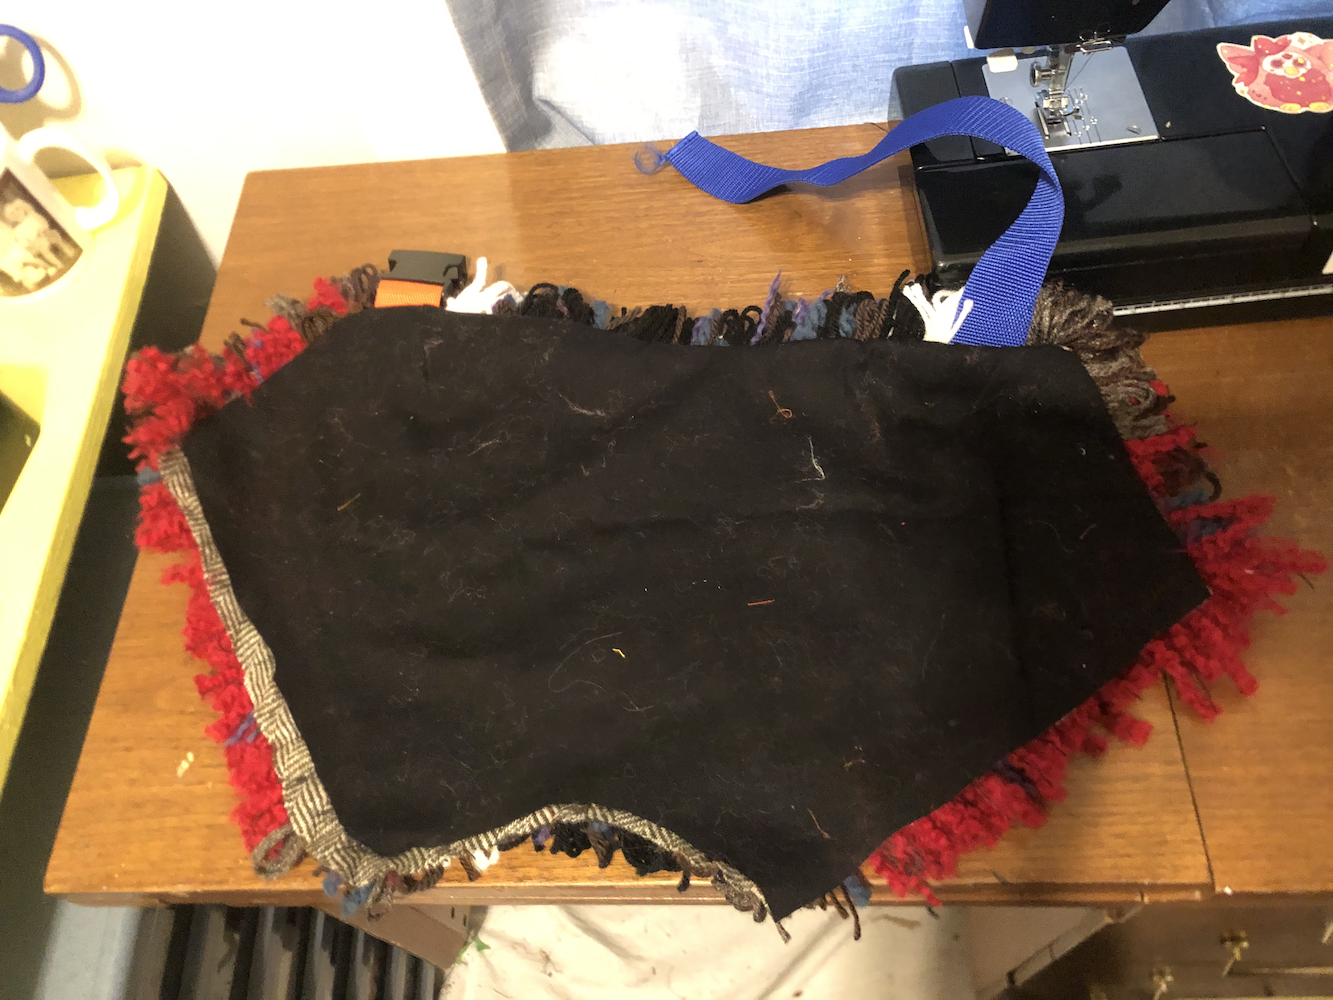
After the full head was covered with yarn, time to sew it to the lining along the back edge! I figured out the straps for the back beforehand and attached them in the seam.

Outside
Inside
Time to attach it, the most annoying part. Starting from the bottom, I began to hot glue the outer fabric to the cardboard. When I reached each viewing hole, I cut a slit at the opening and folded the fabric inside to glue down around the edge of the opening. Slowly but surely working my way up and around. At the top, I ladder stitched the top seam together for a smooth invisible finish.
Now the annoying part, glueing the lining around the holes inside the mask. Fitting my hand and glue gun into the mask is a bit of a struggle, but with some effort I got the edges of the openings glued down covering the raw edges of the outer fabric.
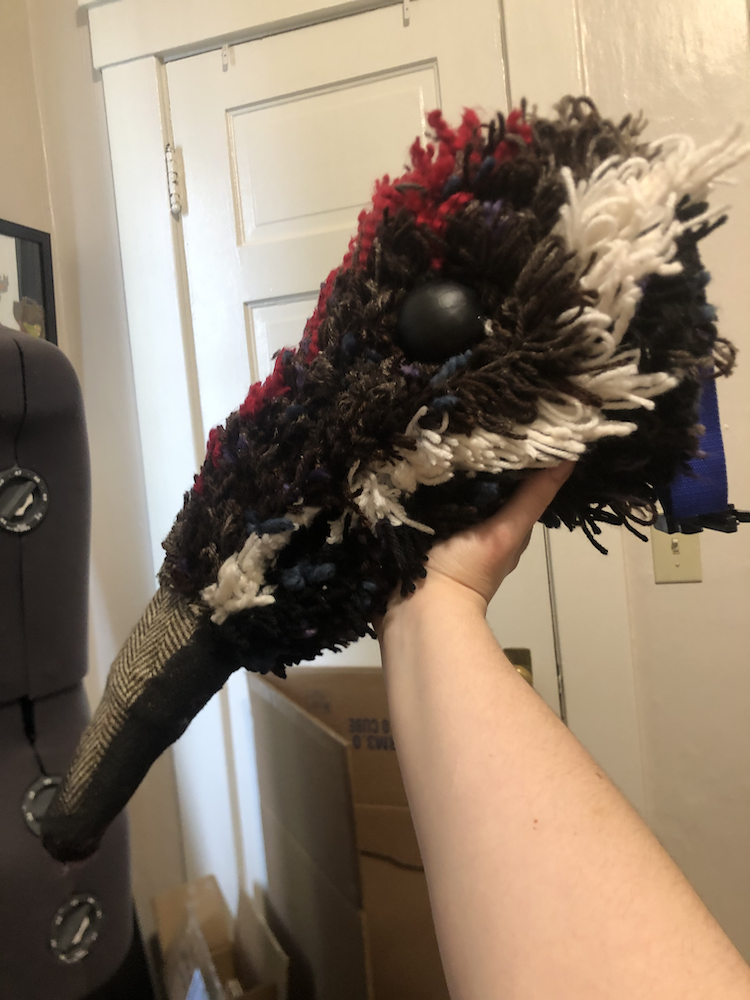
The last step was glueing the eyes in and then we could add the fun stuff! I glued on eyelids and ears, and then used some paint to give them both more shading and realistic texture. If things look flat, texture is your friend. I also added more paint to the end of the nose to transition between the plain fabric and the color of the yarn. Little dots of white on the eyes bring them to life!
When wearing it, I decided the character still needs a hat to hide the shape of my head. Maybe a stocking cap would be cute? So hopefully this project isn't finished yet!