Process
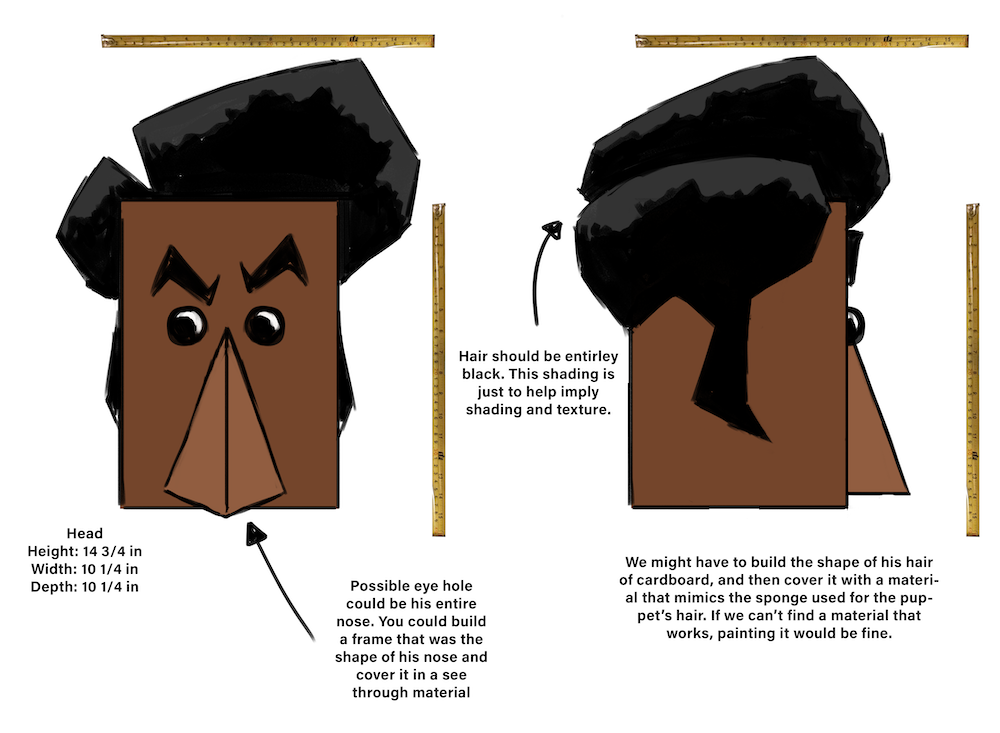
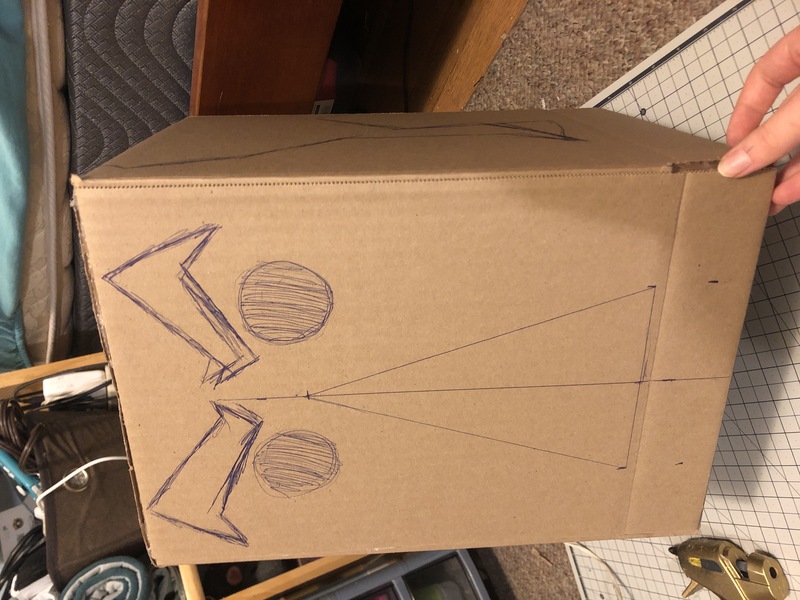
For each of them, I started with a basic 12x12 inch box from the post office. In our original discussions, we decided Sherblock should have a thinner and teller head than Blockson, so I cut up his box along the side seams to take two inches off the width and depth. I also added four inches to the height of his head by making new creases for the bottom flaps to fold along. After I saw both of them next ot each other though, the new head looked far smaller than Blocksons, and the team agreed. So, I started over with a new box, this time just lengthening the bottom to make his head taller, keeping the original widths.
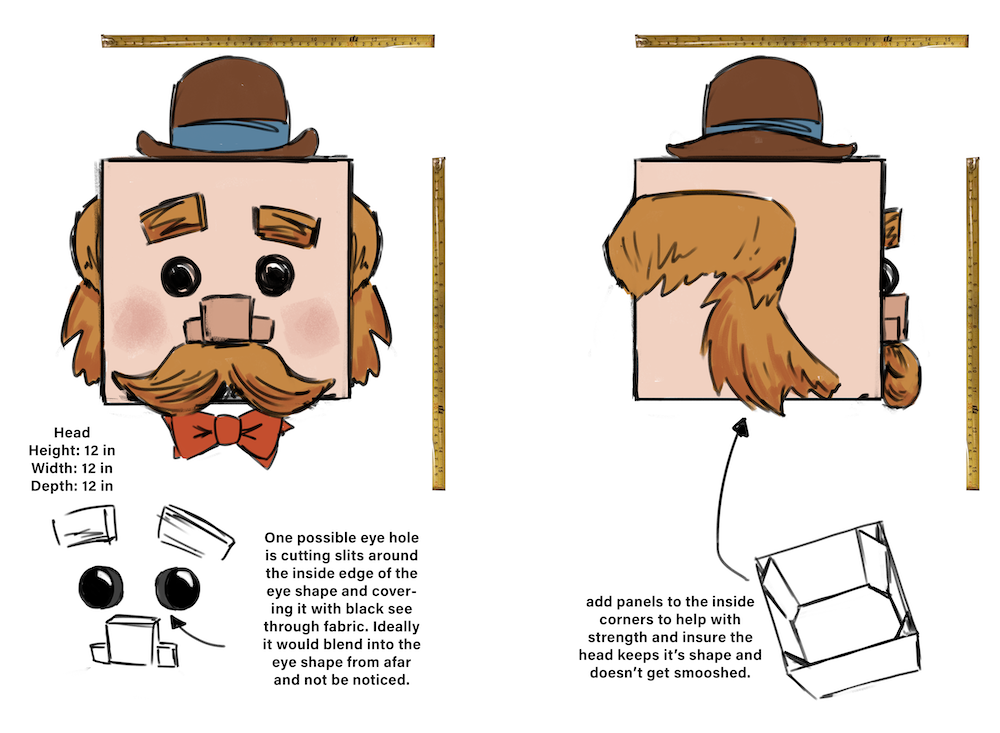
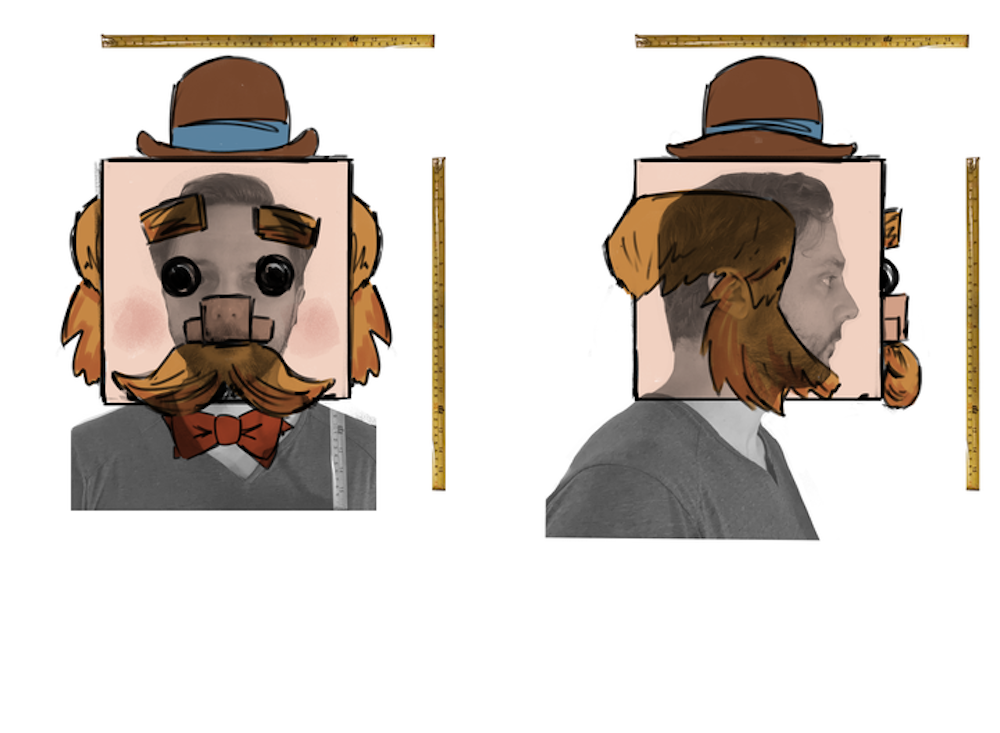
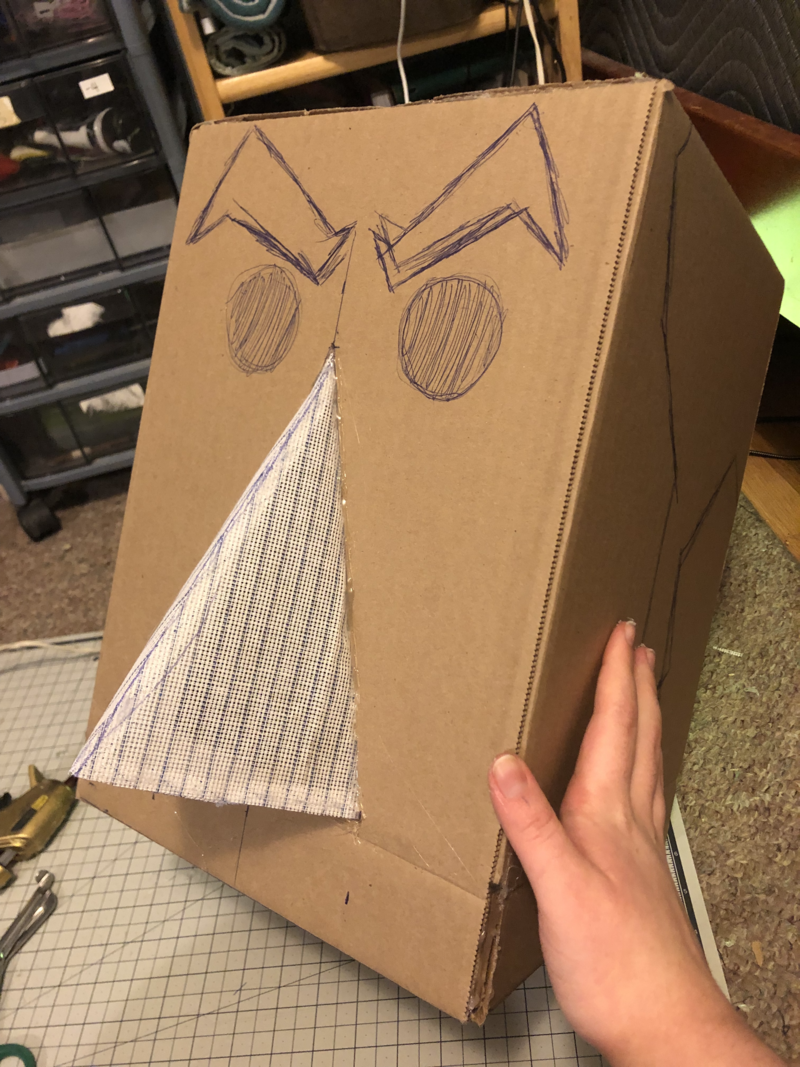
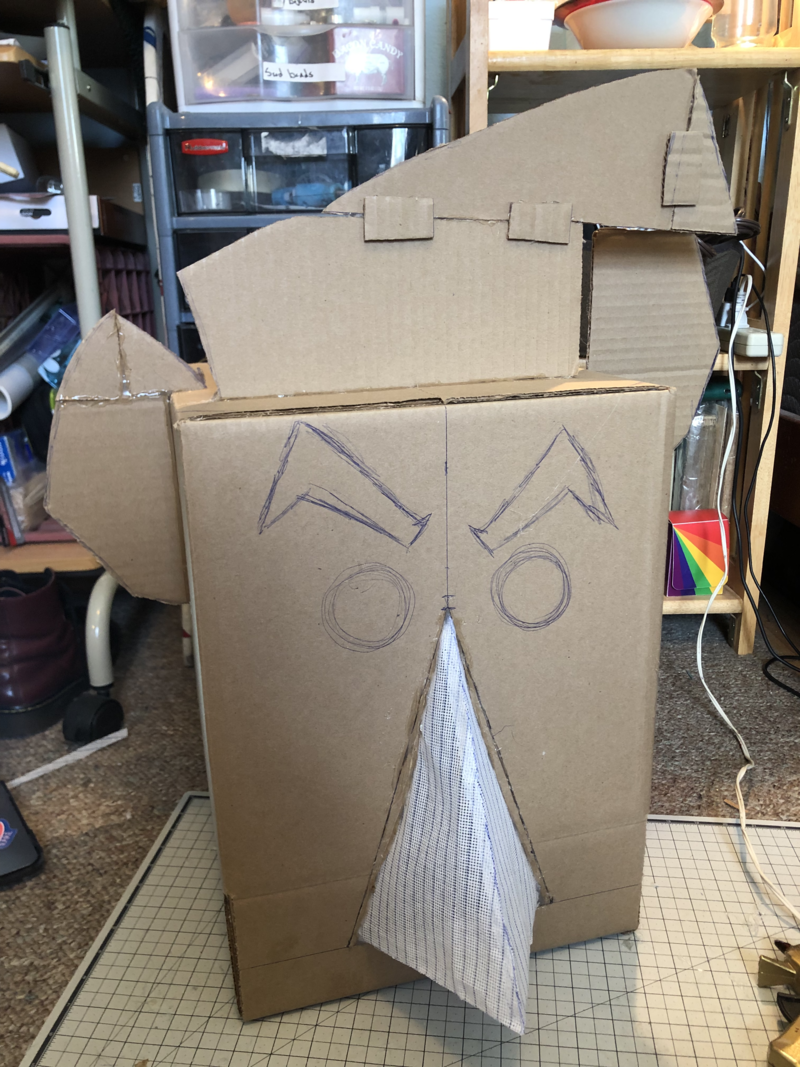
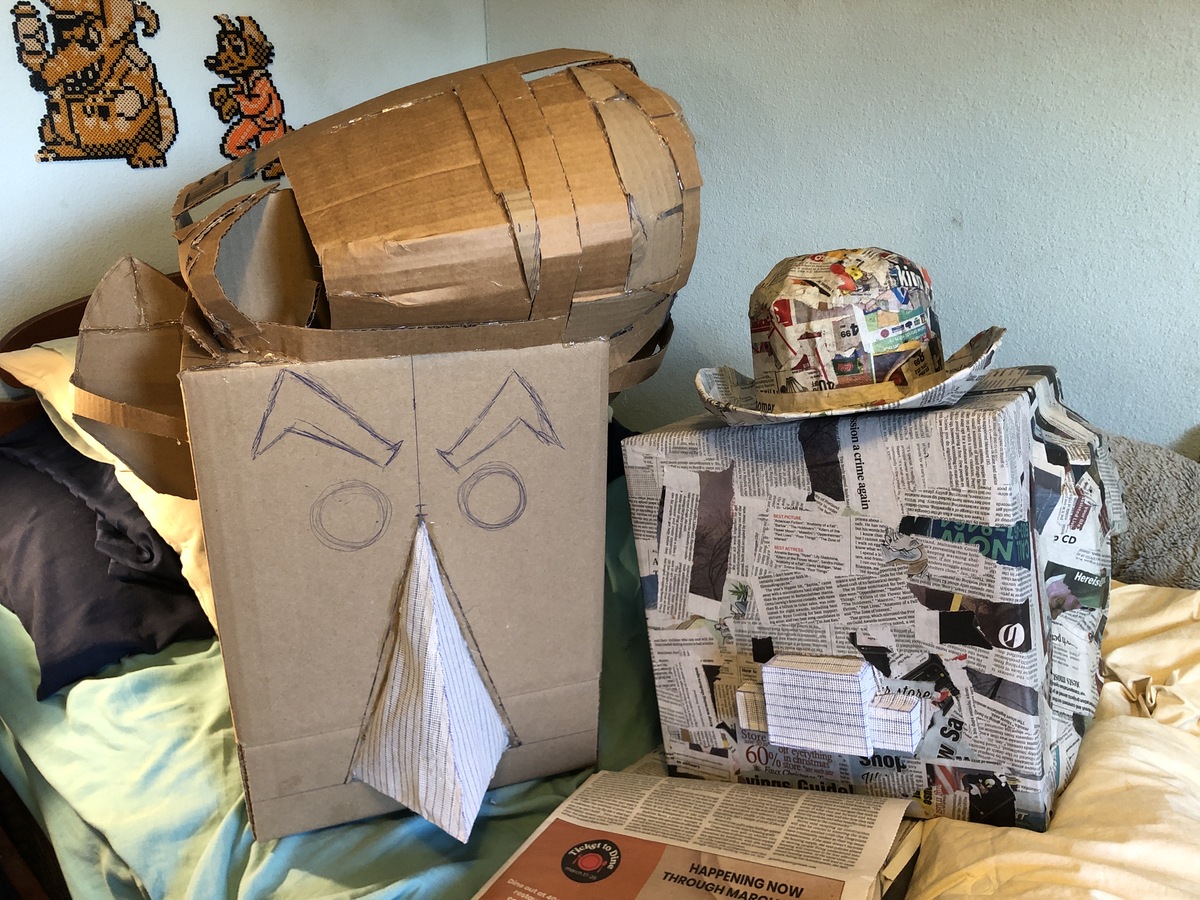
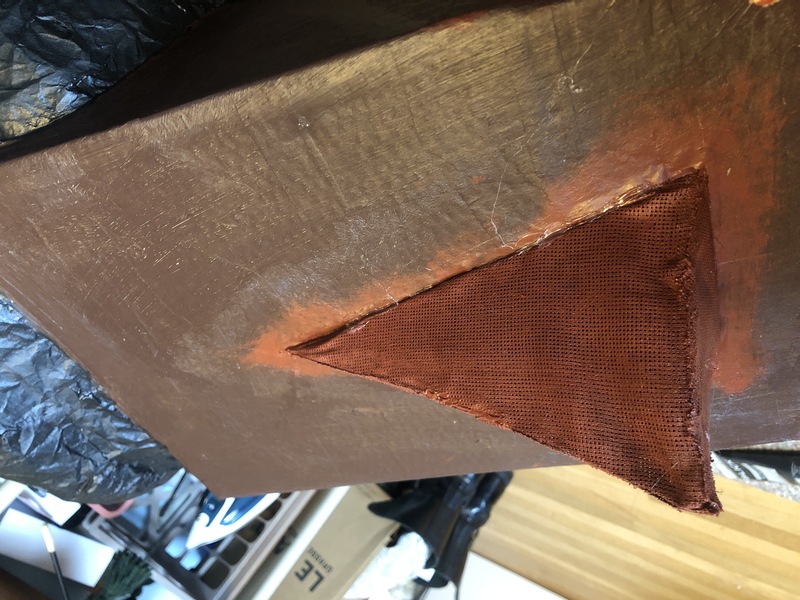
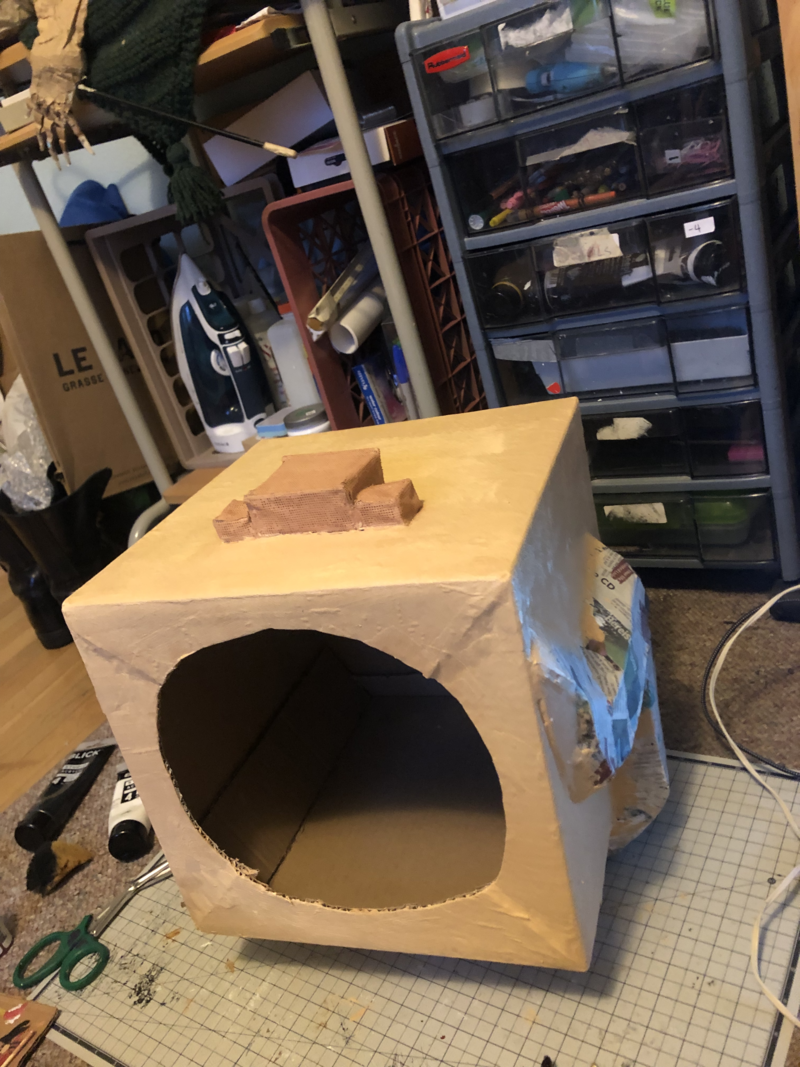
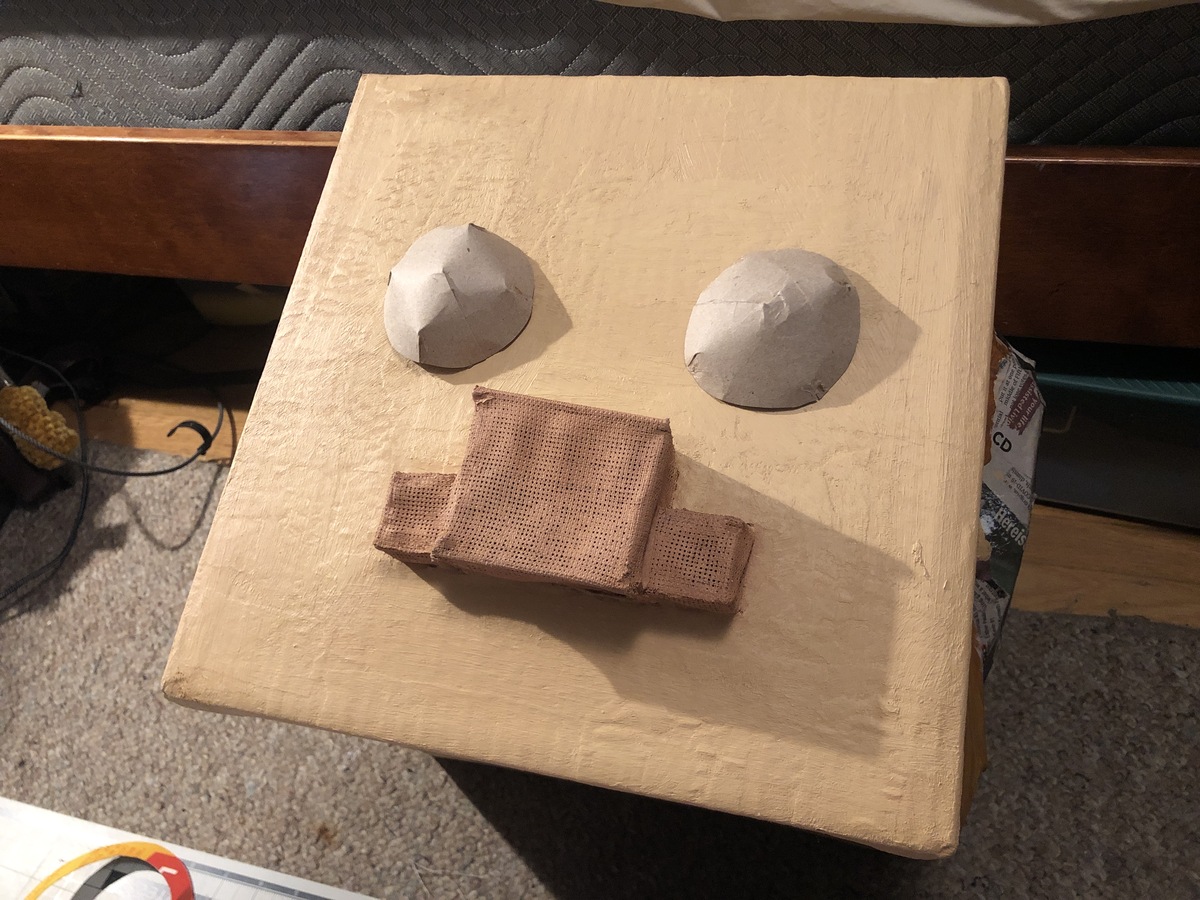
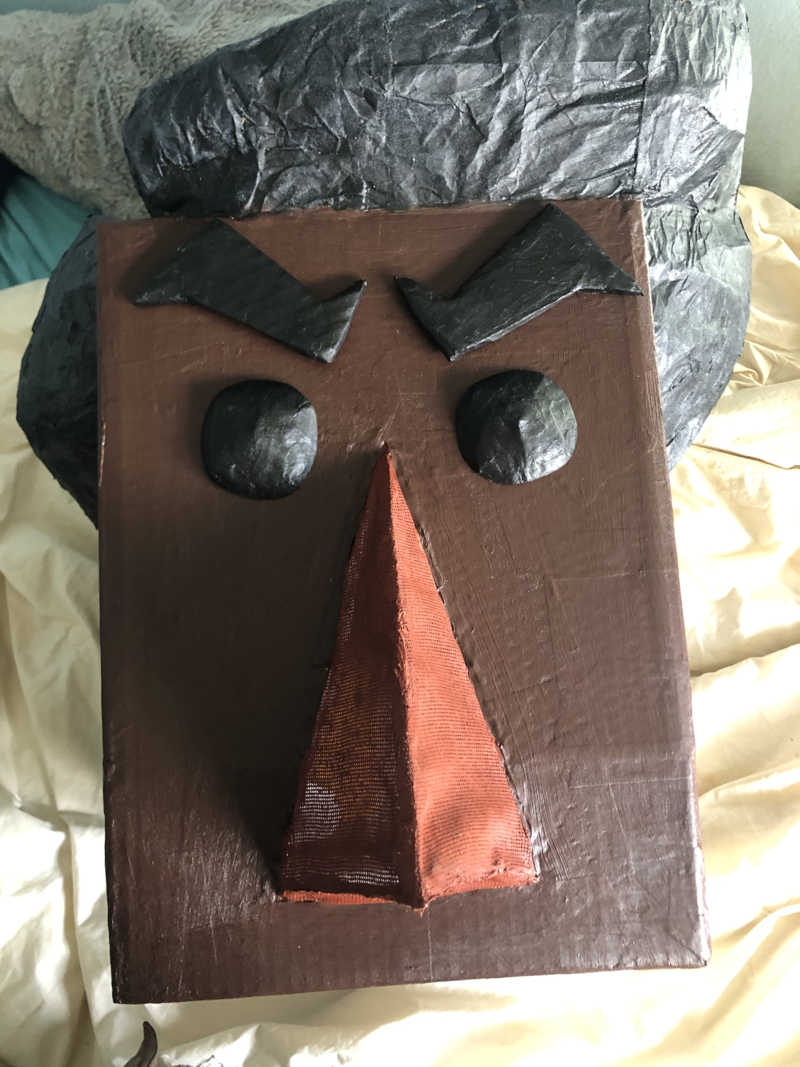
It was initialy suggested to make the vision holes along the sides of the character's eyes, but considering how large the heads are and therefor how high up the eyes would be, I decided that making the noses the vision holes would allow a better angle. With the majority of the hole below the actors' eyes, they could at least see downward and avoid bumping into things, which is the most important direction to be able to see. I chose to make the noses out of aida fabric, a heavily starched and loosely woven fabric made specifically for cross-stitching. It turns out the gridded holes that make cross-stitching easier for begginers also make a great mesh for vision in costumes, and it can be painted like any fabric.
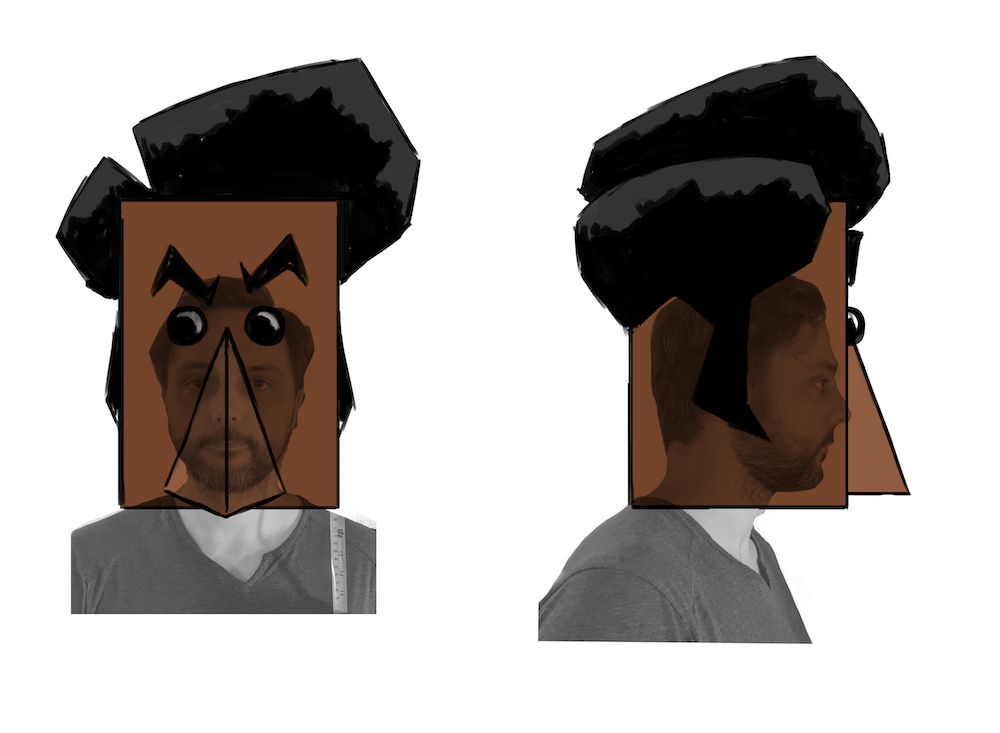
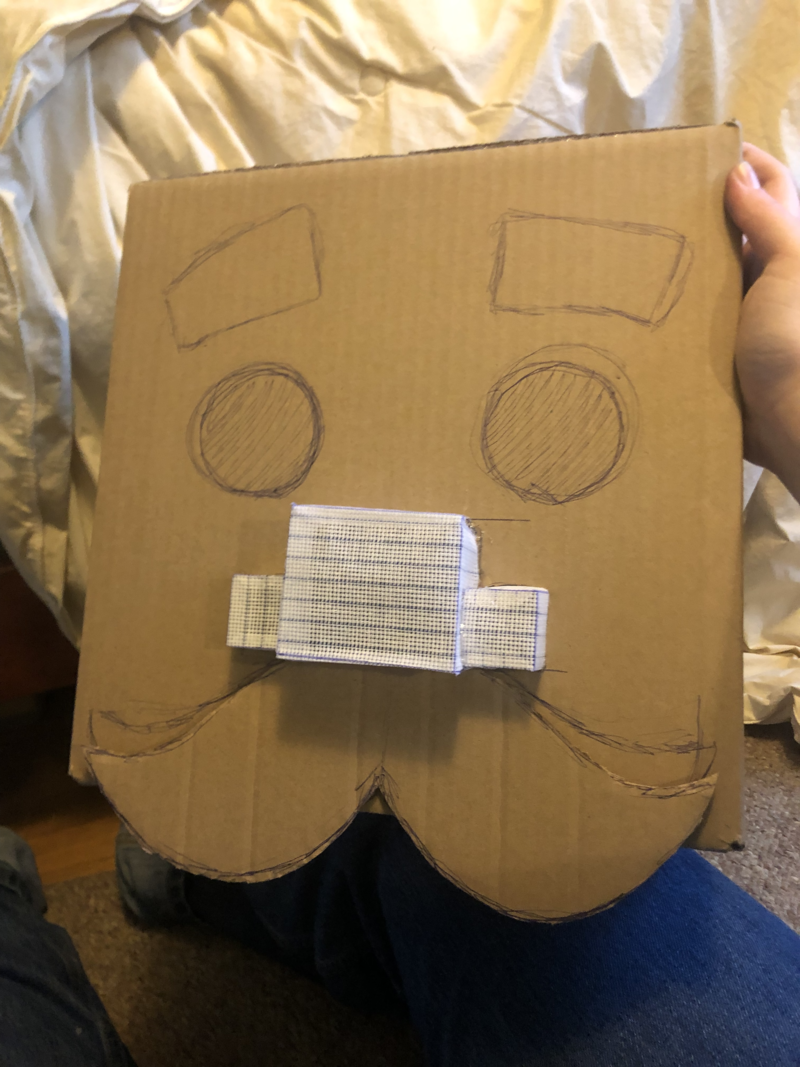
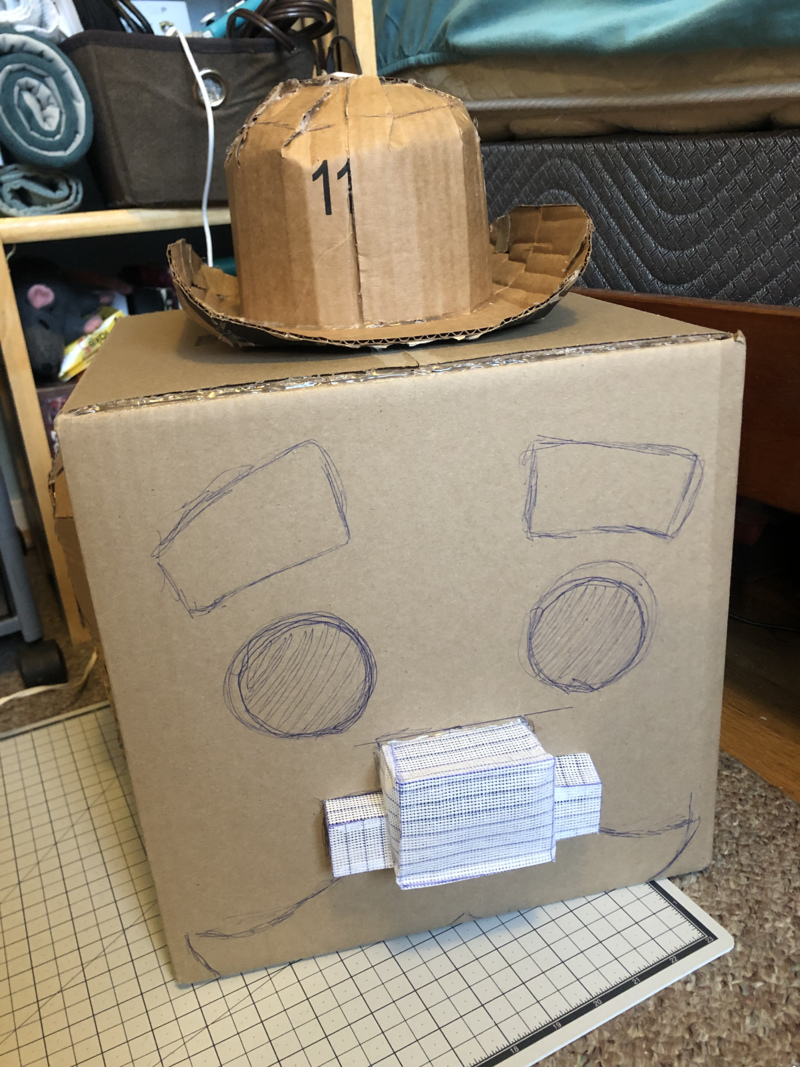
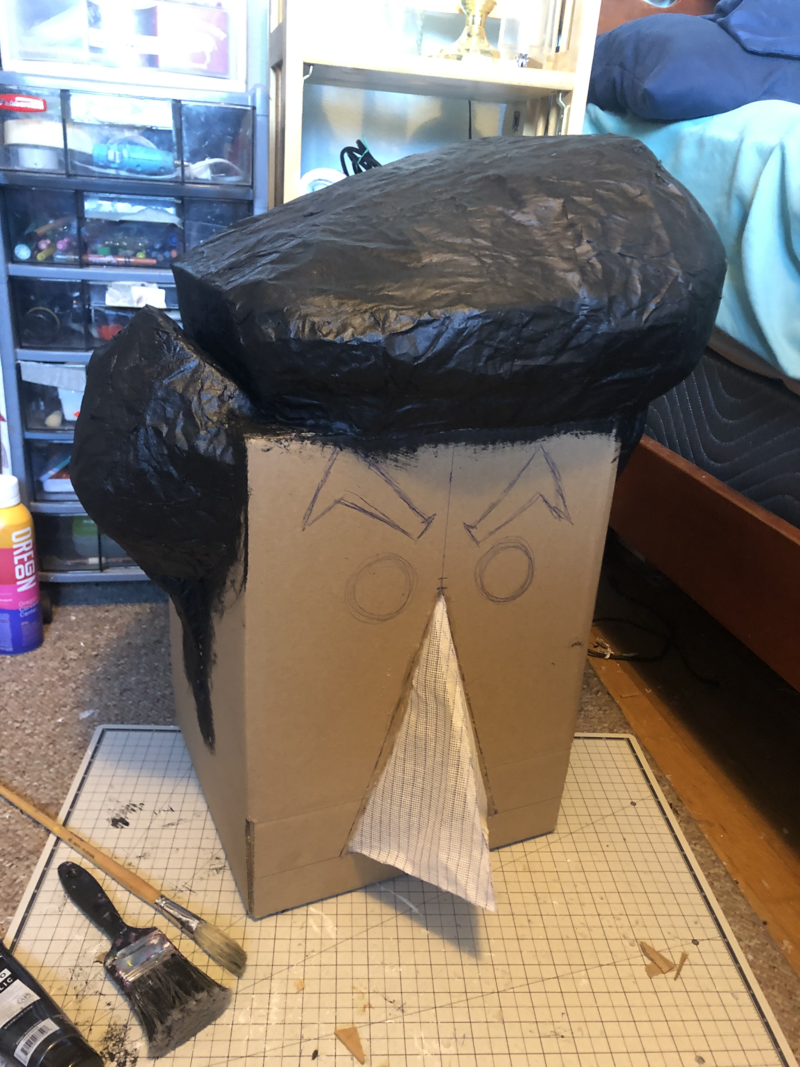
This fabric is the same technique I used for General D's eye holes, where the fact that the aida fabric is able to be sewn was extra useful. Here though, I would just be glueing it. I sketched out Blockson's face first, and used it to take measurements for the nose size. I used a simple box folding pattern to make 3 individual cubes, and cut out the hole where they'd be glued in place.
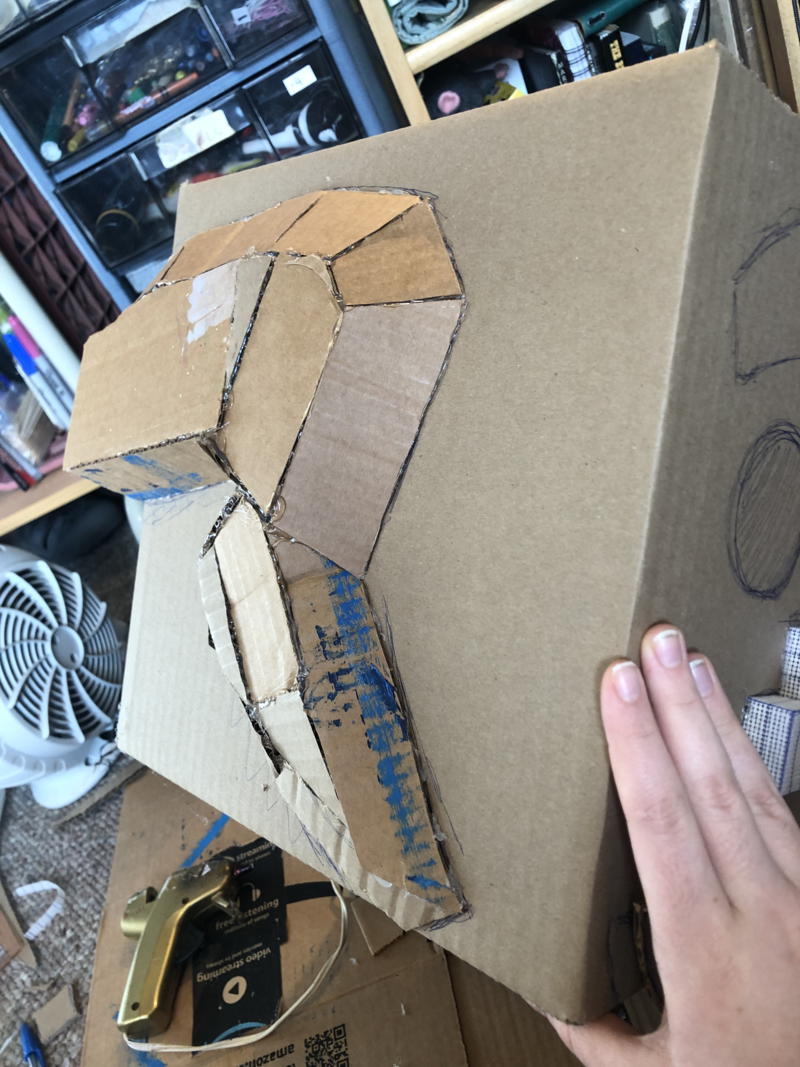
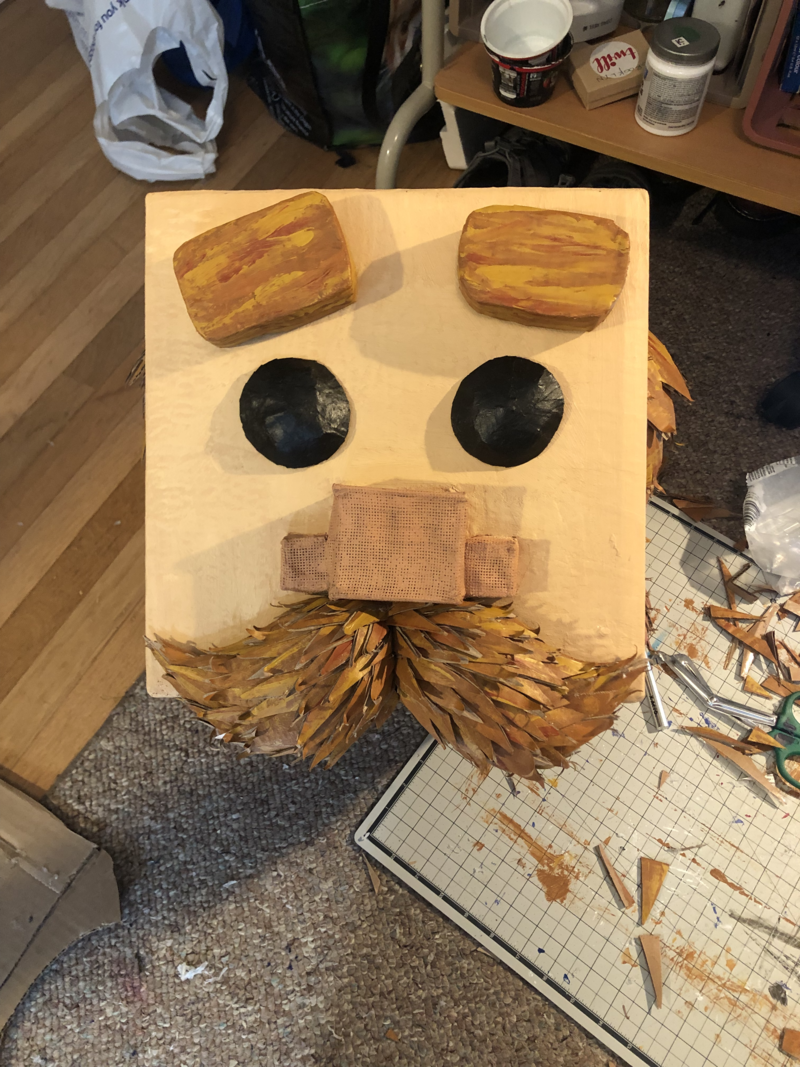
Blockson's eyebrows and hat were sculpted out of cardboard, and I began filling out where his hair would be. At this point, we were still unsure of how I would make the hair itself, but I wanted to get a base going.
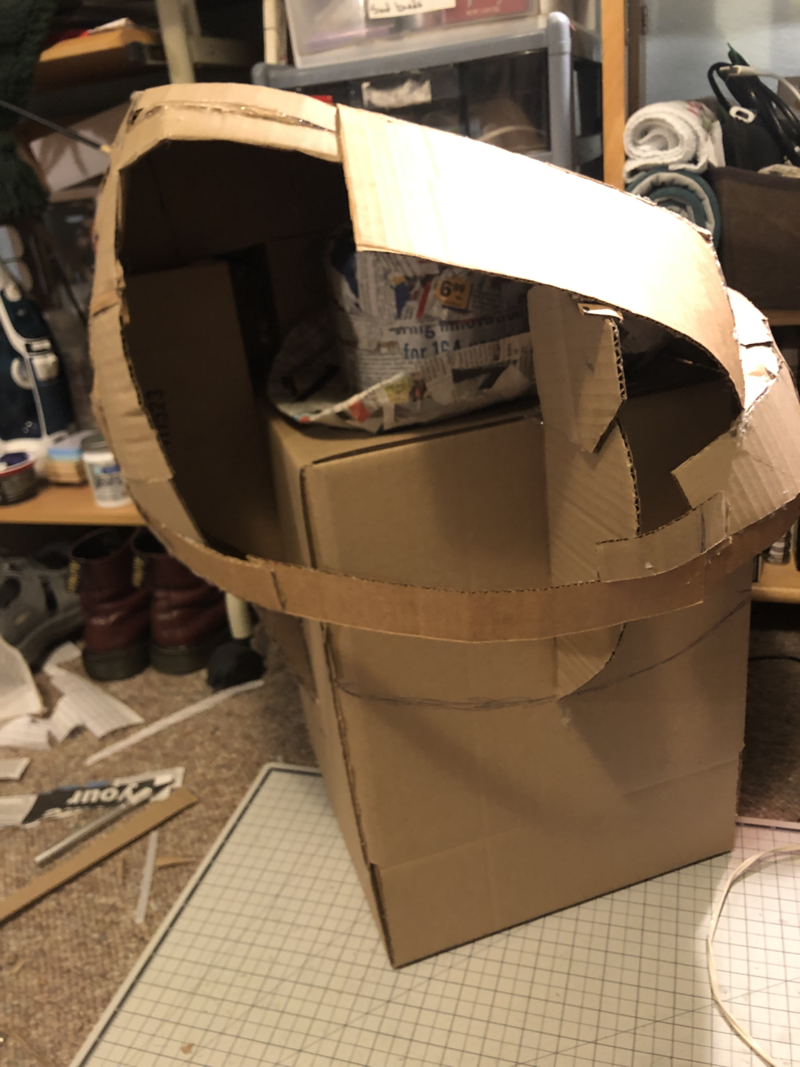
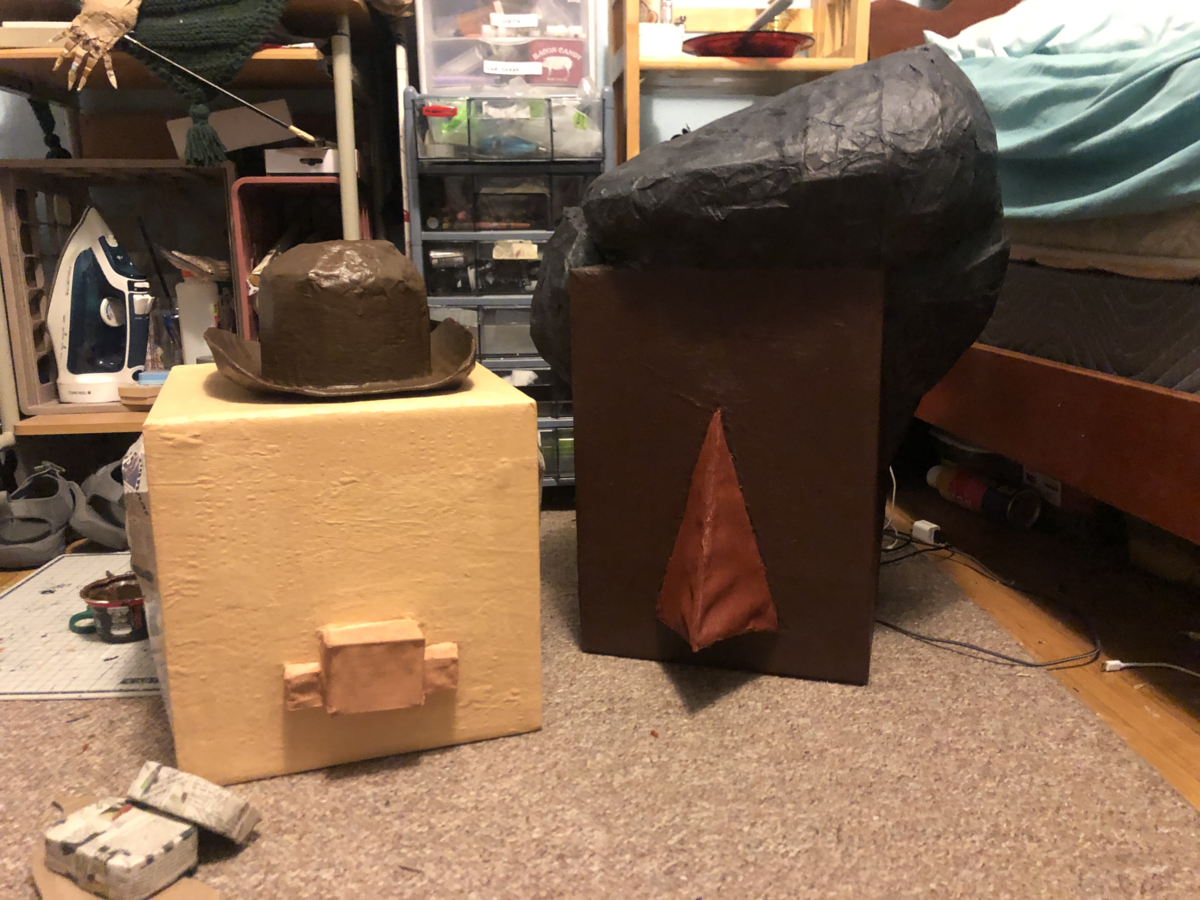
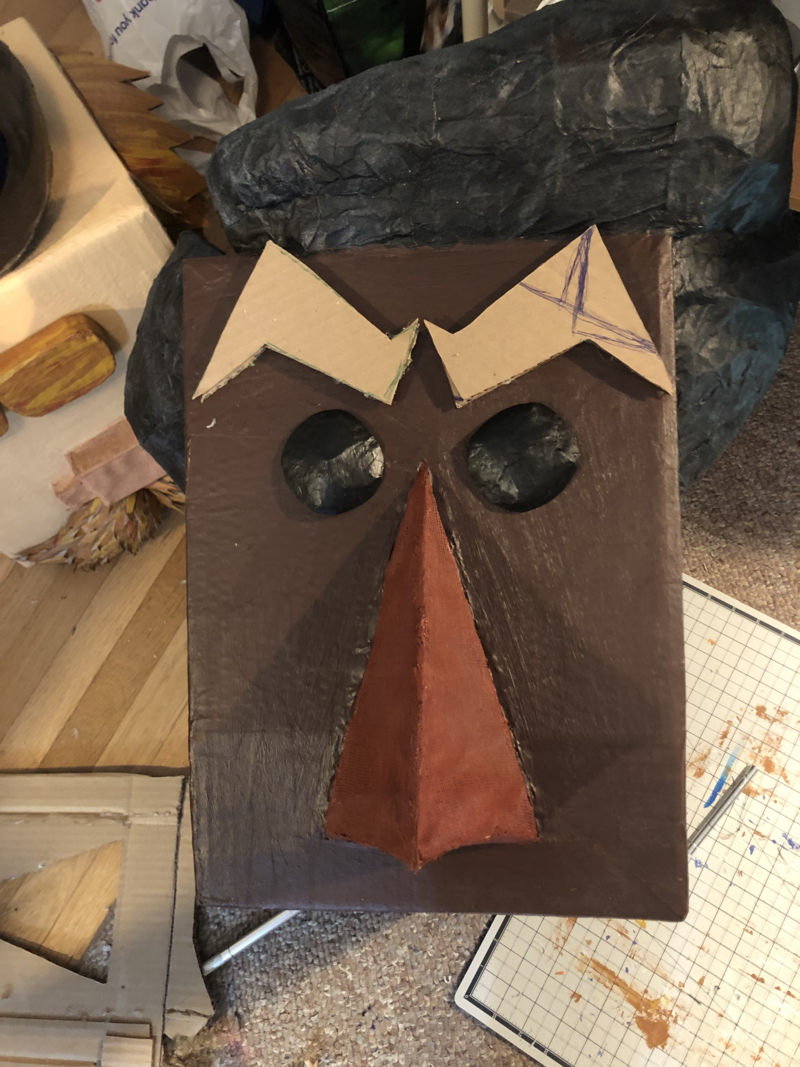
As mentioned, this is the original Sherblock head, the one that we decided was too small.
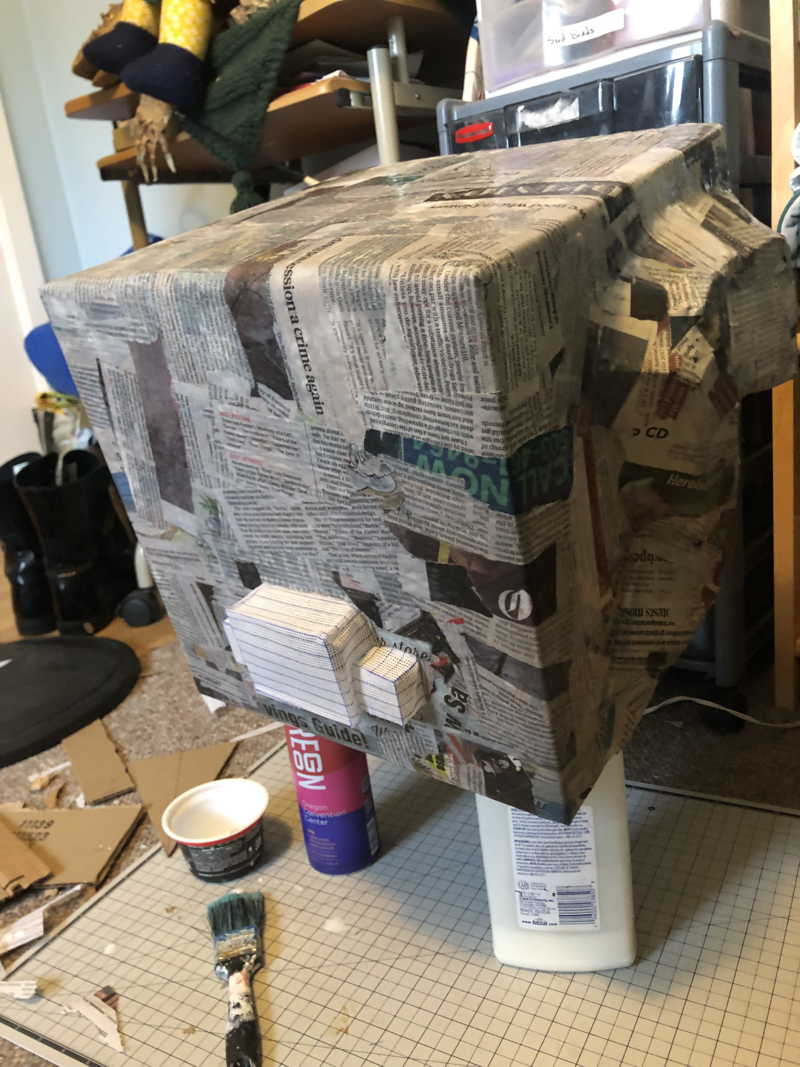
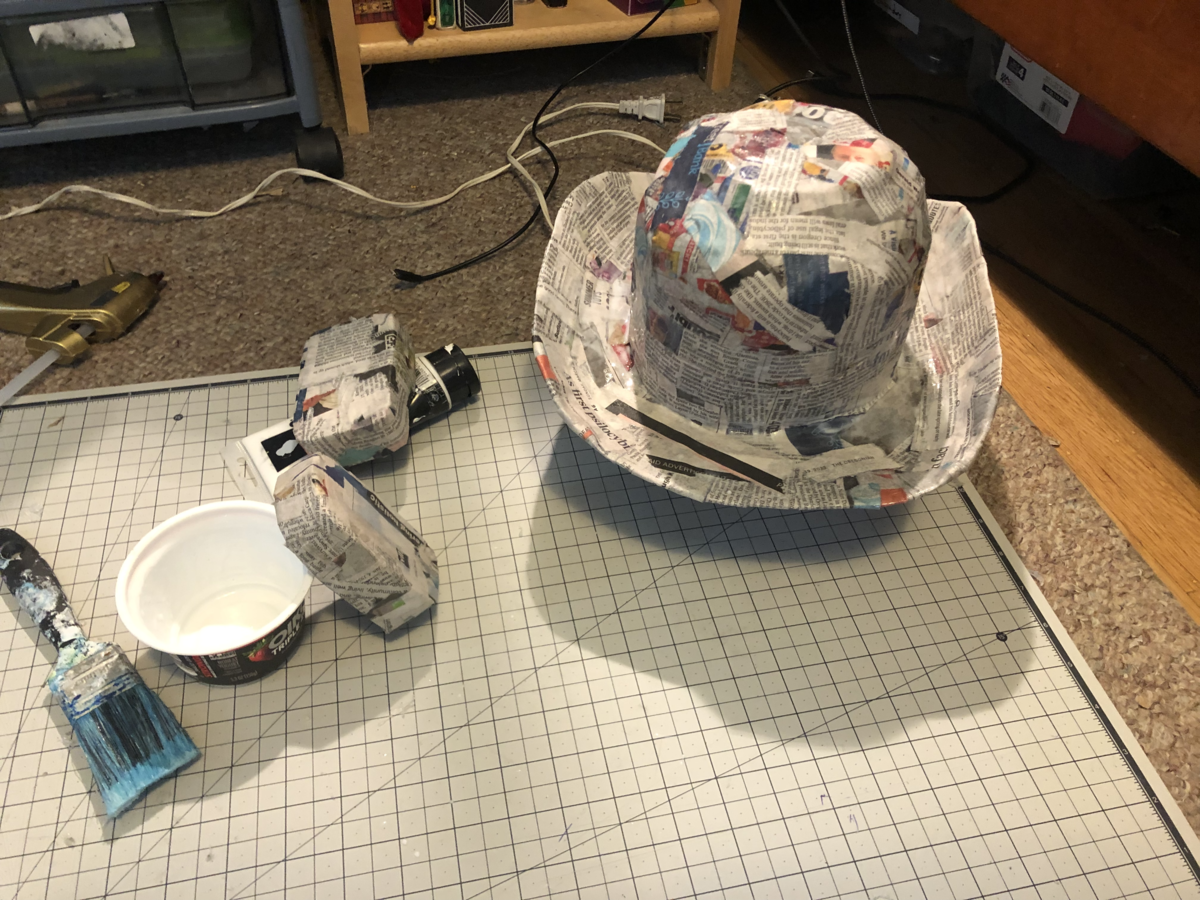
To give them a smoother and stronger surface, as well as hide any seams, they all got covered in paper mache with newspaper and watered-down white glue. Blockson and his accessories were the first to get this spa treatment.
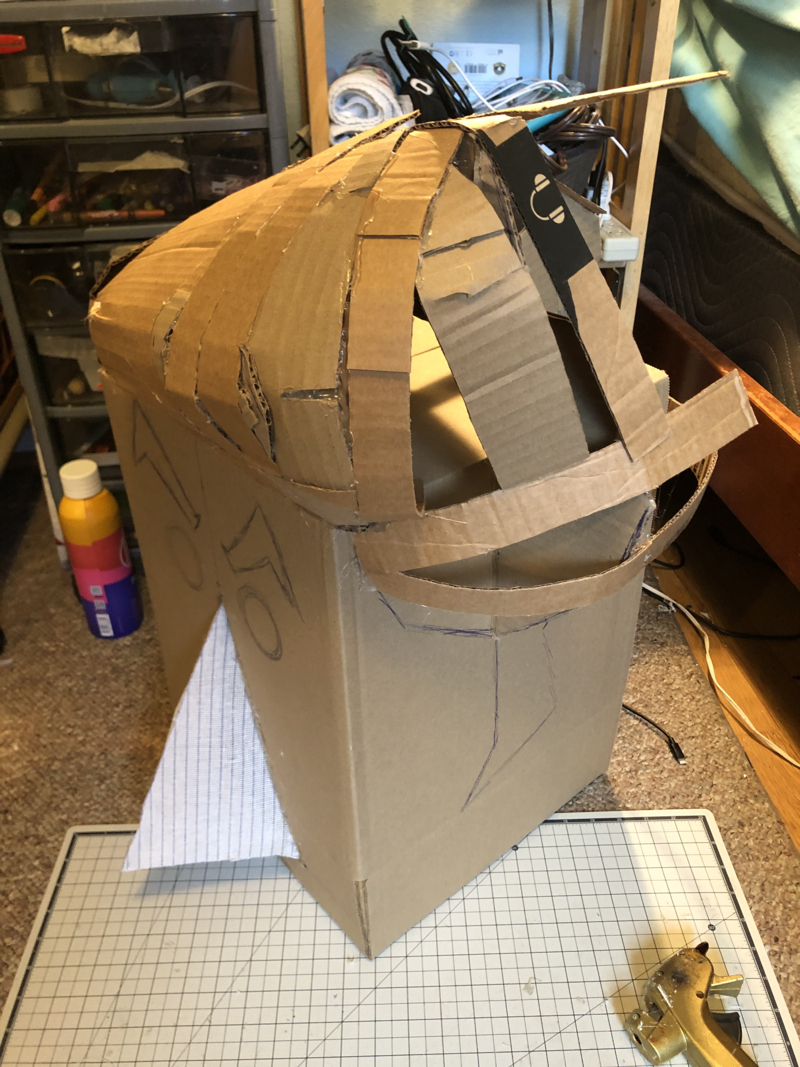
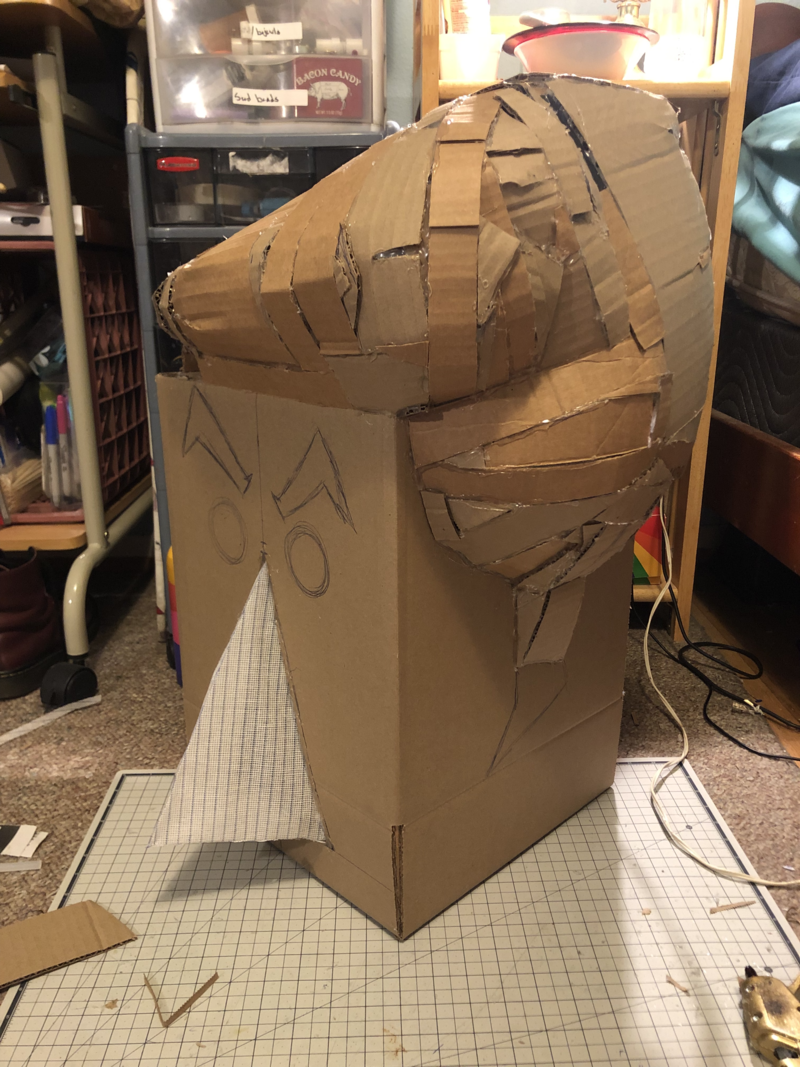
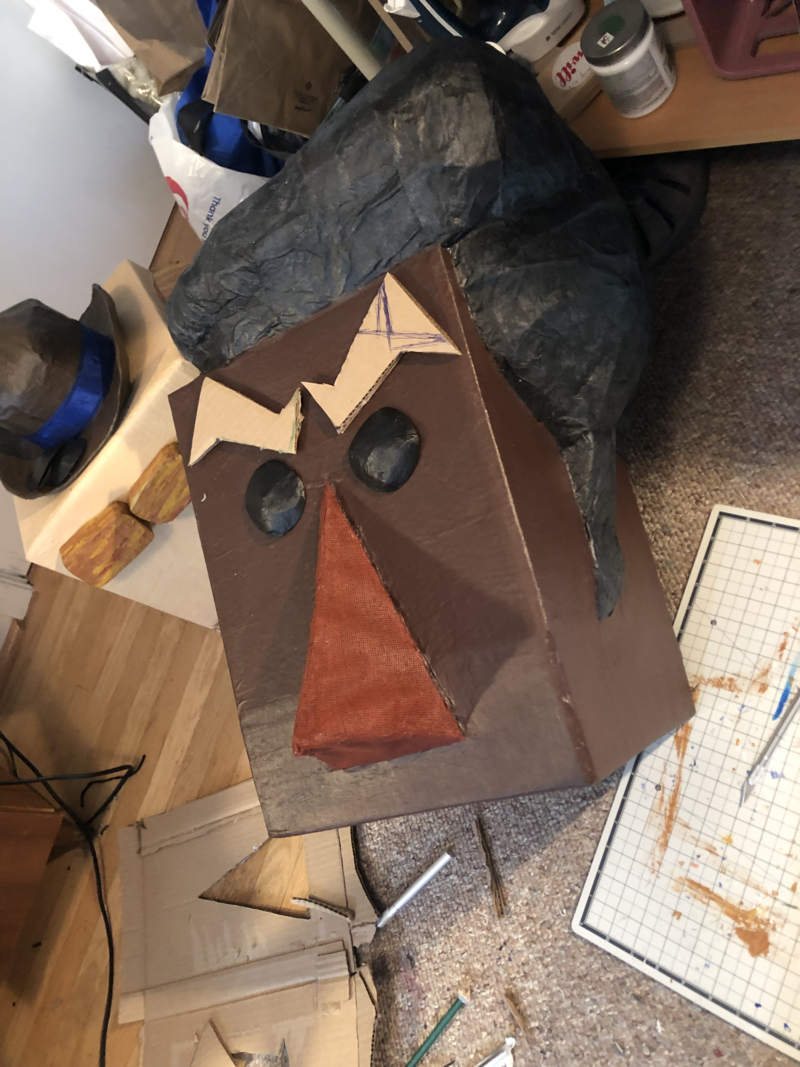
Above is the new box purchased for Sherblock, much bigger and a much better ratio. The first step here was sketching out his face again, and making a whole new nose for him.
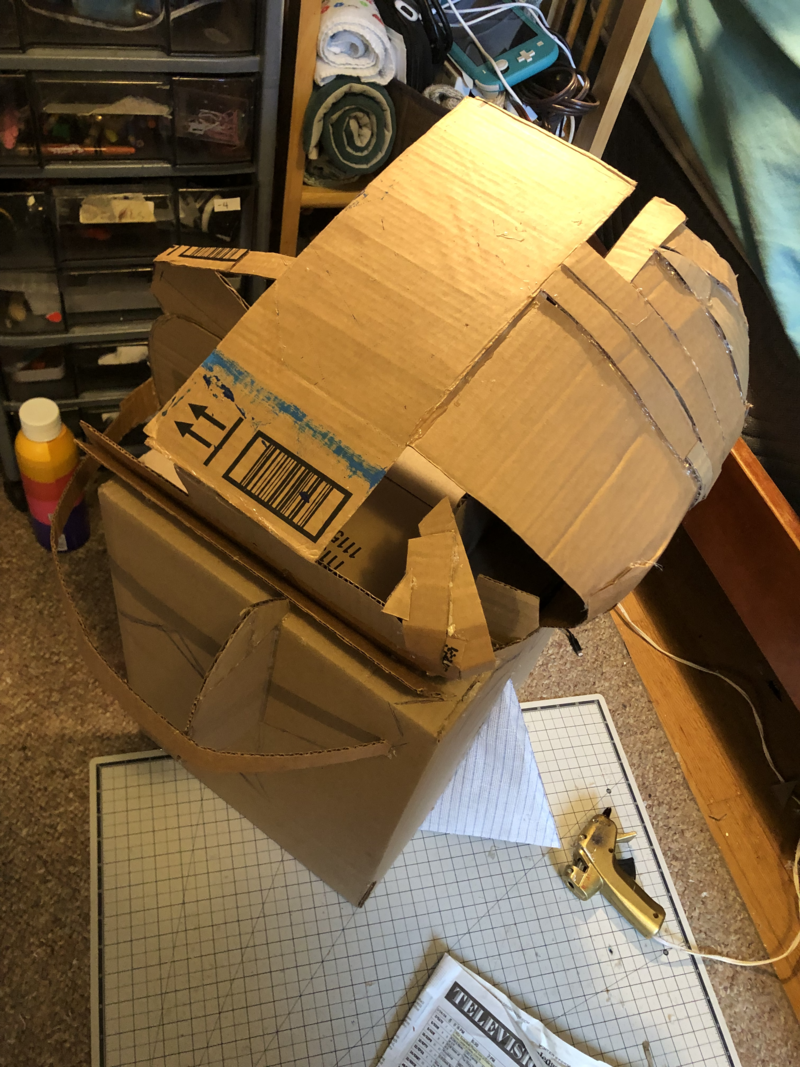
Next I started working on his hair. His hair in the concpet art is especially large and shapely, so I began with a silhouette of how I wanted it to look from the front. This was a lengthy process of filling in the shape bit by bit, using thin strips and triangles to build out the complex curves with cardboard.
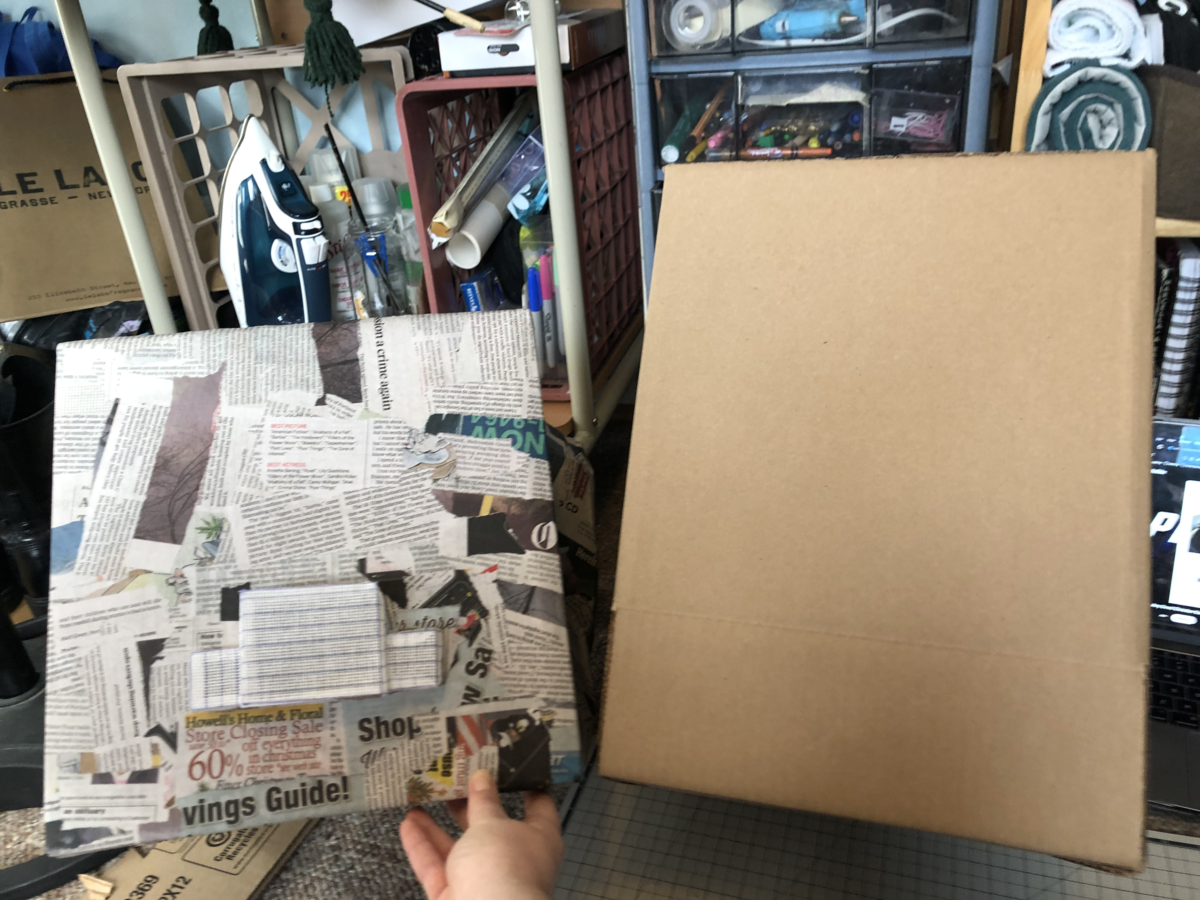
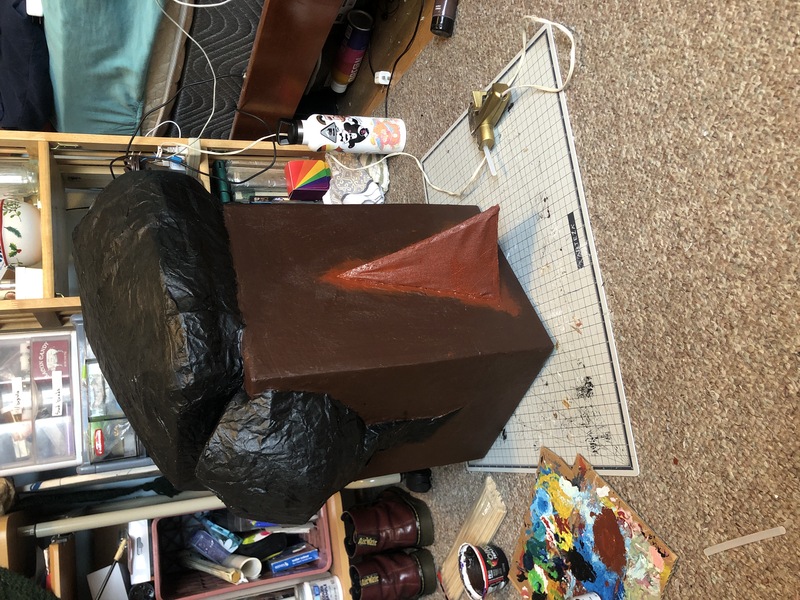
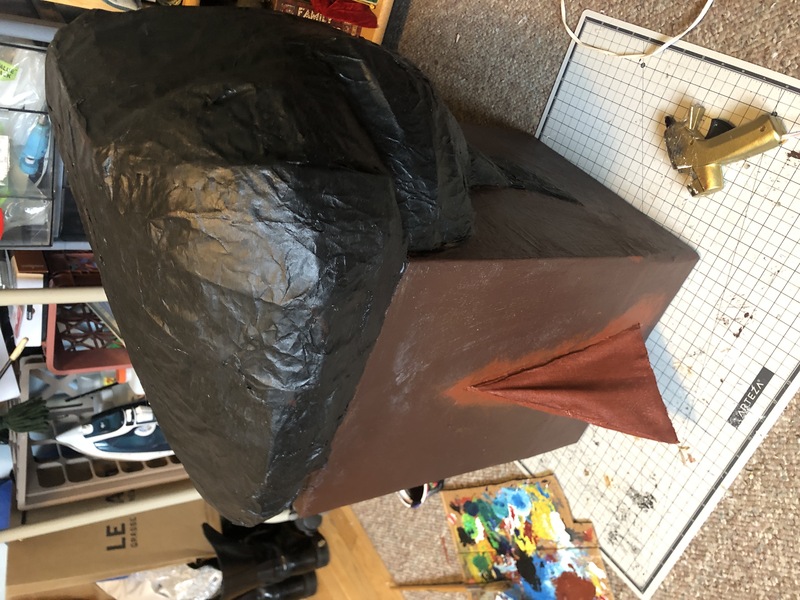
After the shape had been created with cardboard, I covered the entirety of his hair in crupled up paper bags to hide the seams and provide some texture. Sherblock also got a coat of newspapers and glue.
When I started painting I came upon an issue. The aide fabric, meant to be soaked in hot water so that you could unravel it from underneath your embroidery, was unsurprisingly gettign very soft with all the wet paint soaking into it. Needing a quick solution, I used some wooden skewers to build a frame for both noses and stuck it inside. This helped them keep their shape while drying, and also added some likely-needed support in general.
Now I could put it off no longer, I twas time to decide what to do for Blockson's hair.
I had initially offered up several options that would look a little more like the puppets, such as some sort of dried grasses. Also in consideration was fur fabric, buying a wig to cut up, or layered pieces of craft foam. As time ticked down, I decided to use what I had on hand, and to do a technique similar to my craft foam idea while using cardboard instead.
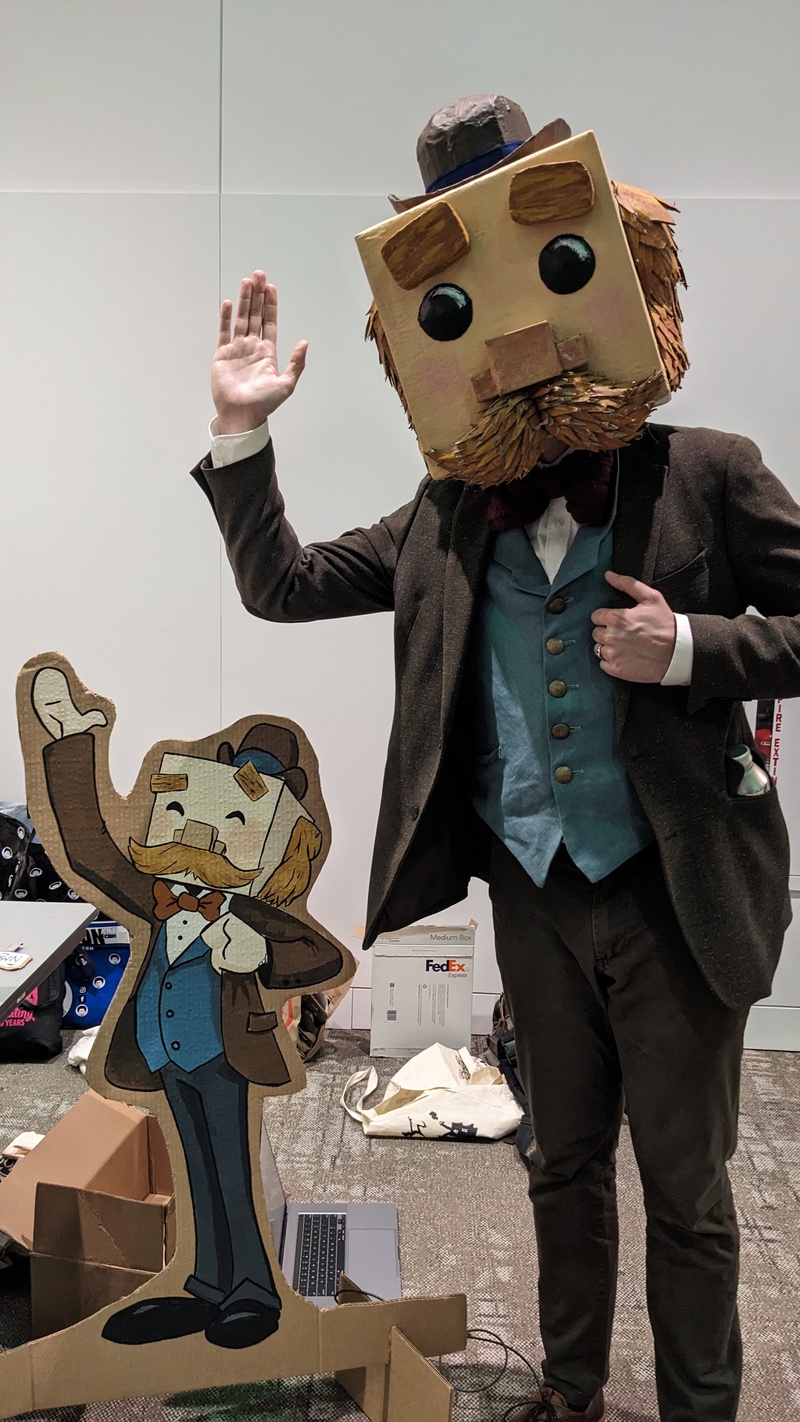
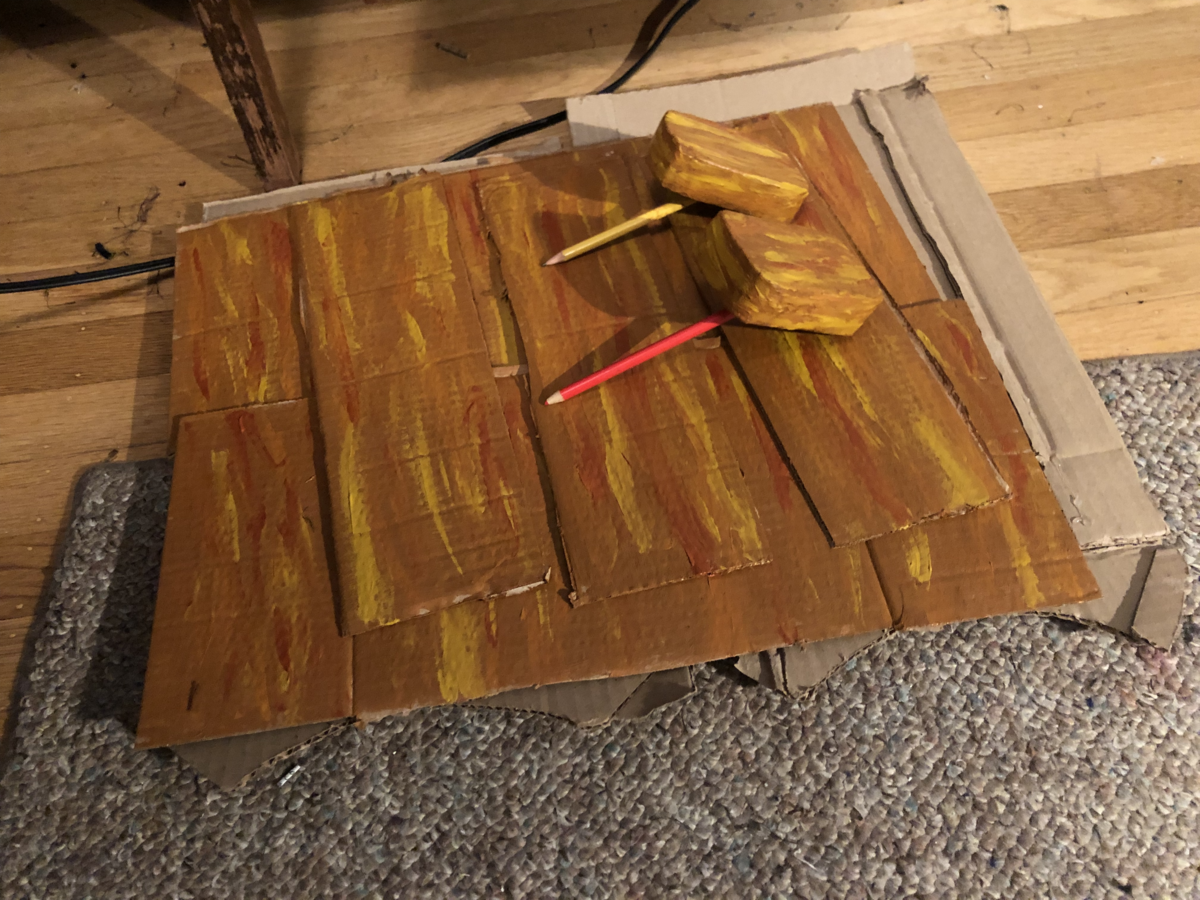
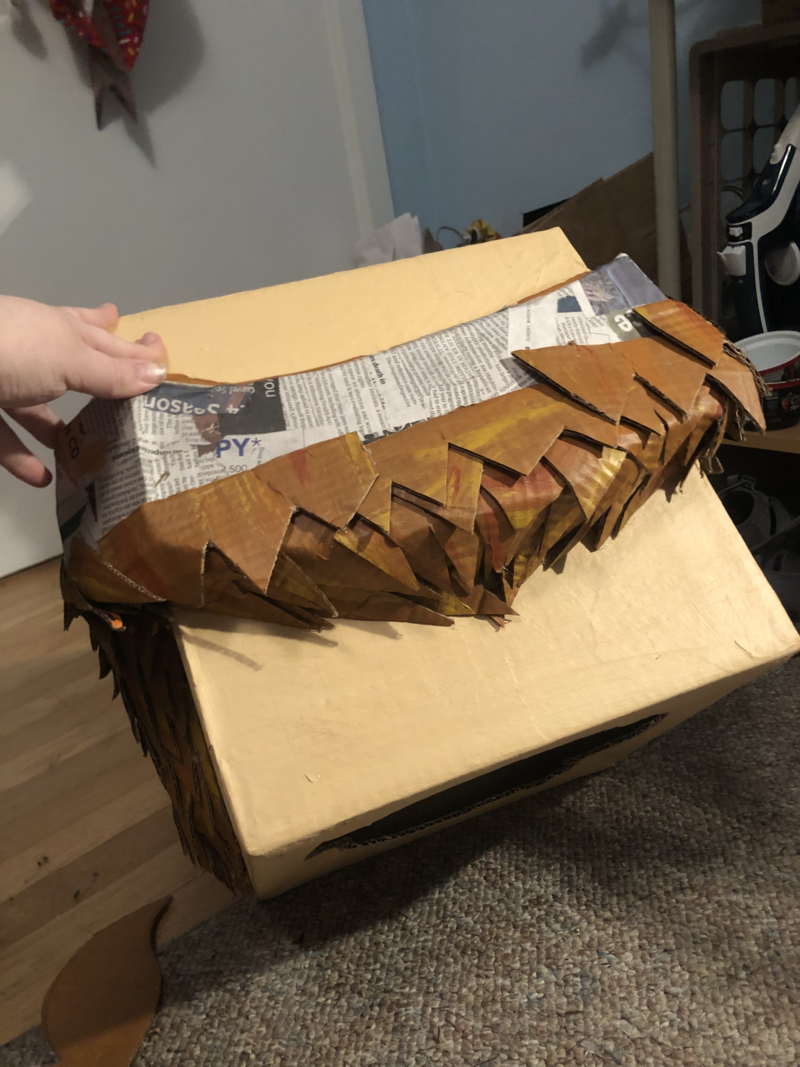
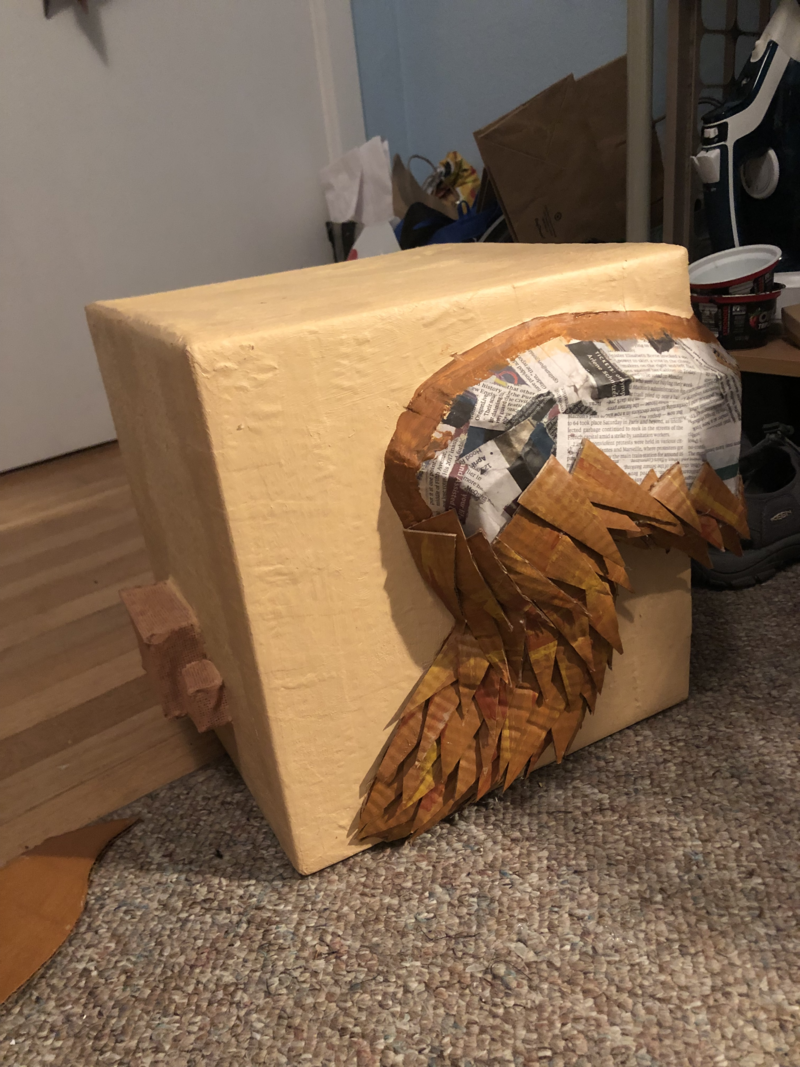
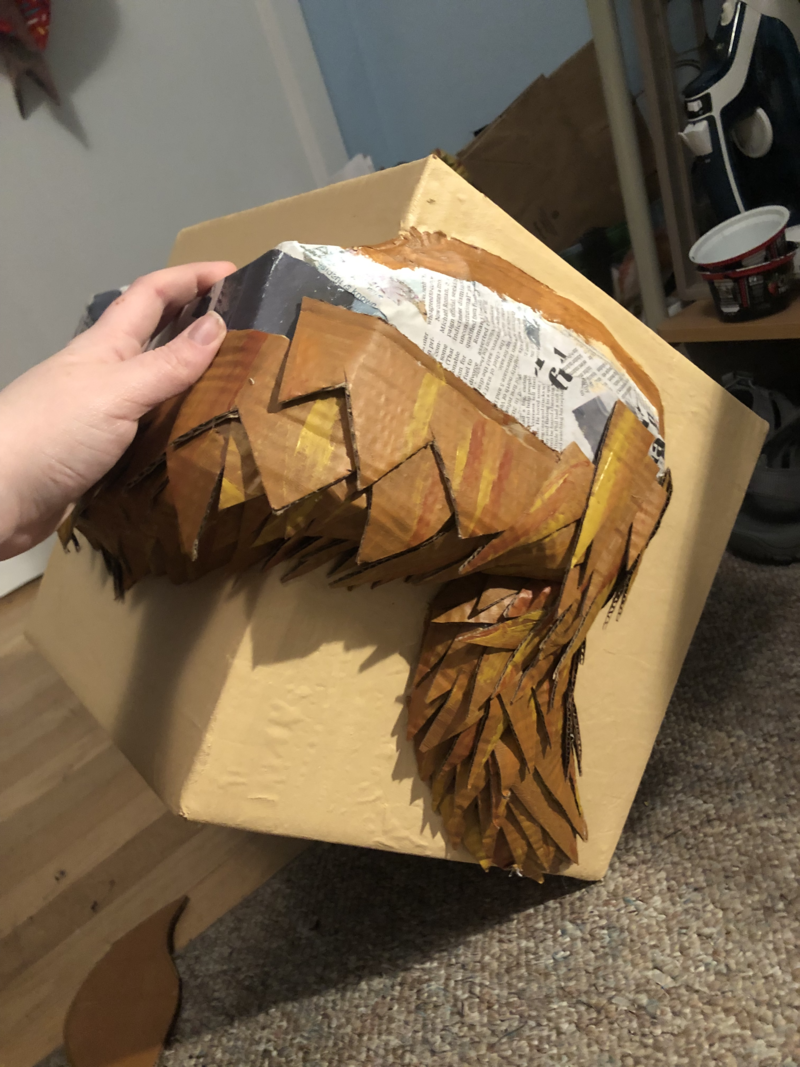
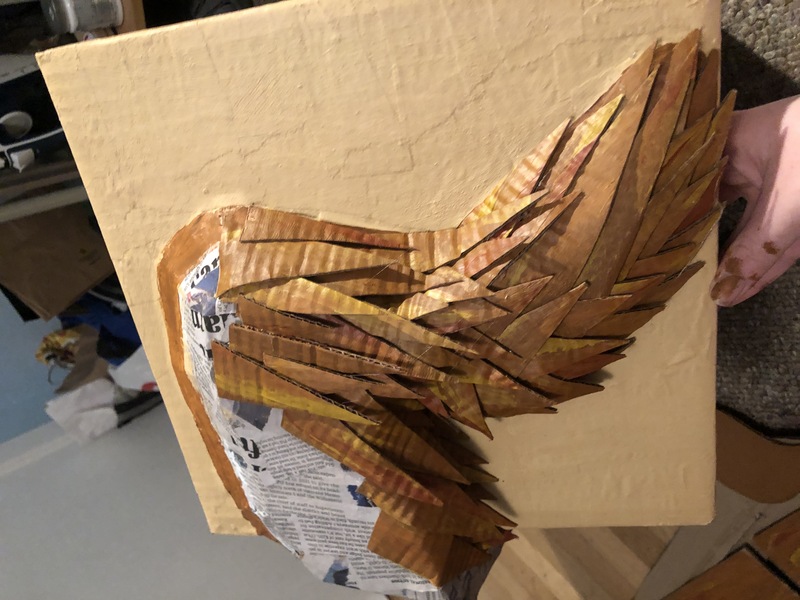
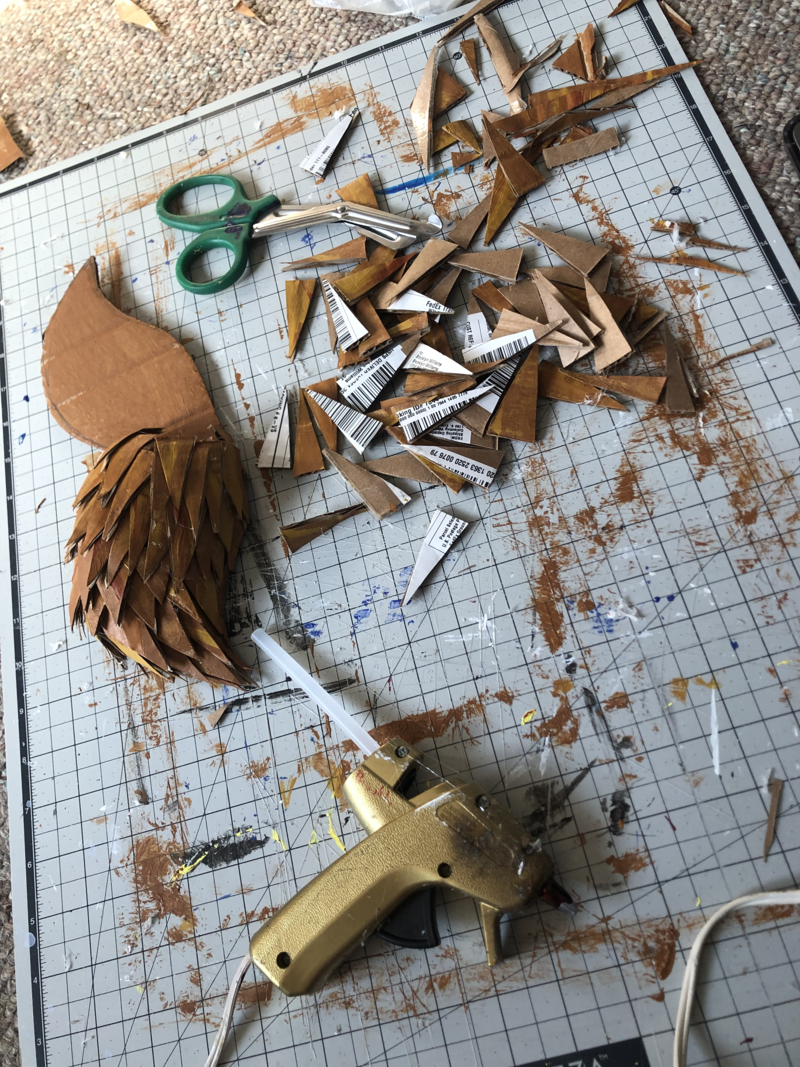
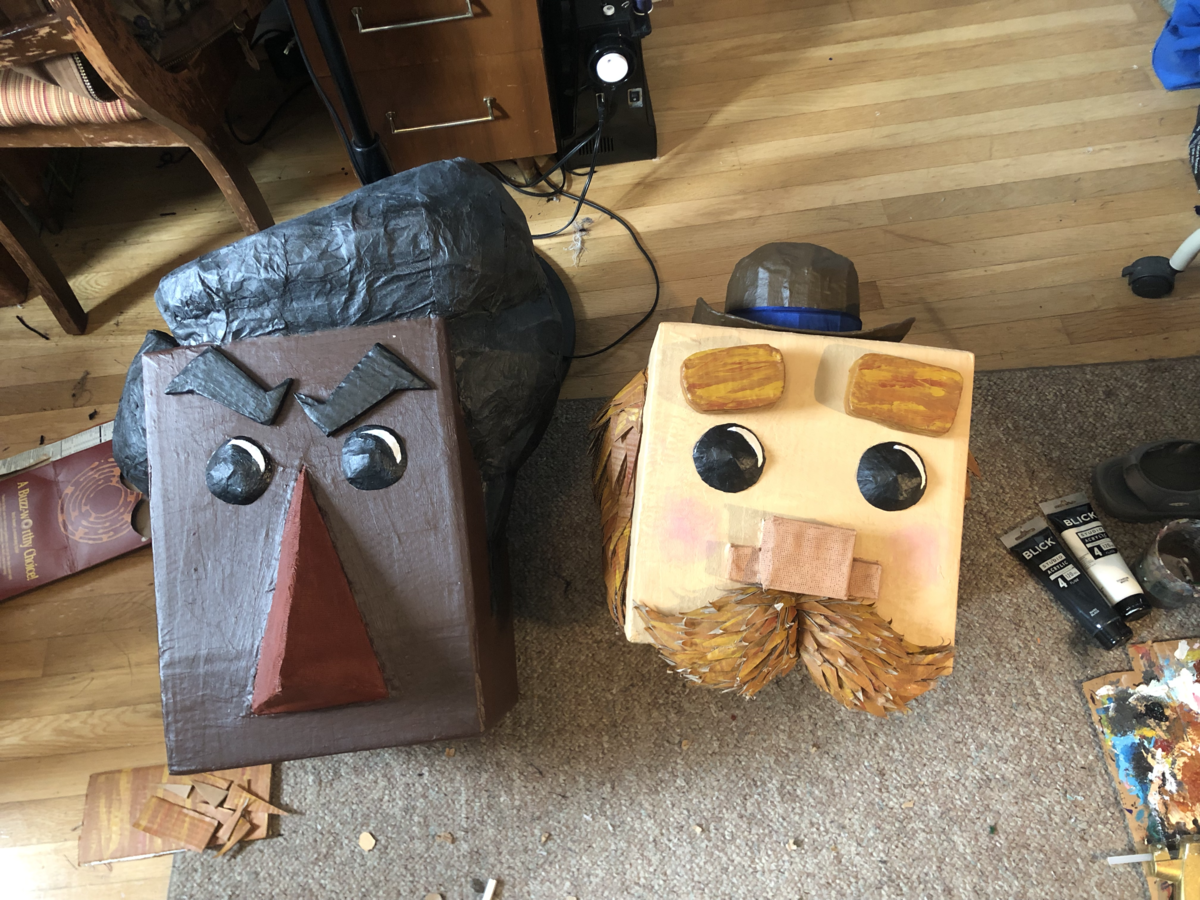
I started off by painting my leftover scraps of cardboard with a base coat of umber, and layered some streaks of yellow and brown into it for some variation. Then I could just cut the sheets into smaller triangles, and position them overlapping to create the illusion of hair. Once I had built up the back a little bit, I also added some larger pieces with triangles cut out along the edge, to fill up the space a little quicker and to create less visual clutter.
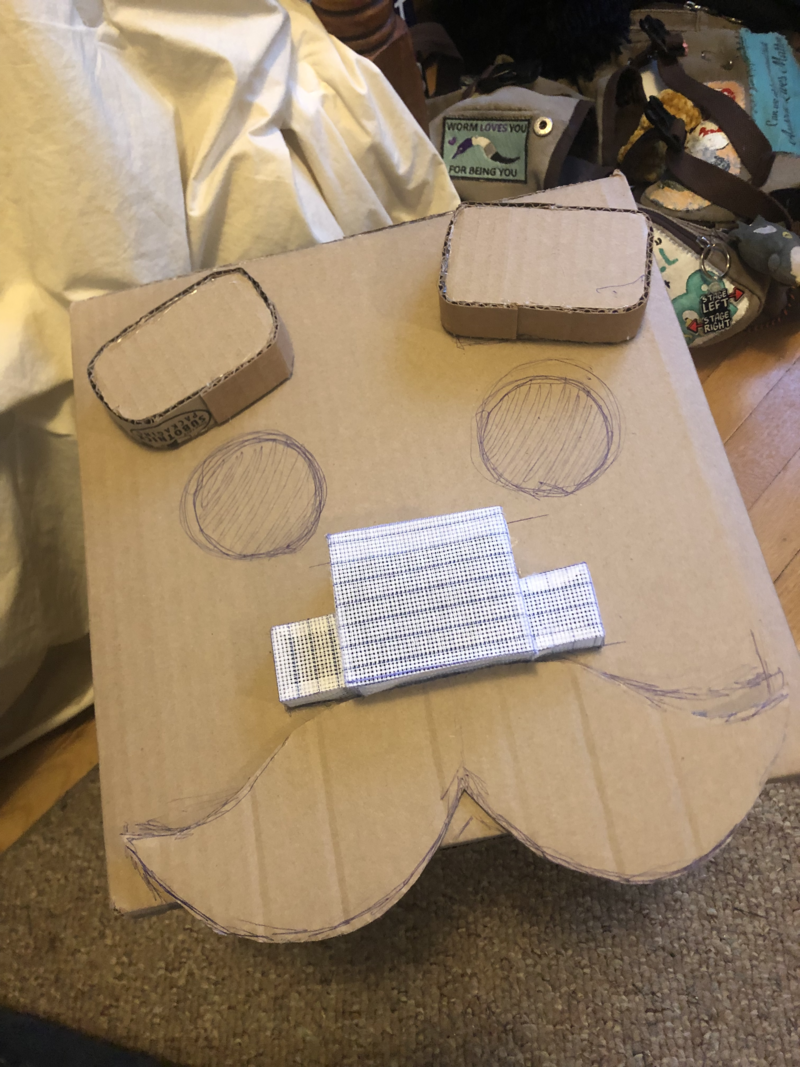
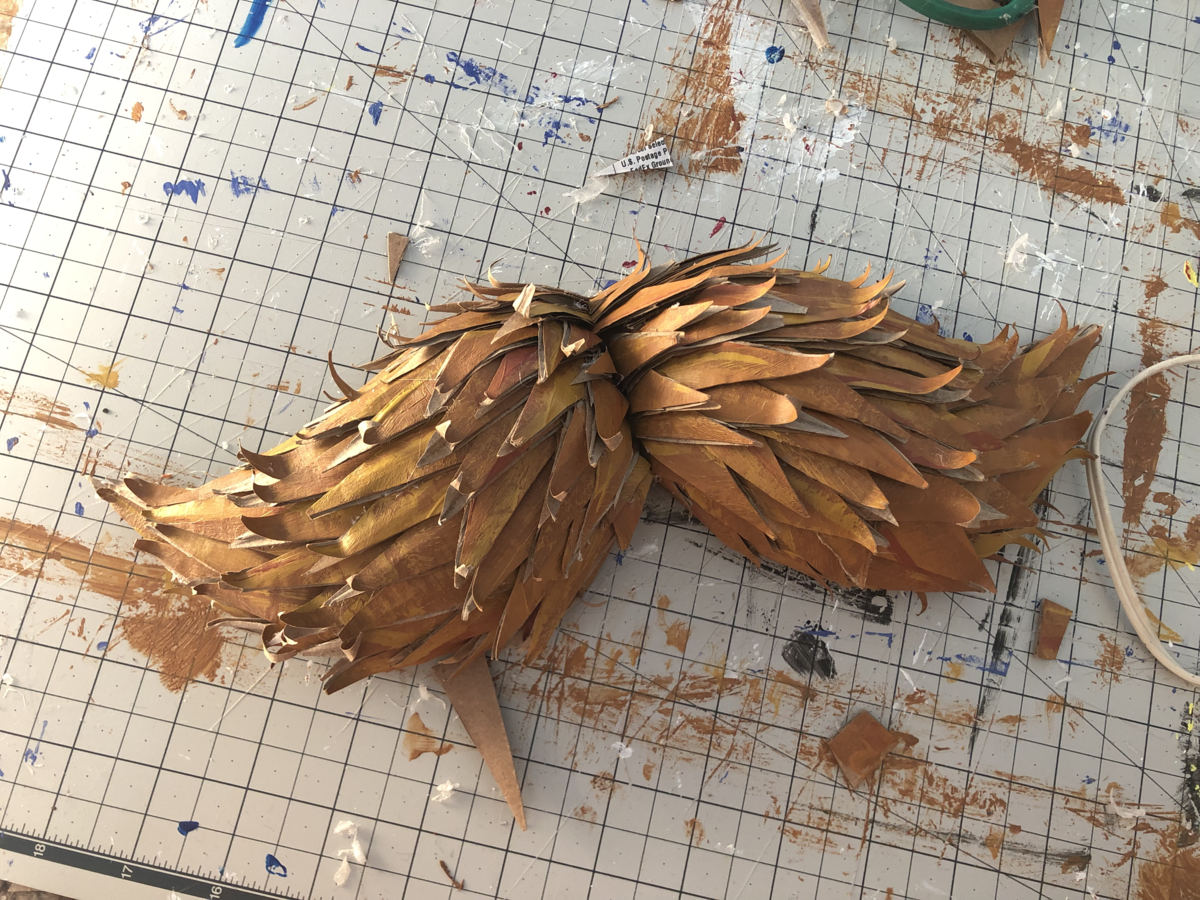
His mustache I made on a seperate piece of cardboard, since it would need to hang down over the edge of his face. It also just made the more complex triangle placement a little easier to manage.
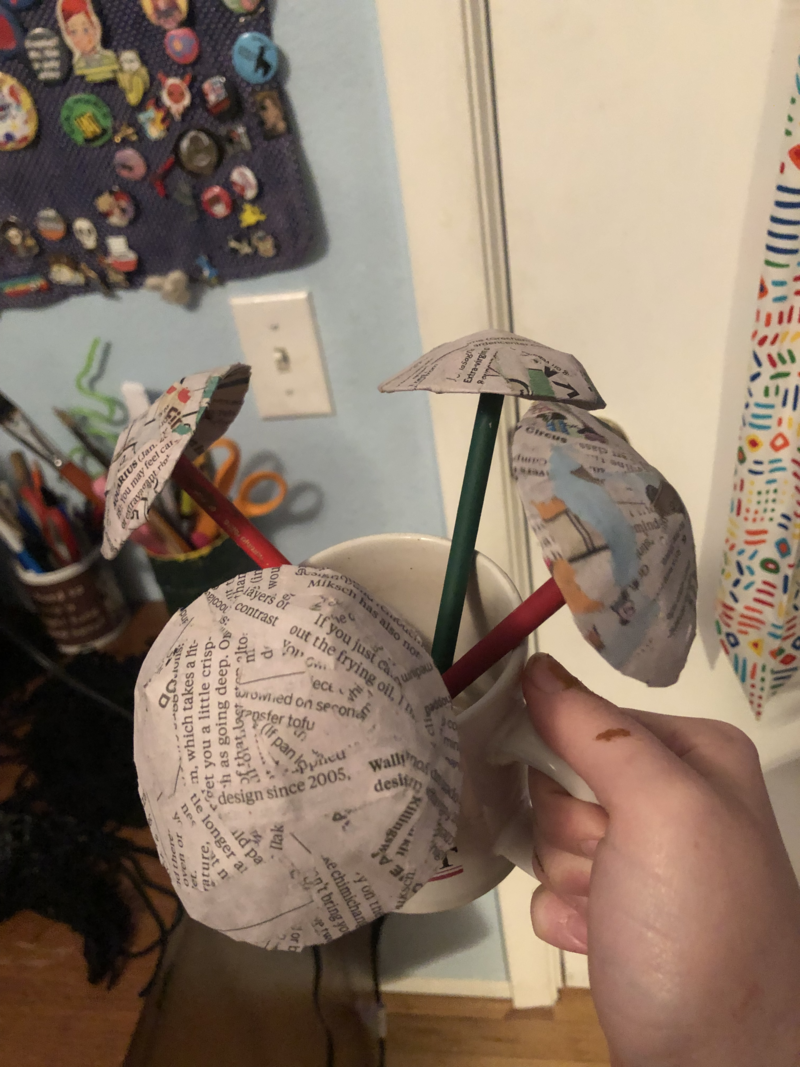
I was originally looking for some material that was already dome-shaped which I could make the eyes out of, but more cardboard worked just fine when the perfect material never showed itself. We're working on a budget, after all! More cardboard! The eyes are domes made of cardstock circles, with darts cut into them to give them curve.
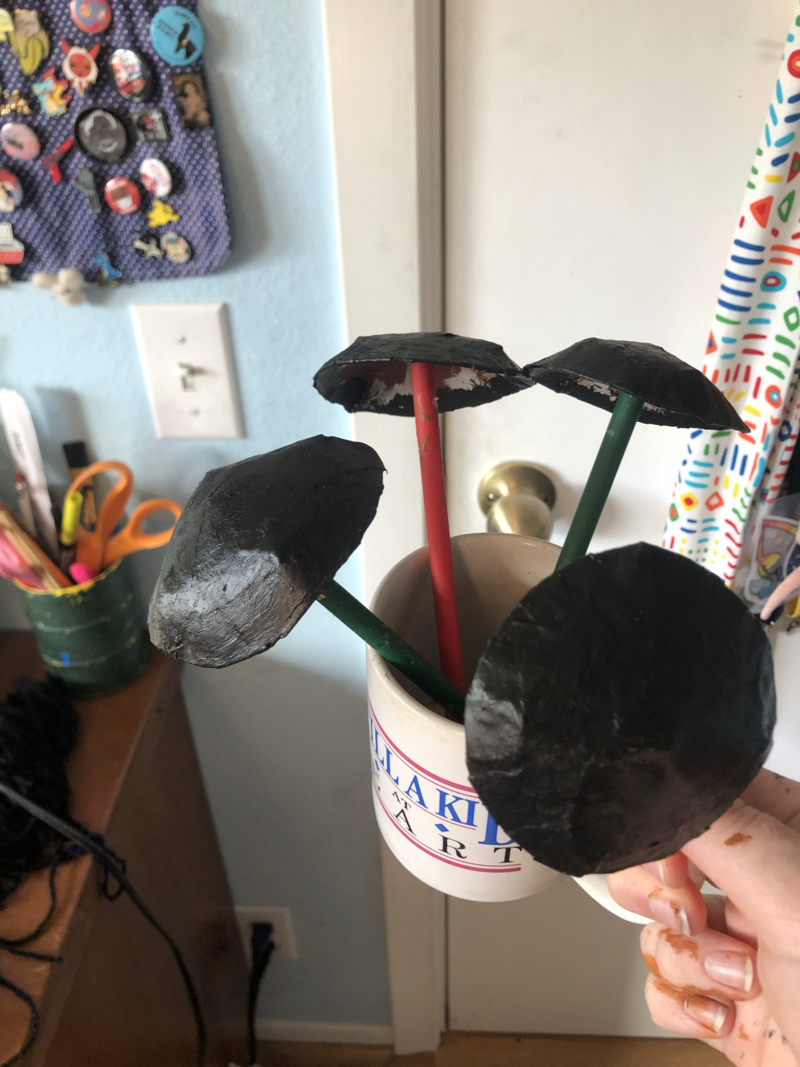
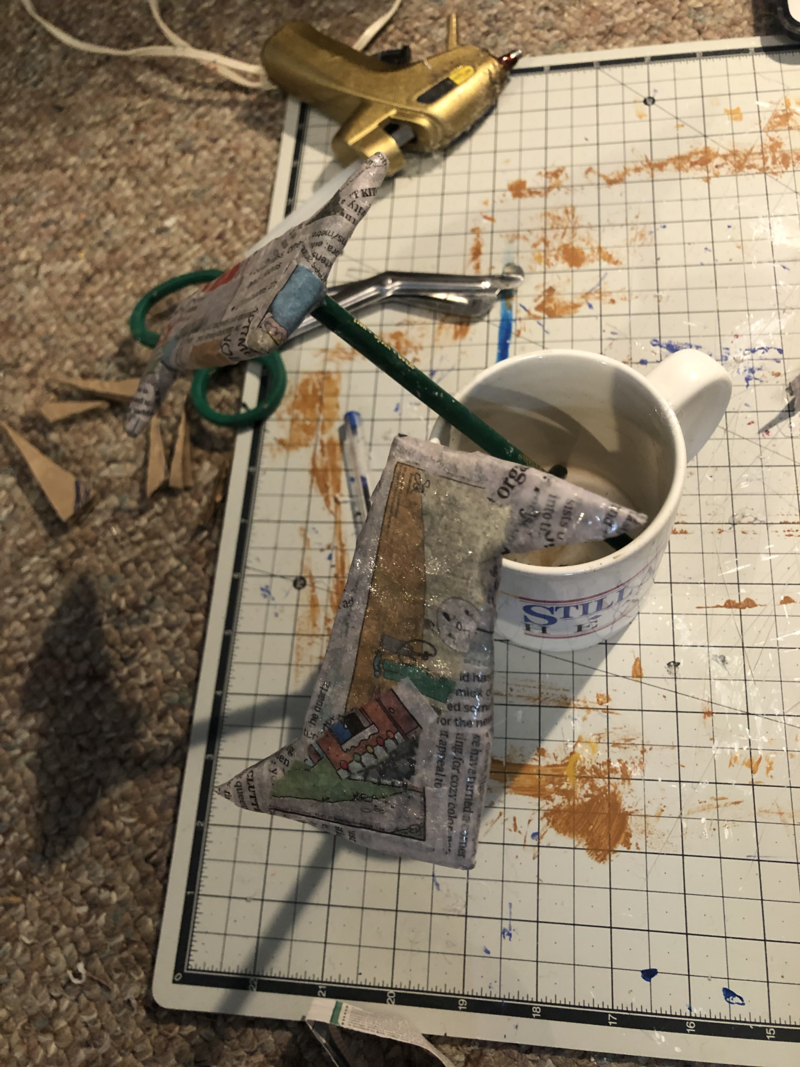
Here is a little trick for you, on the house: When trying to paint something small that doesn't have a good place to hold it, just glue a pencil to the back. Now they have handles, and can rest in a cup to dry.
Once the eyes had been made, i sent many pictures over to the rest of the team so that they could help me position them correctly.
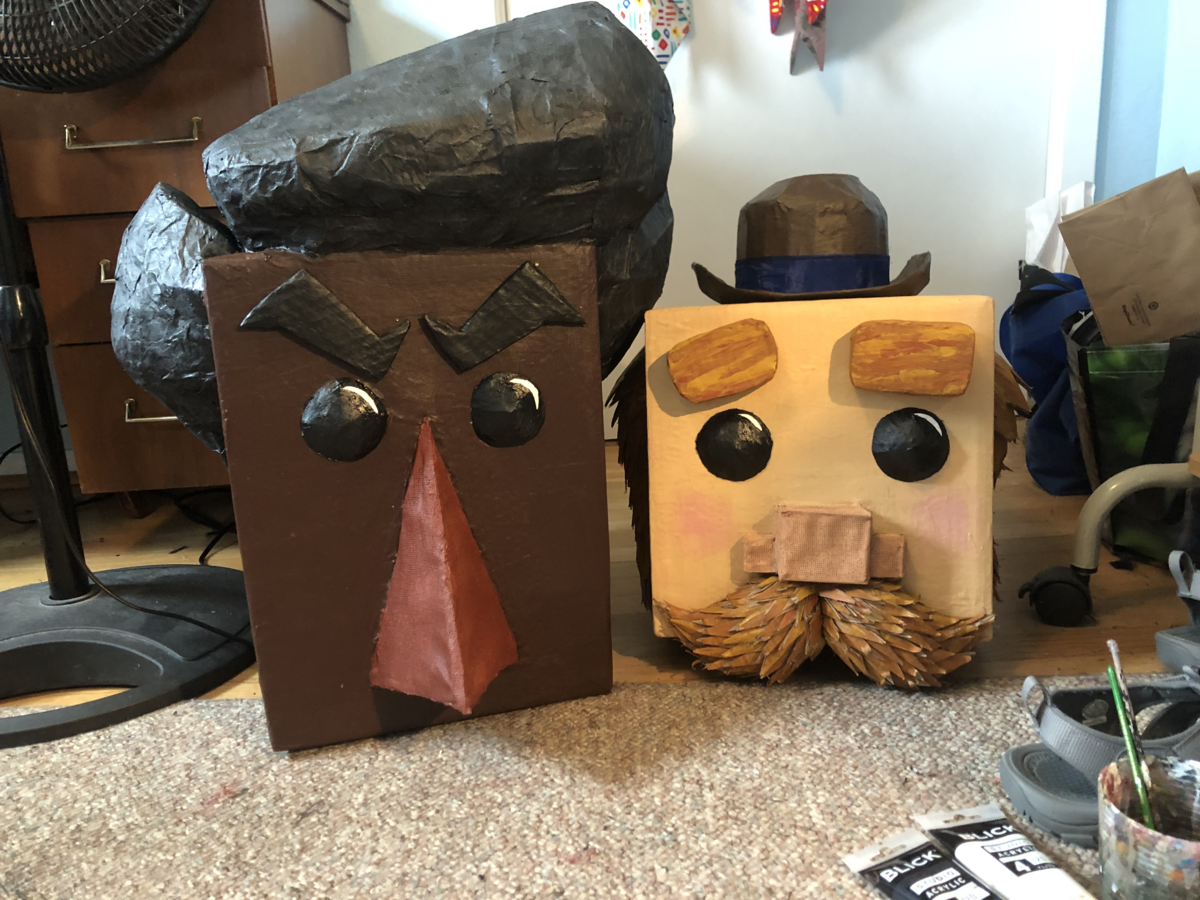
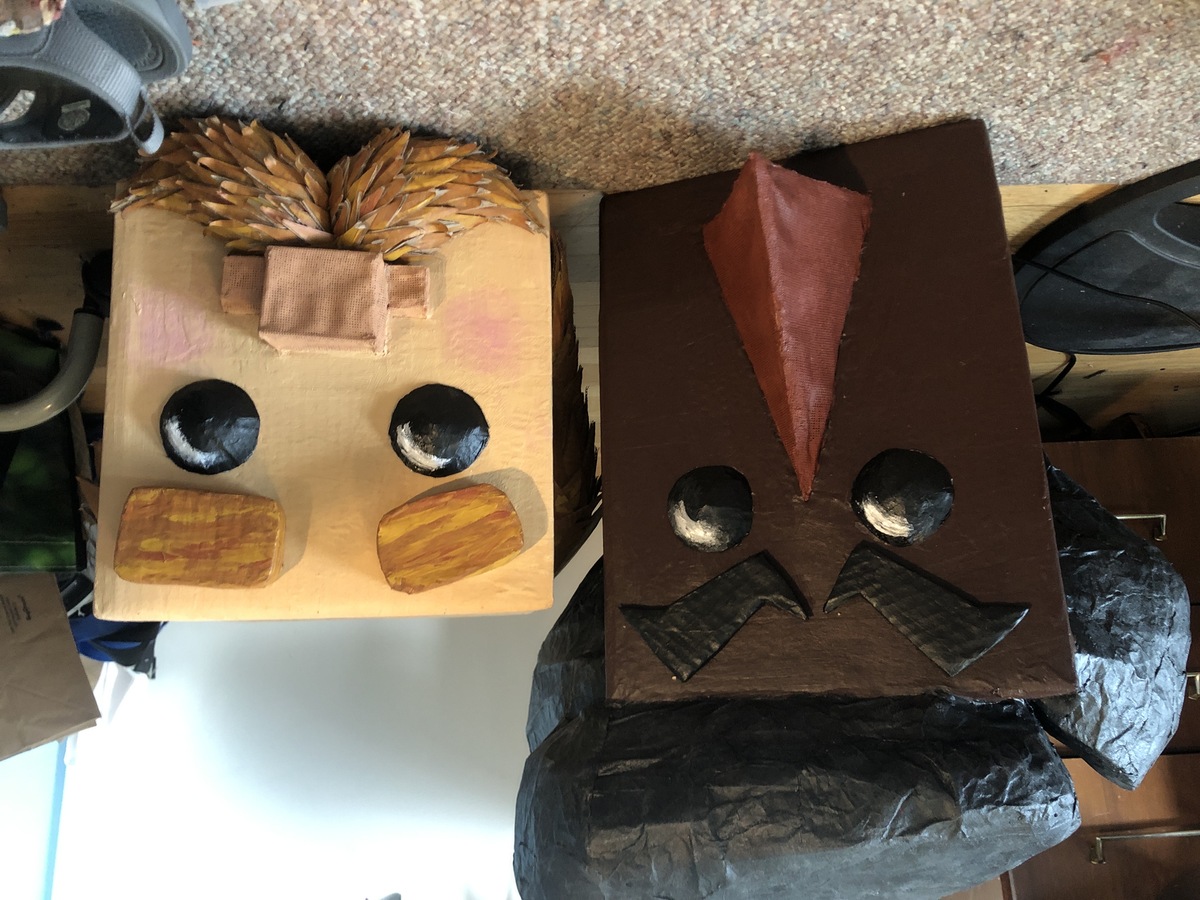
Blockson's eyebrows are big, chunky, 3D blocks to match his puppet. Sherblock's are made of two pieces of layered cardboard for a little extra thickness.
From the beginning, I had wanted their facial features to be pose-able in some way, just like the puppets. It would add a lot of possibility for future photoshoots and interaction! I originally did this by inserting a magnet into the backs of the eyebrows, and allowing a second magnet to float behind on the other side of the box. The magnets I found proved to be too weak for Blockson's heavy eyebrows, and I ended up just glueing them in place on the outside of the box. Unfortunately,they could no longer move up and down, but could still rotate just fine to provide different expressions.
Sherblock's eyebrows, on the other hand, were nice and light, and the magnets held just fine.
With the eyes in place, it was time to paint eye shines. I went through several different versions, first basing them off the concept art, then the puppets themselves, until I settled on a look that I liked.
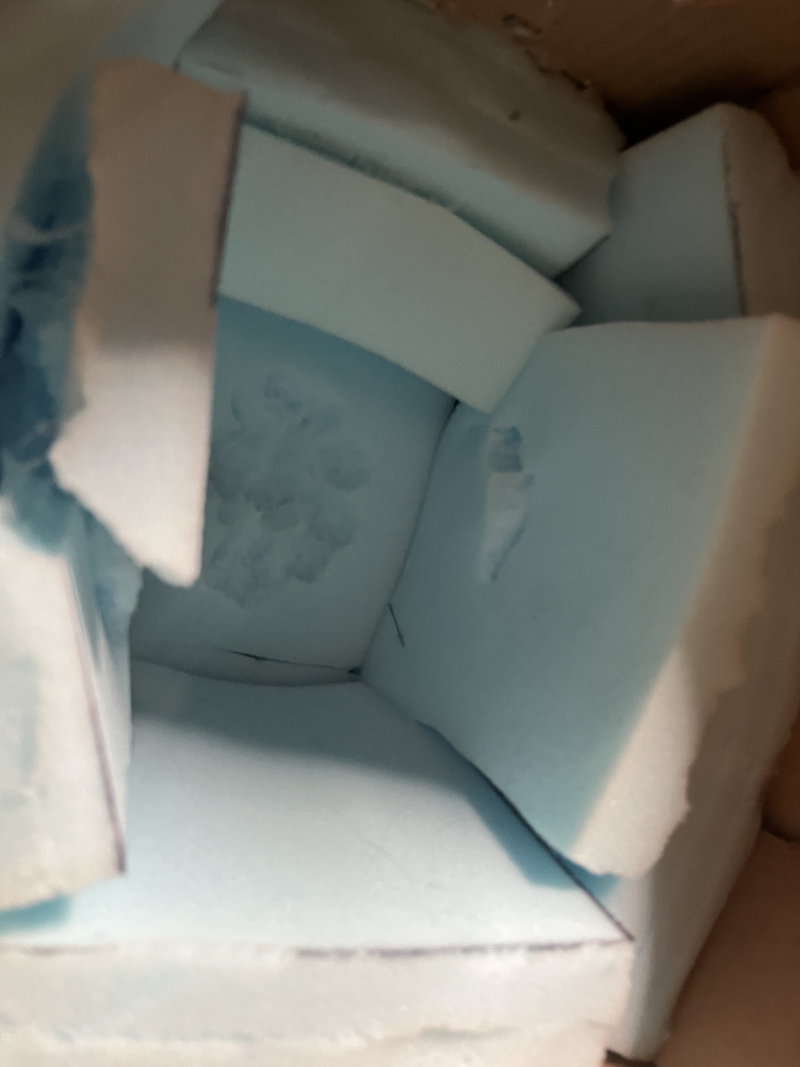
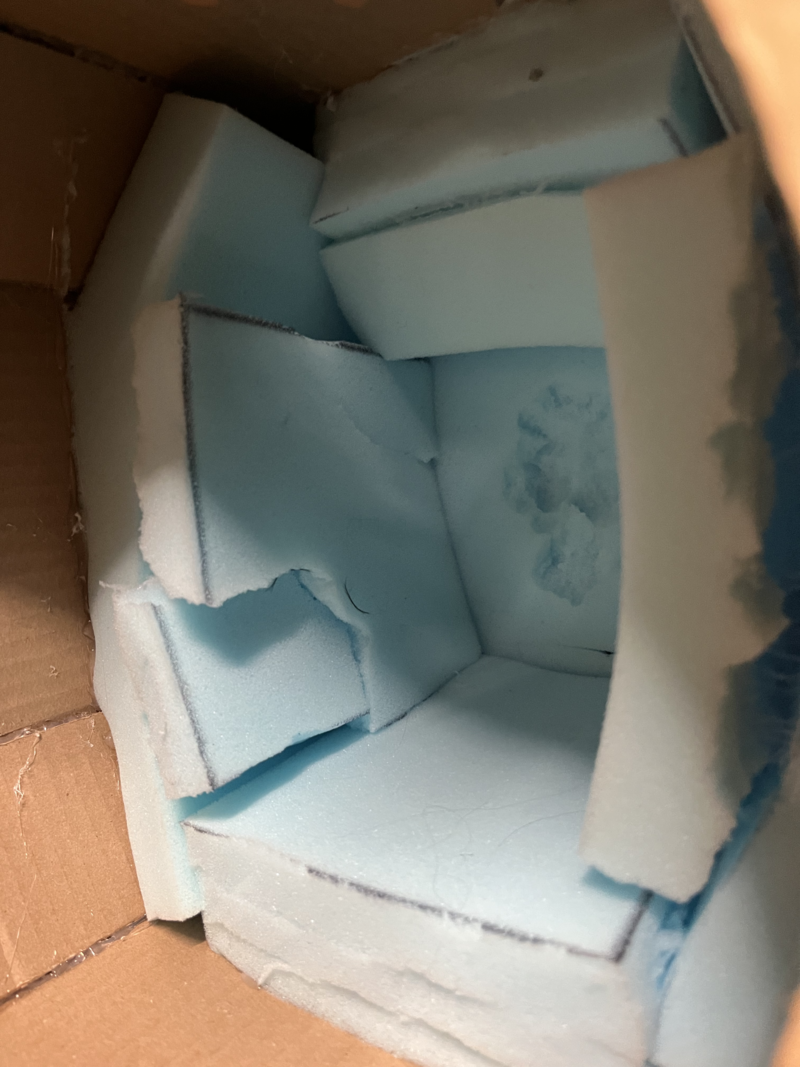
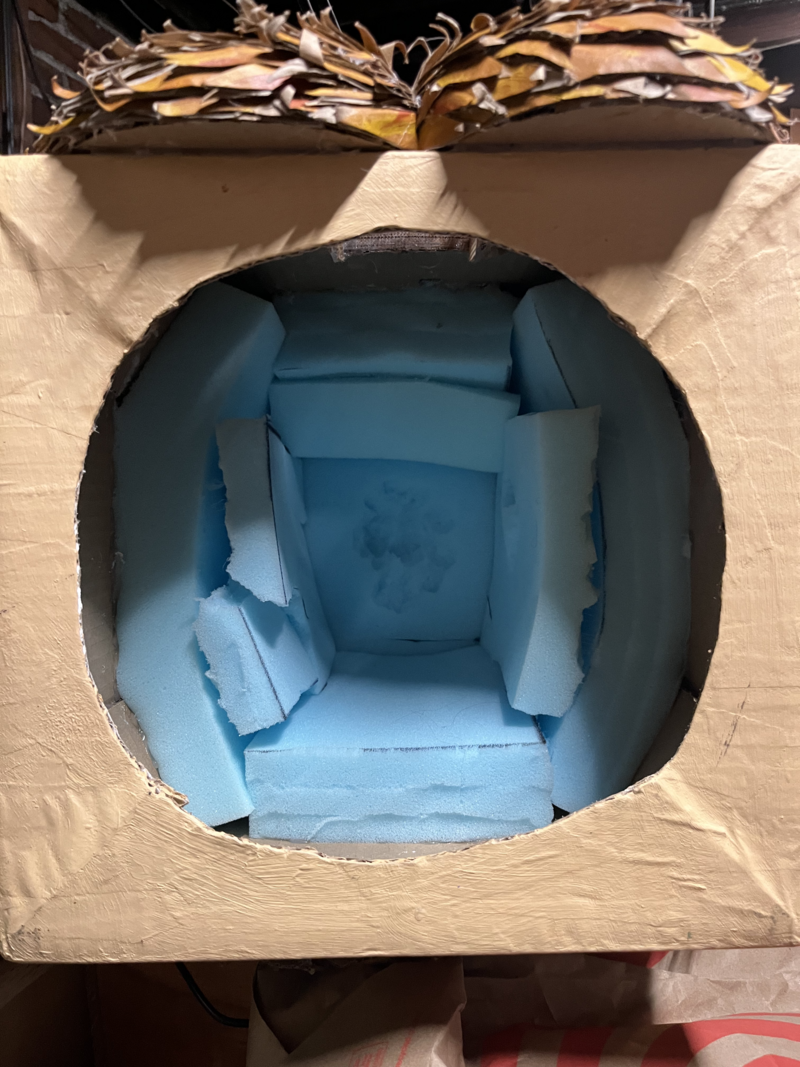
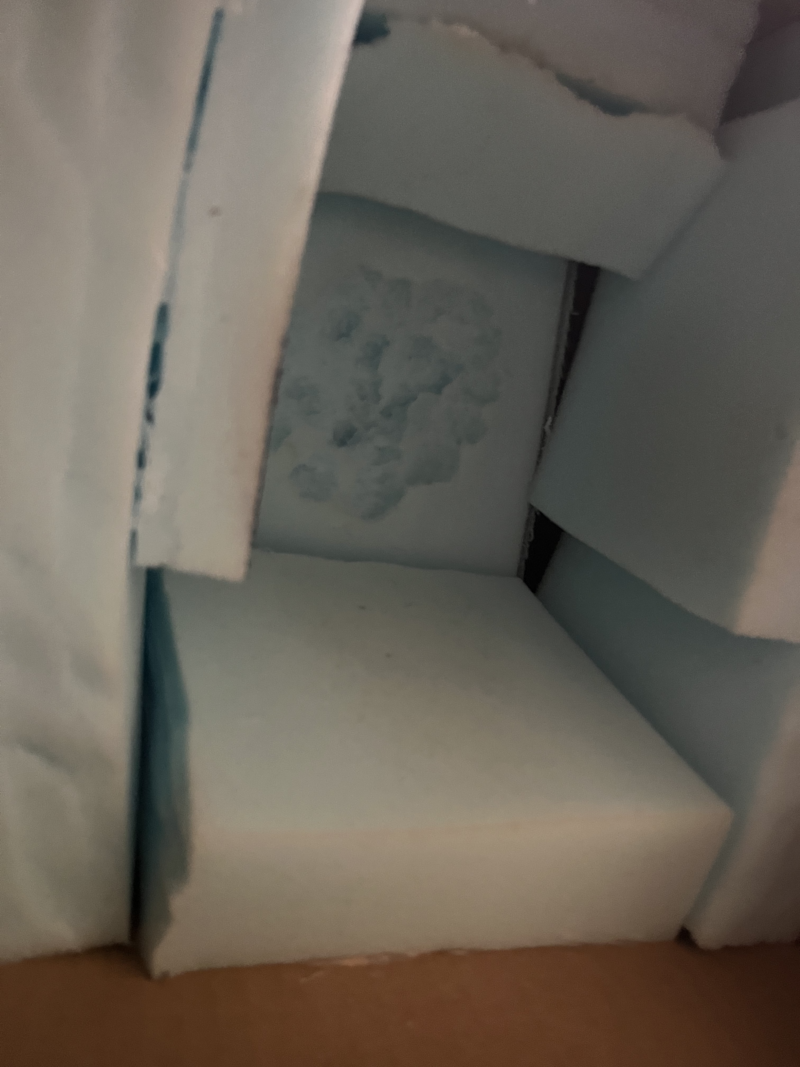
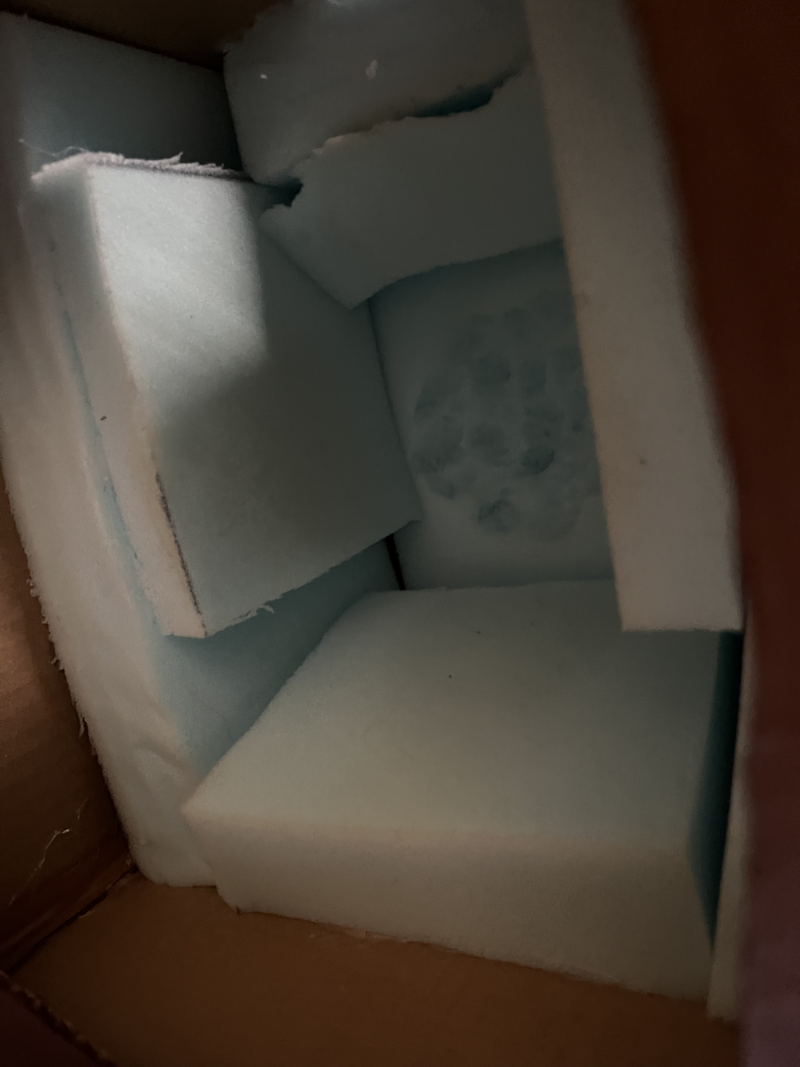
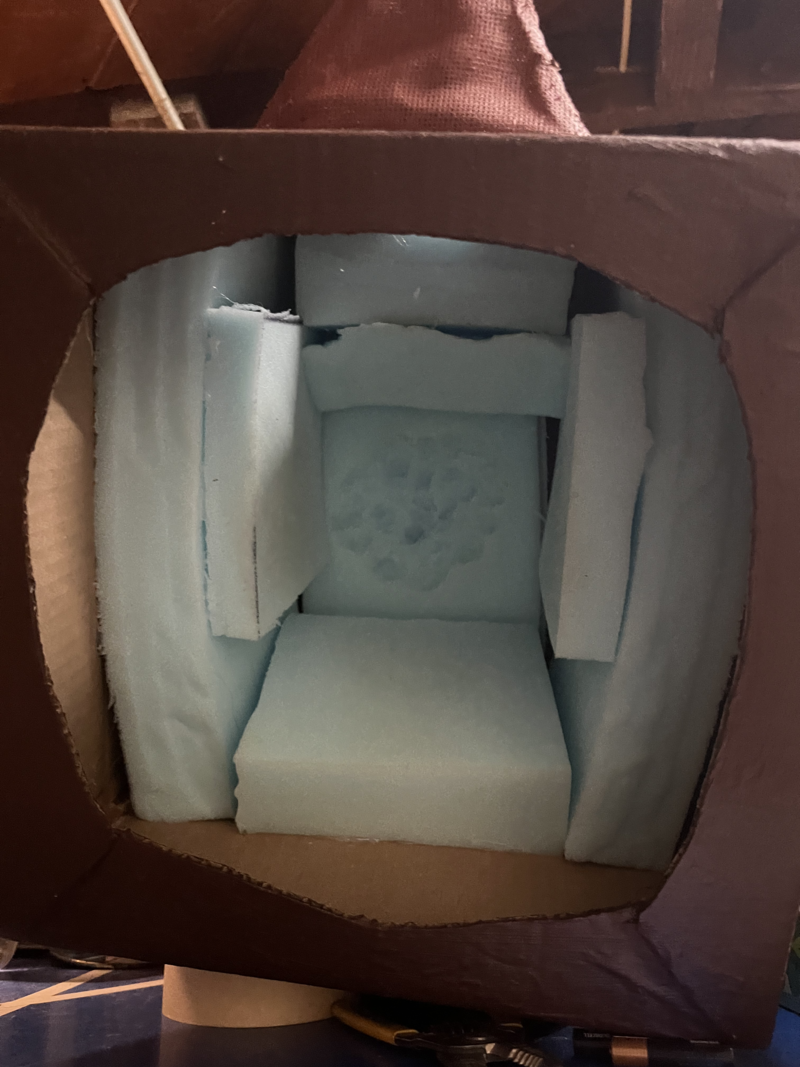
To keep the heads on the actors' heads, I went with filling them with foam just like a mascot head. I got two 18" square sheets of 2" thick furniture foam, sold for replacing the cushions in old seats I believe, and it was the perfect amount for the two of them. I started out by building a false top of sorts in Sherblock's head, since he was 4 inches taller than Blockson I didn't want to have to fill him with 4" more foam. So he has a piece of cardboard spanning the width in there, with cardboard legs to keep it supported and even.
I started off giving each head a strip of foam down the center, then along each side, and continued building it up until it fit me decently. I knew the actors would have different sized heads than I did, so I prepared to do some adjusting while I was there. This is why the end result is a little choppy, since the cutting tools I had on location weren't the best nor sharpest. But after taking some off the top of the head on each and adding a little more padding to both sides inside Blockson, they held on pretty well!
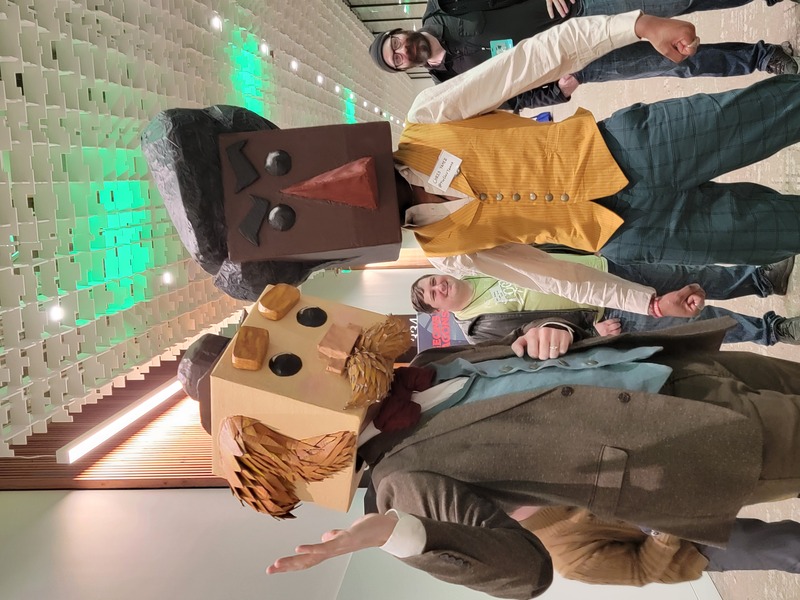
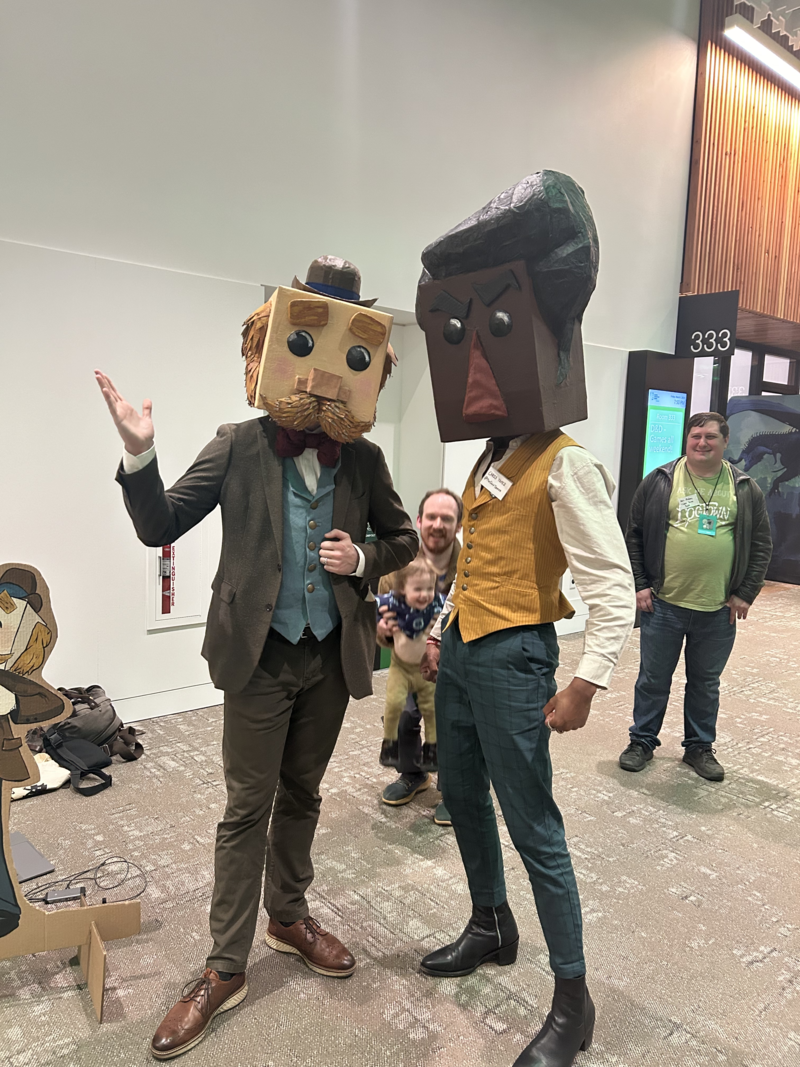
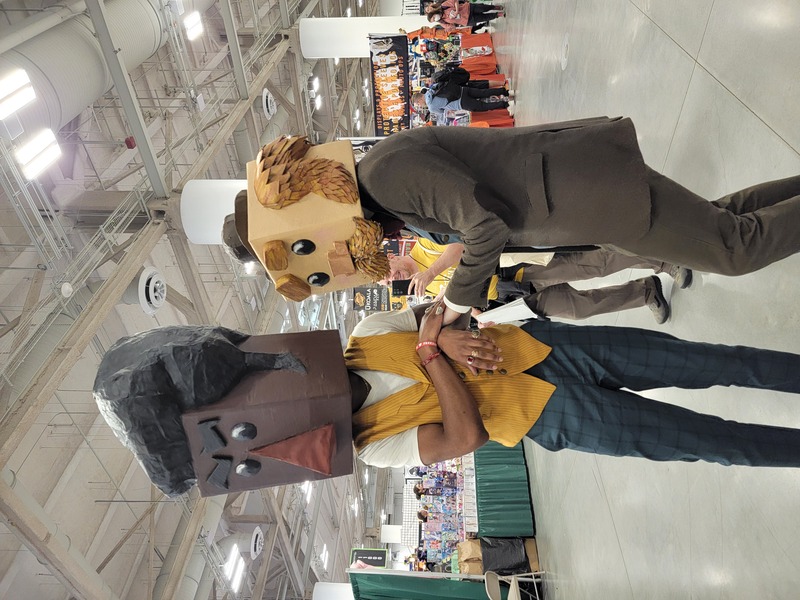
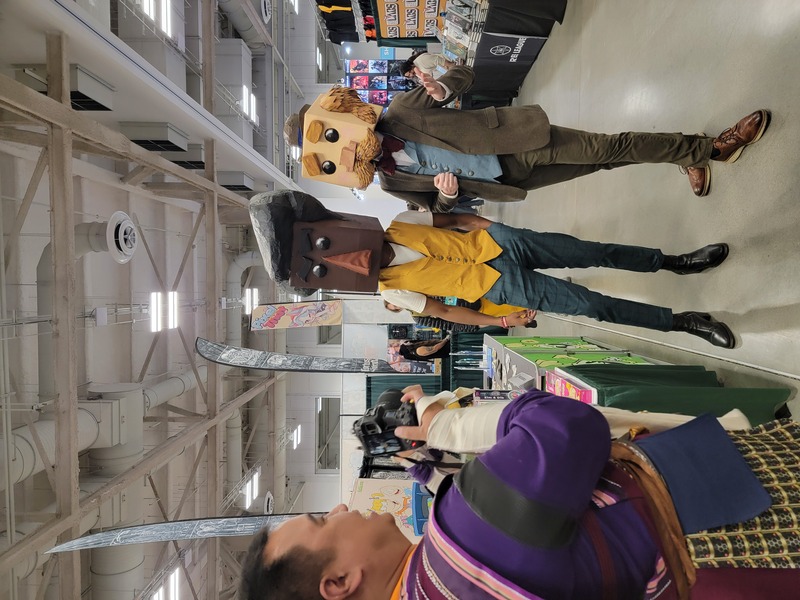
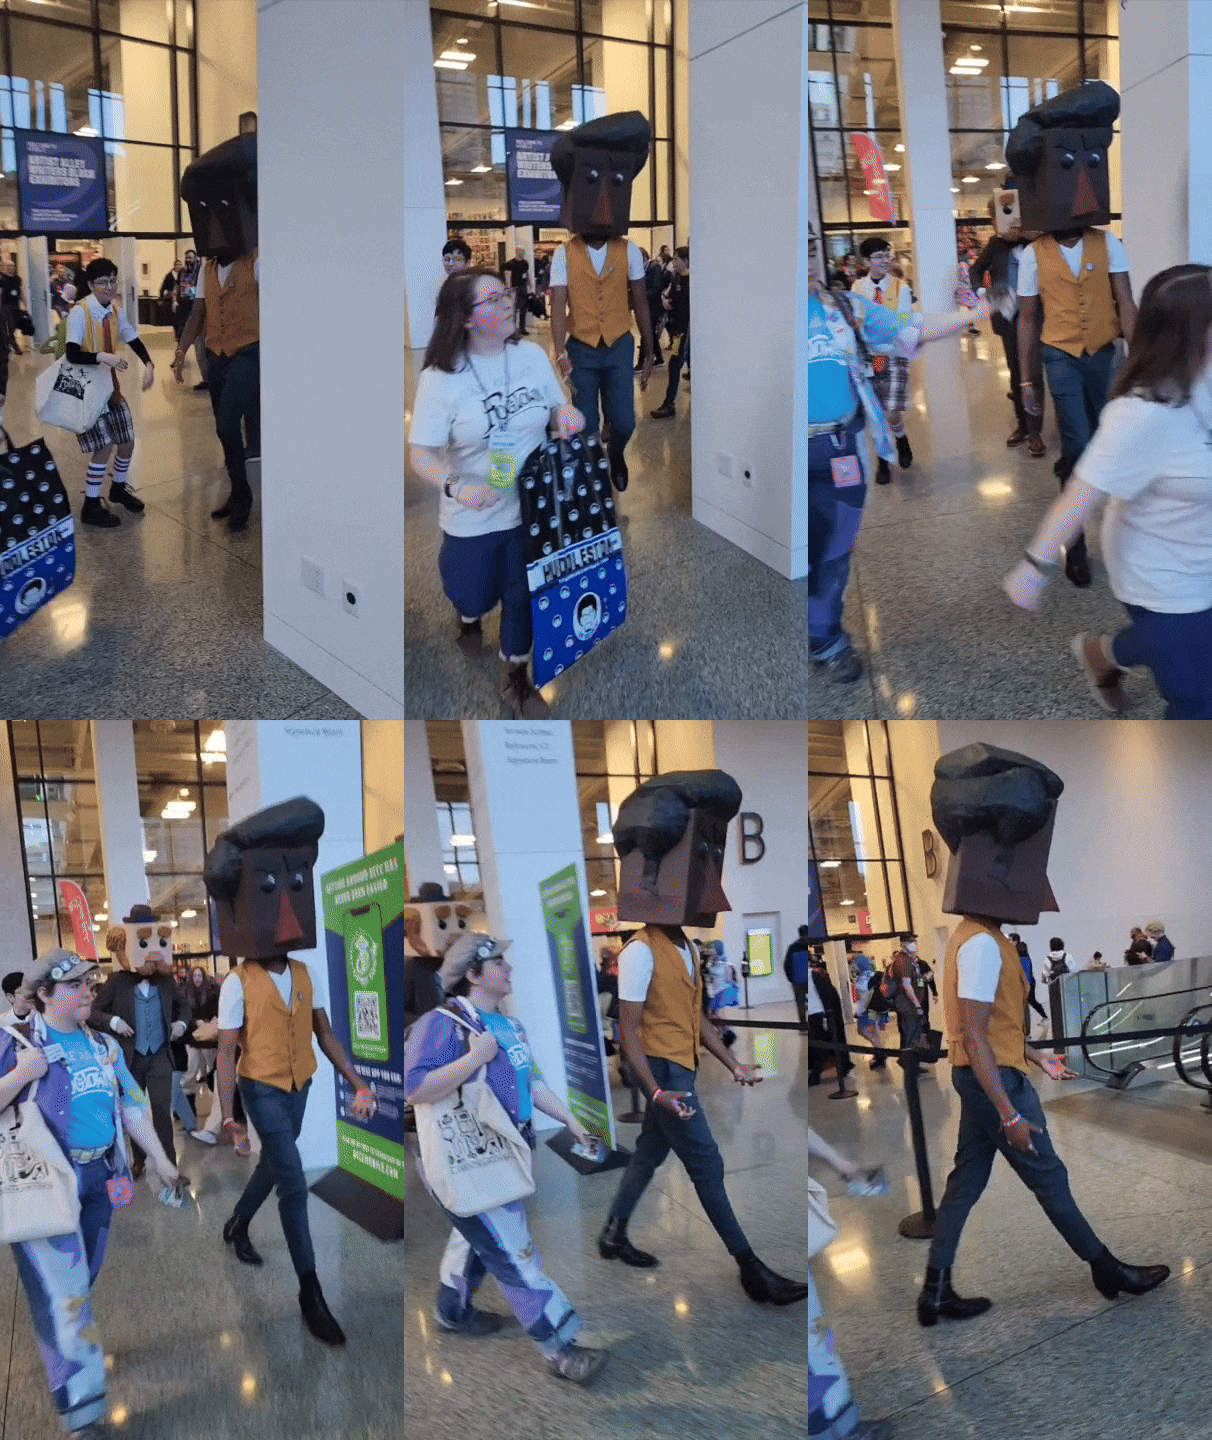
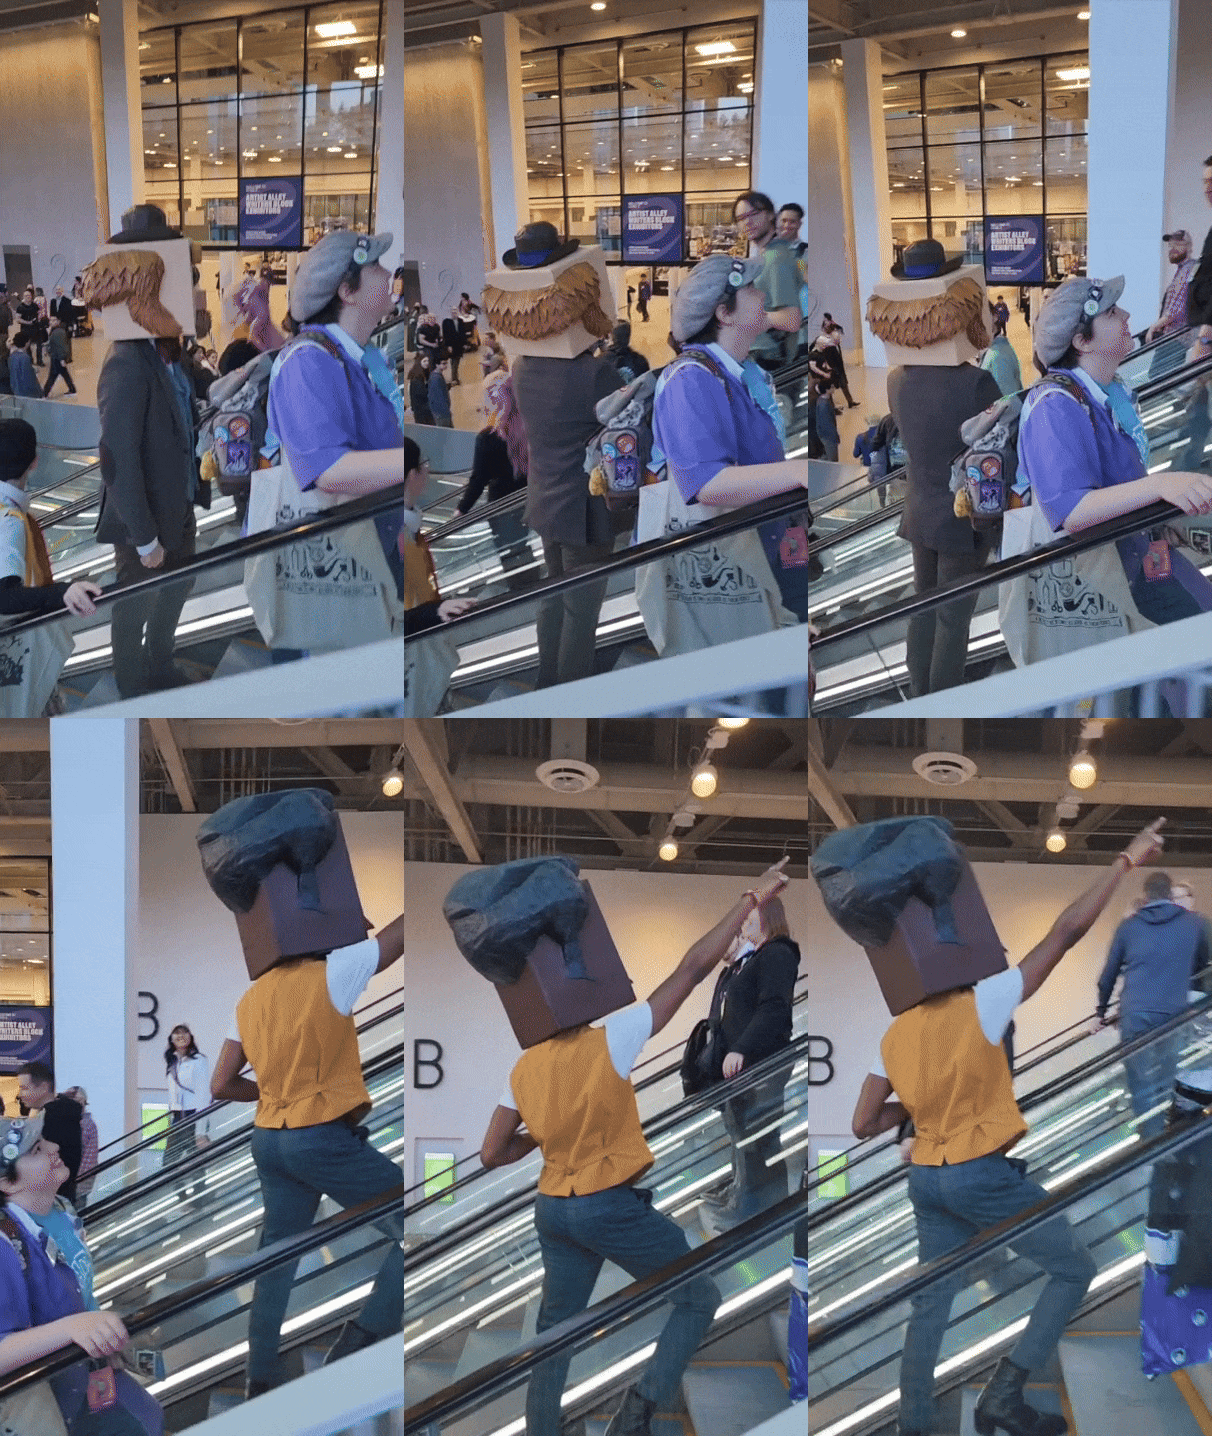
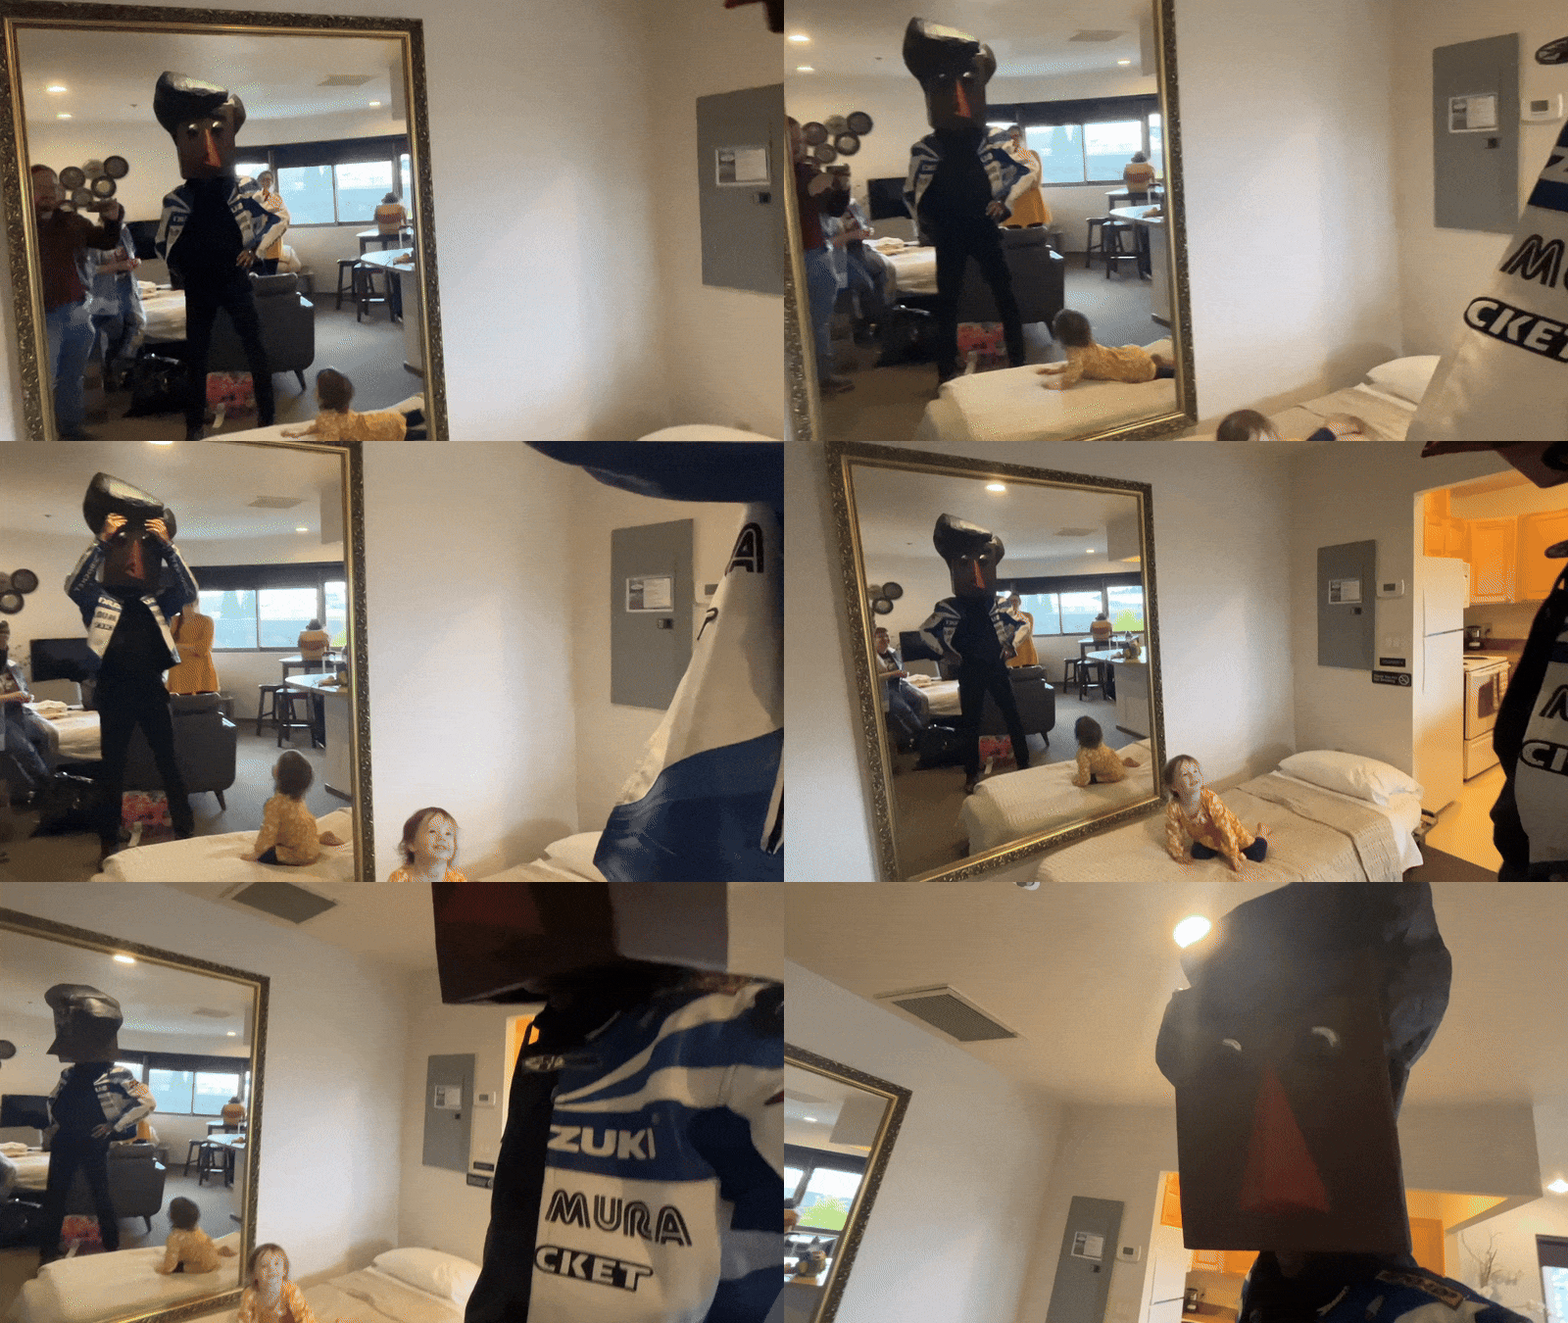
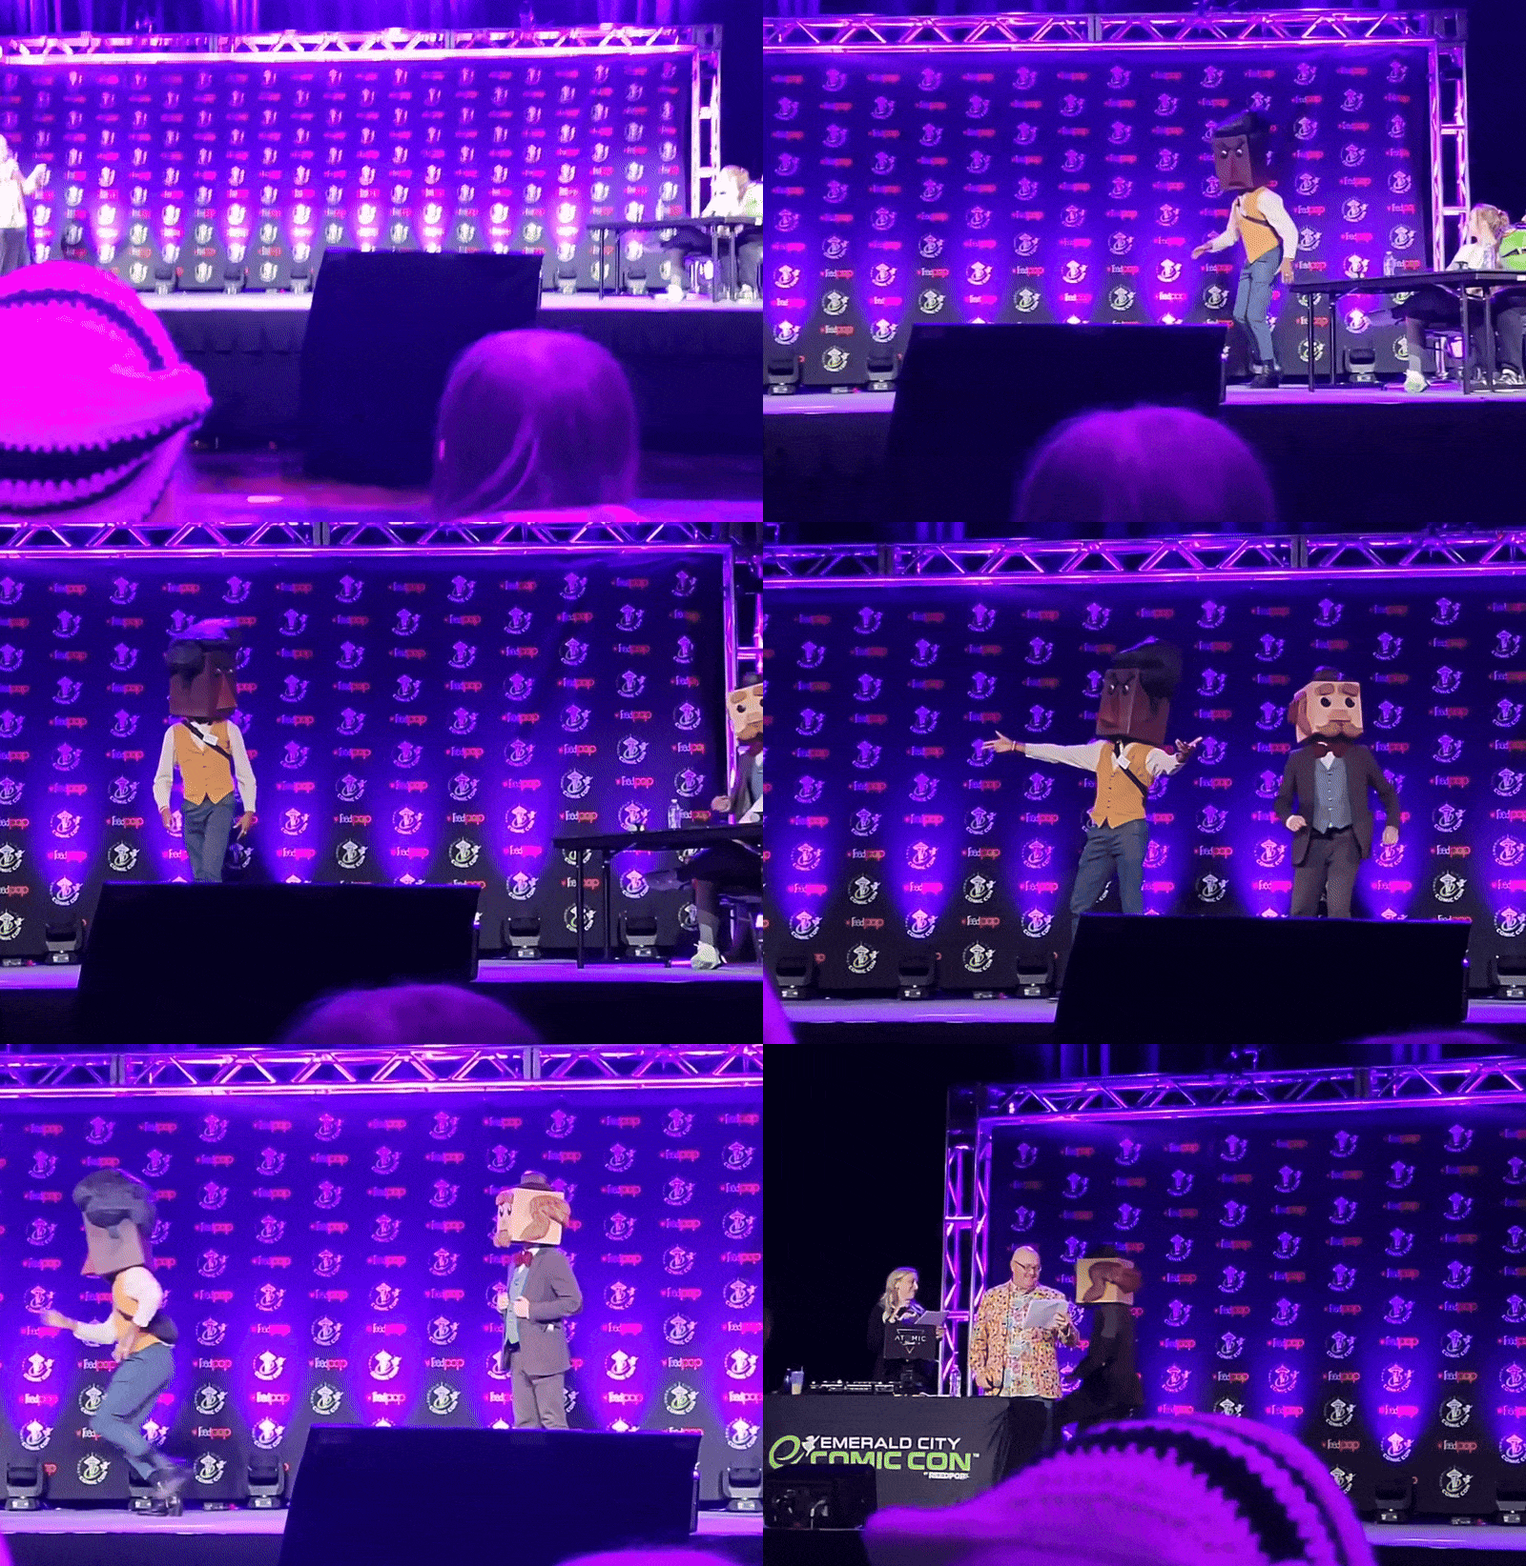
No extra spinning and wobbling when the actors turned their heads, that's the important part. The mesh noses worked really well, both of them said they could see perfectly fine to get around and only had issues missing things that were to either side, or bumping into each other if they got too close. But that is unavoidable here. For people who aren't used to wearing masks and low-vision costumes, I'd call that high praise that they were so comfortable. And Chris continued to wear his throughout his time at the convention.
External links
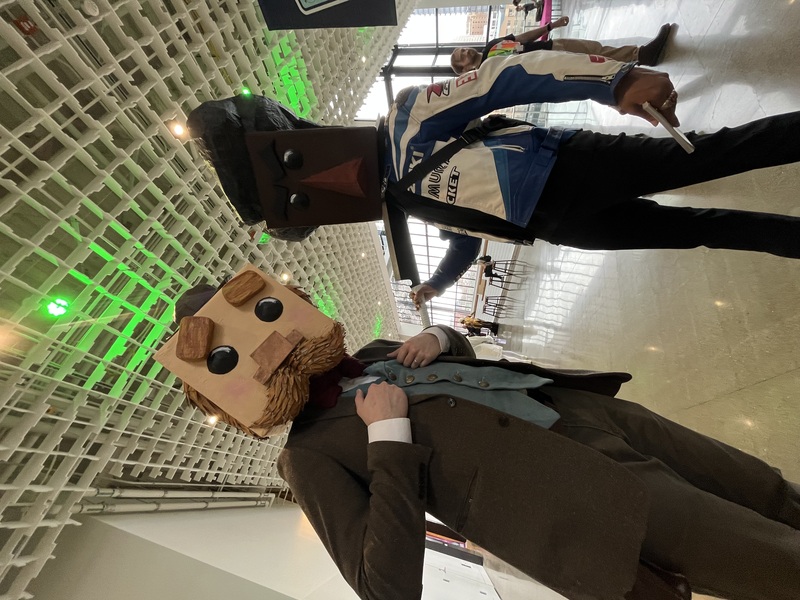
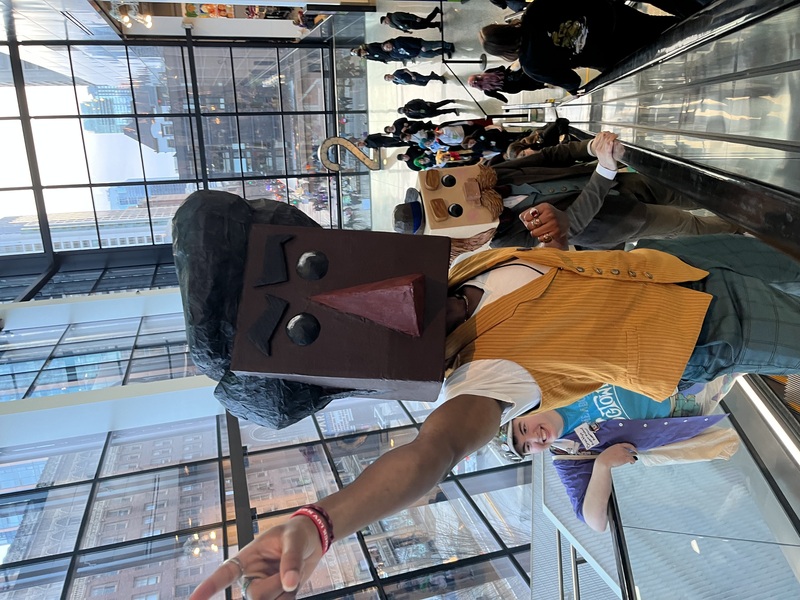
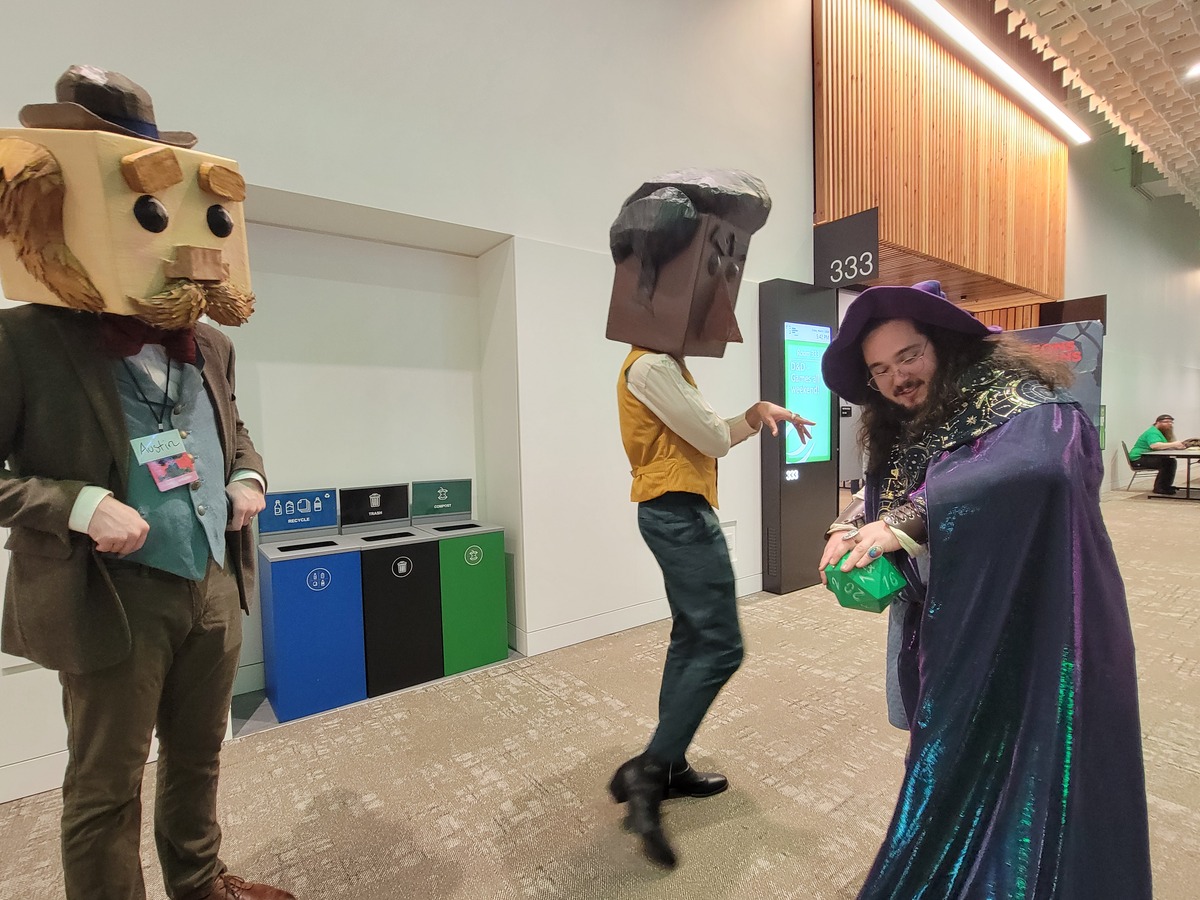
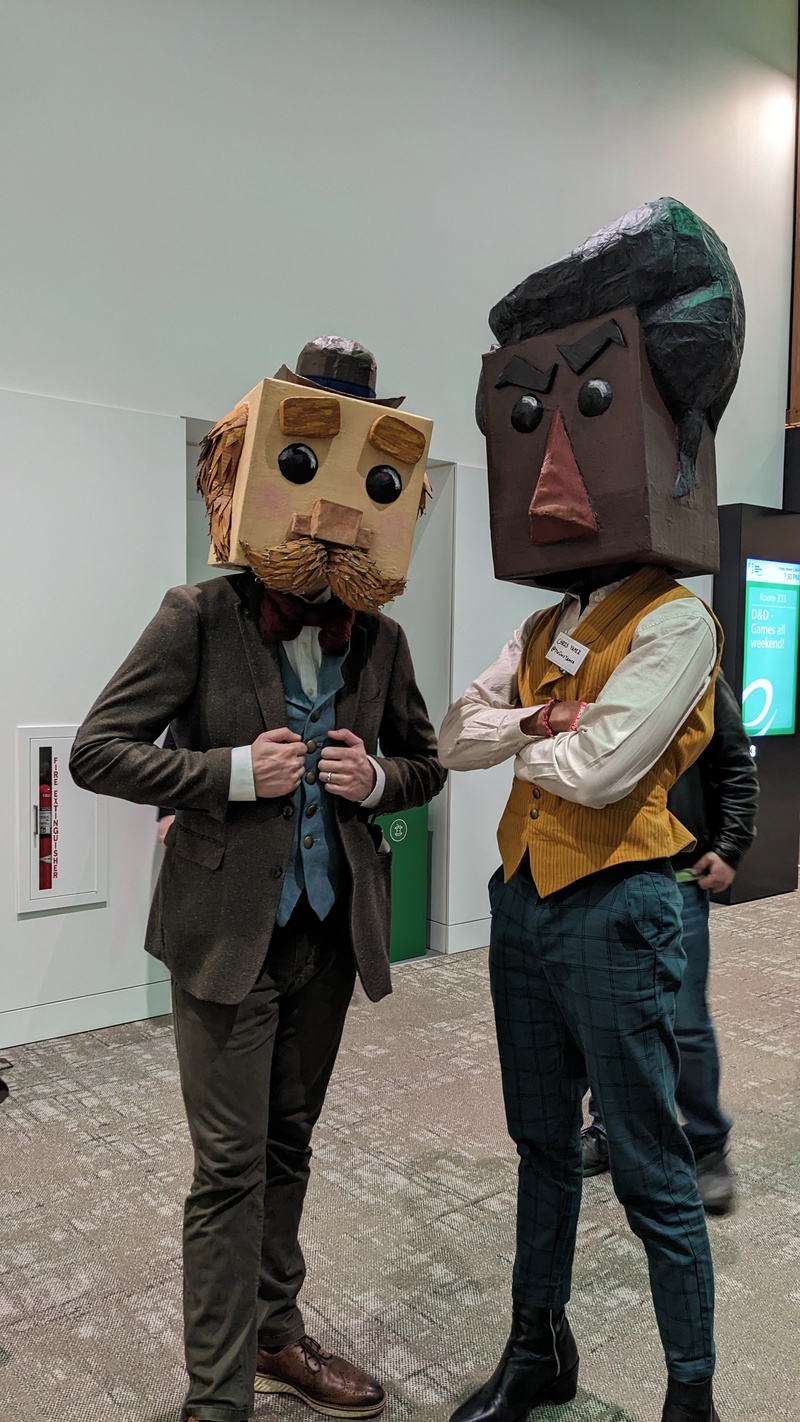
Emerald City ComicCon, Feburary 29th - March 3rd 2024

 Website template: