Ghost Mask
2025
Gallery
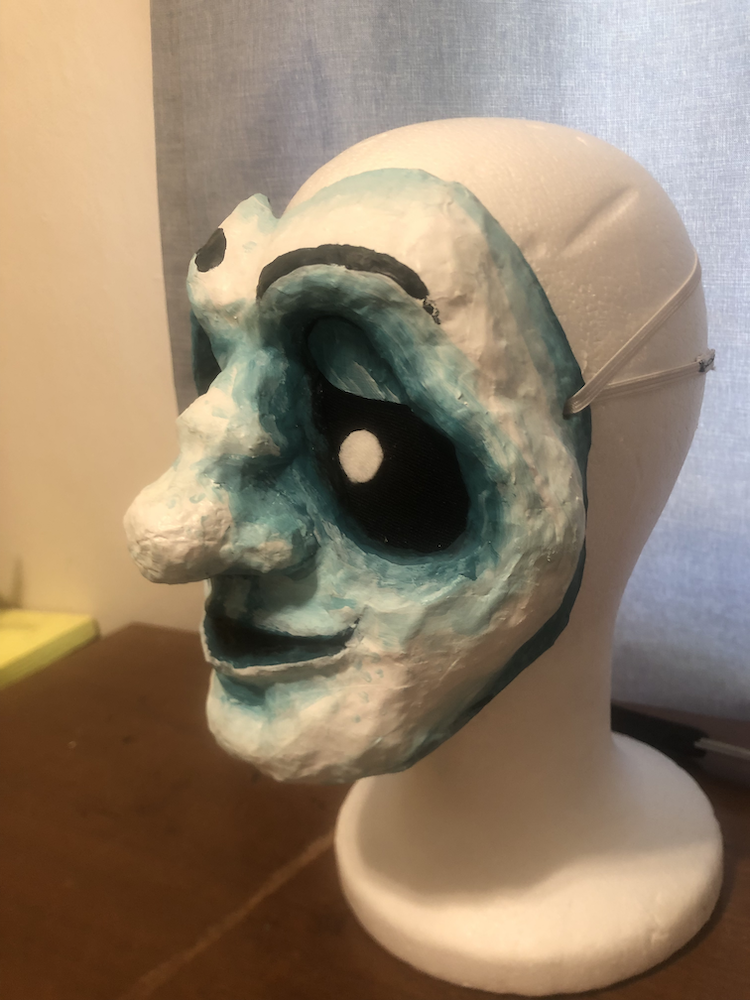
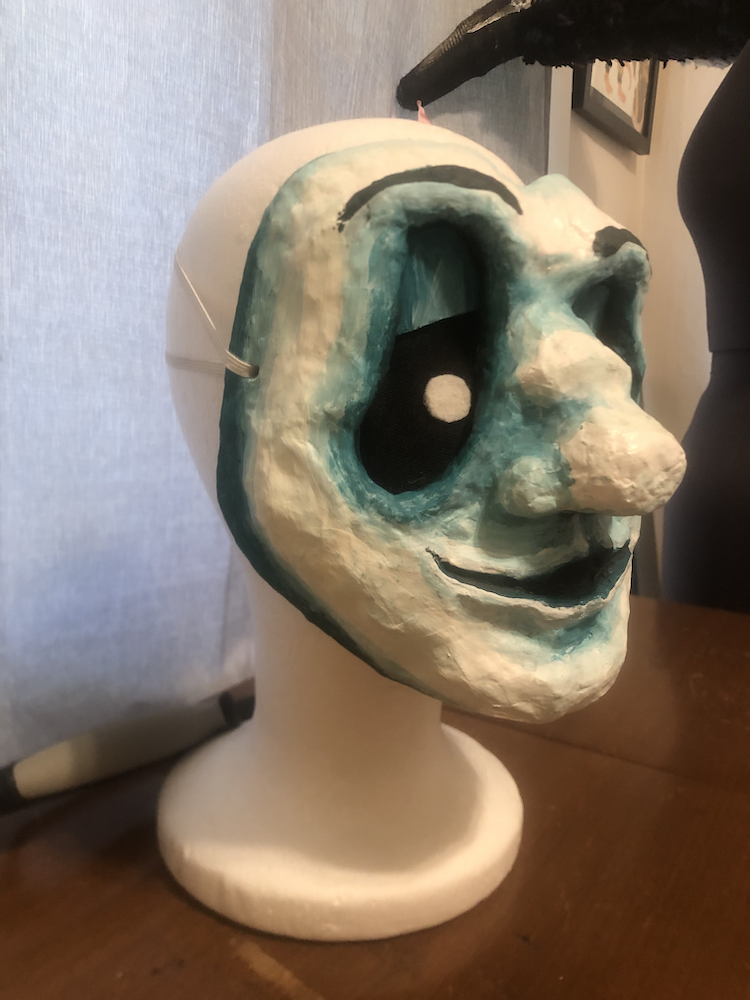
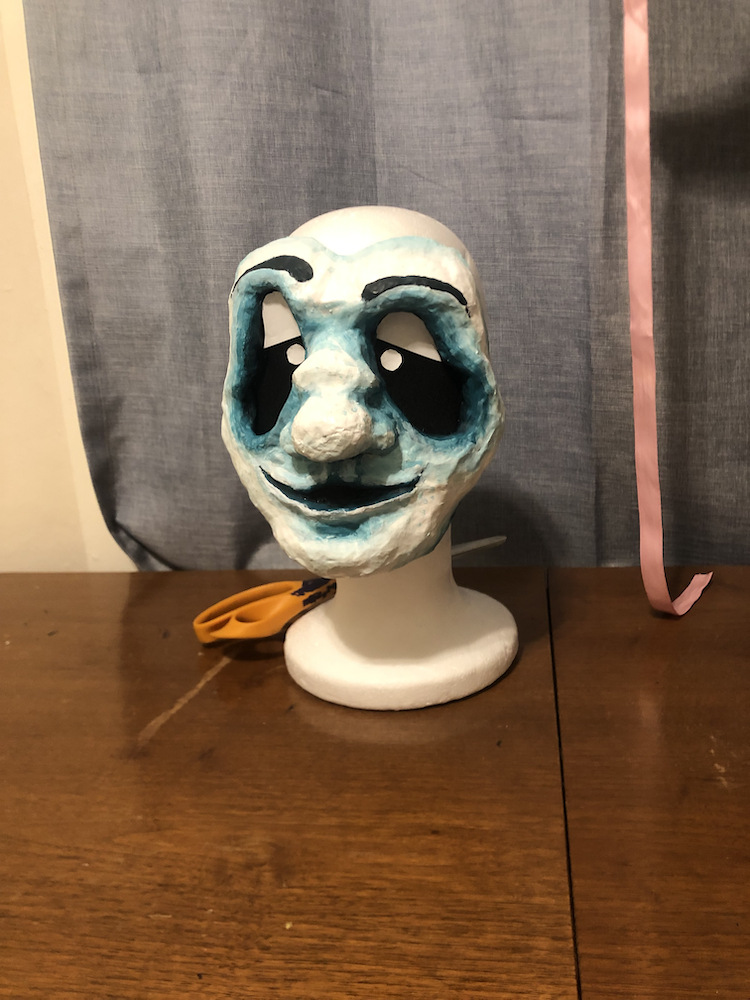
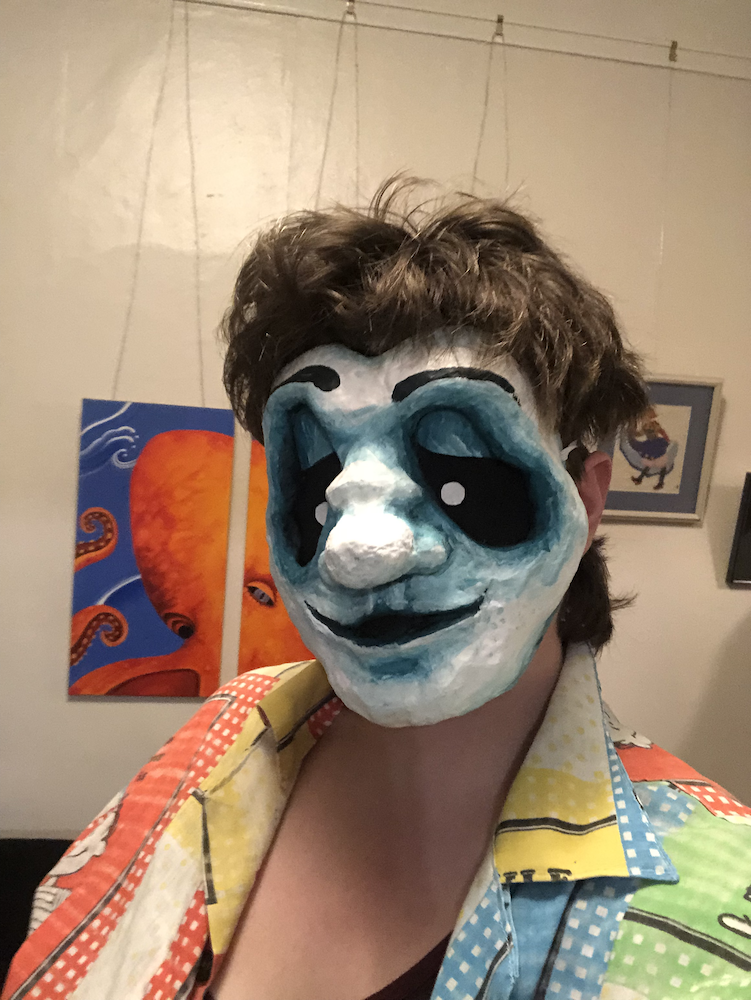
With Eyelids
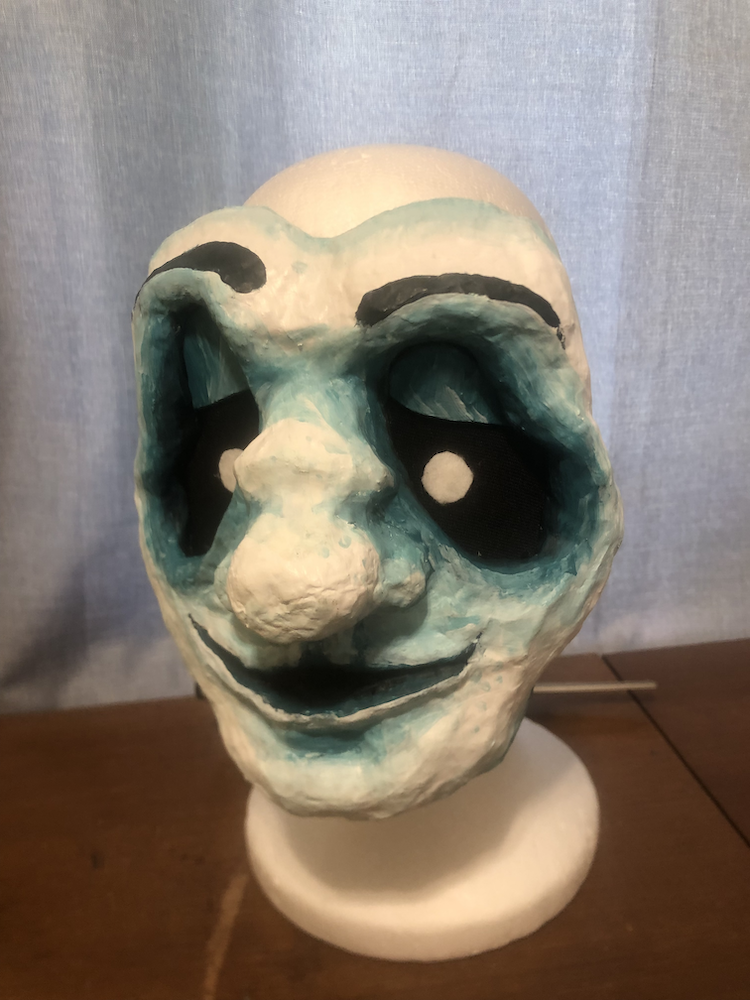
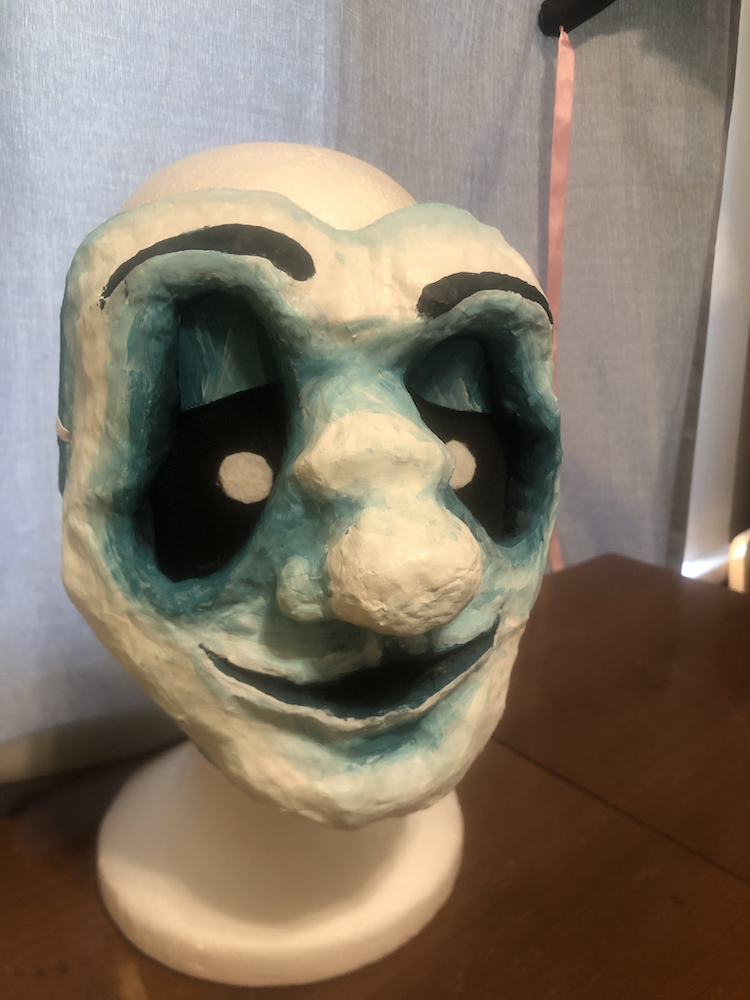
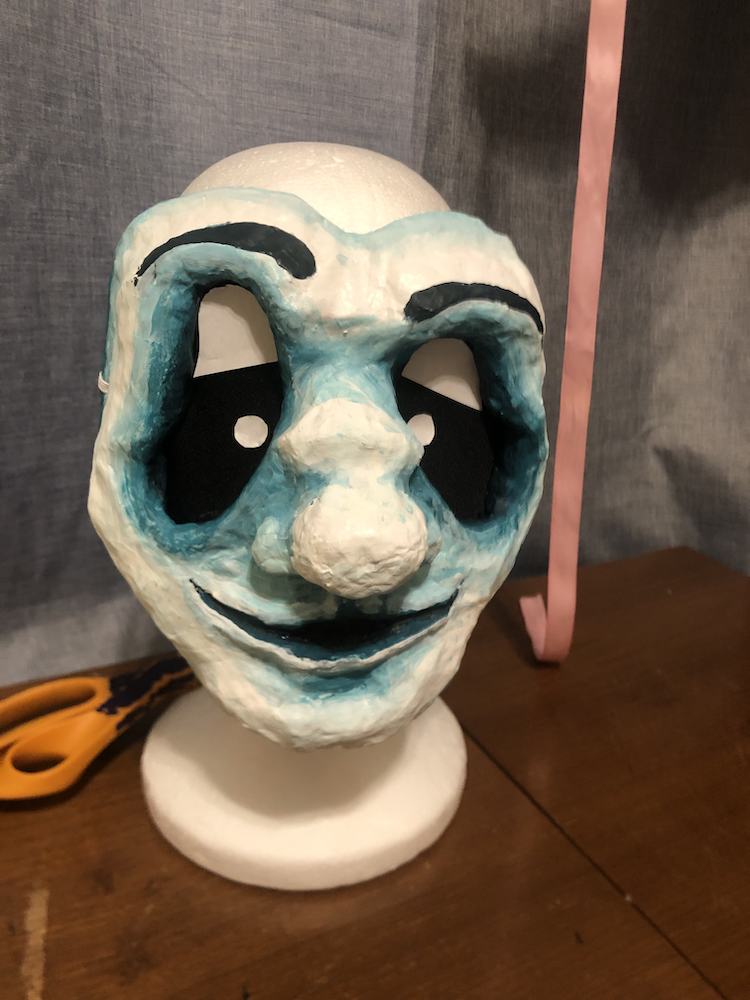
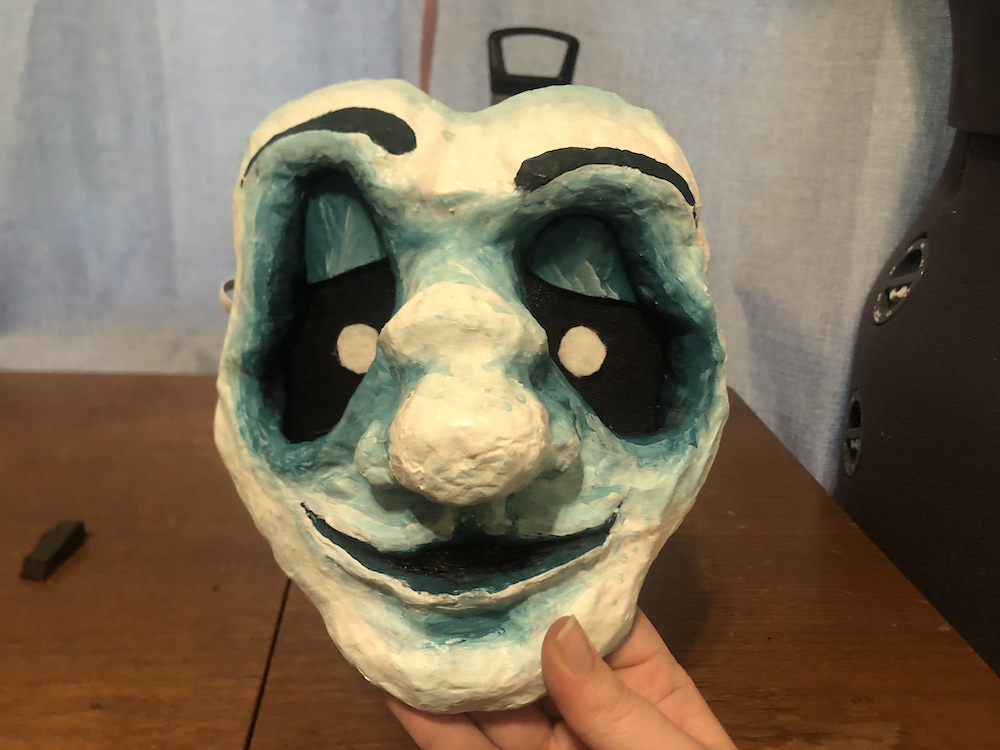
Without Eyelids
Process
It's about time I made a papermache mask! All of my animal masks are so bulky and the eye holes hared to see through, so I set out to make a ghost mask similar to November's art of Marlo and my own ghost persona. And no, it isn't based on any existing more popular ghost masks. Though, like all my ghosts, I pull some style inspo from The Haunted Mansion and the Ghosthunters illustrations. I used this carboard mask pattern as a base, making it out of cardboard first before editing it for my needs.
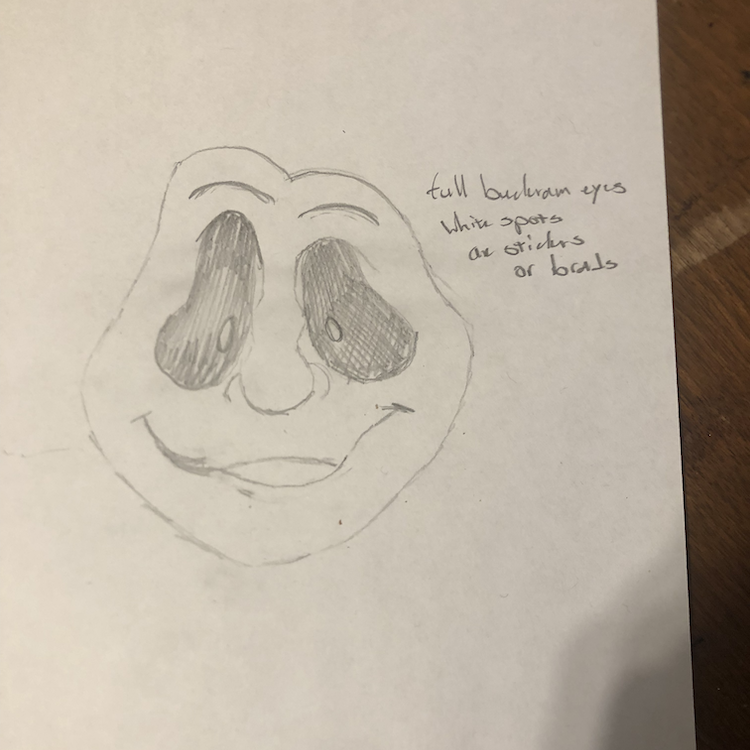
Initial sketch
Sculpting
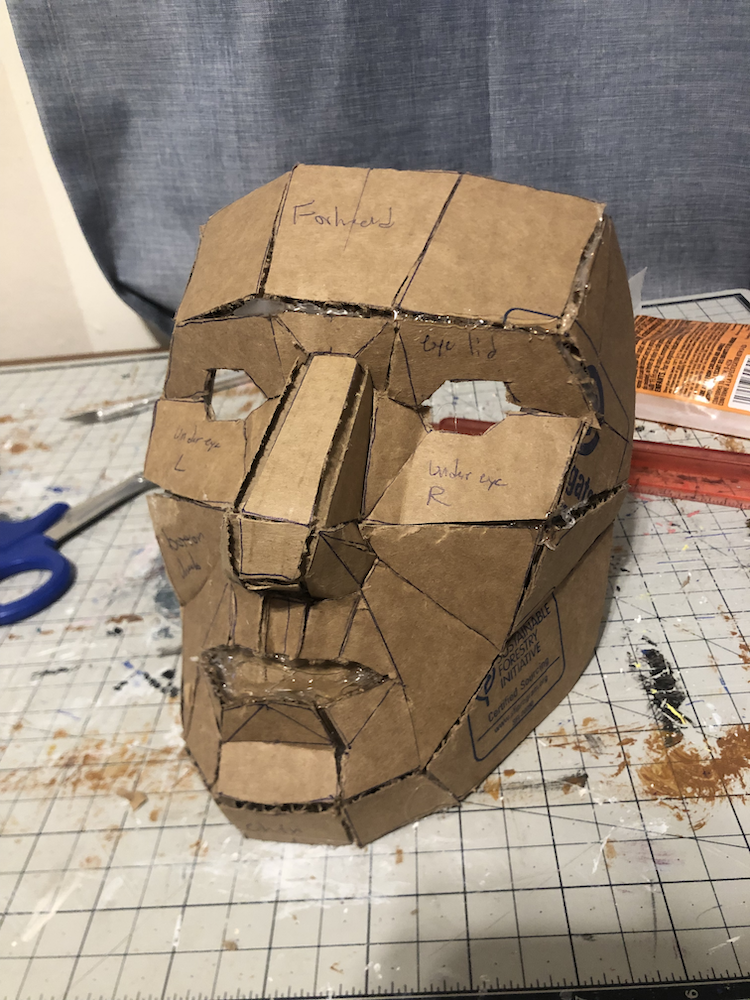
Cardboard base in its original form, no edits
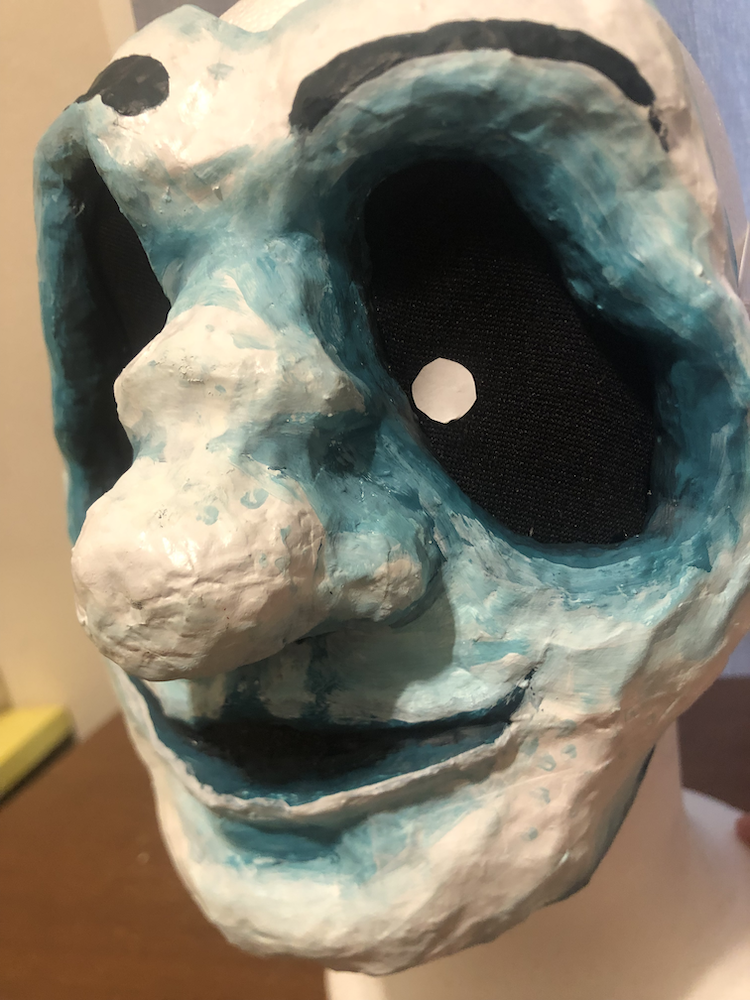
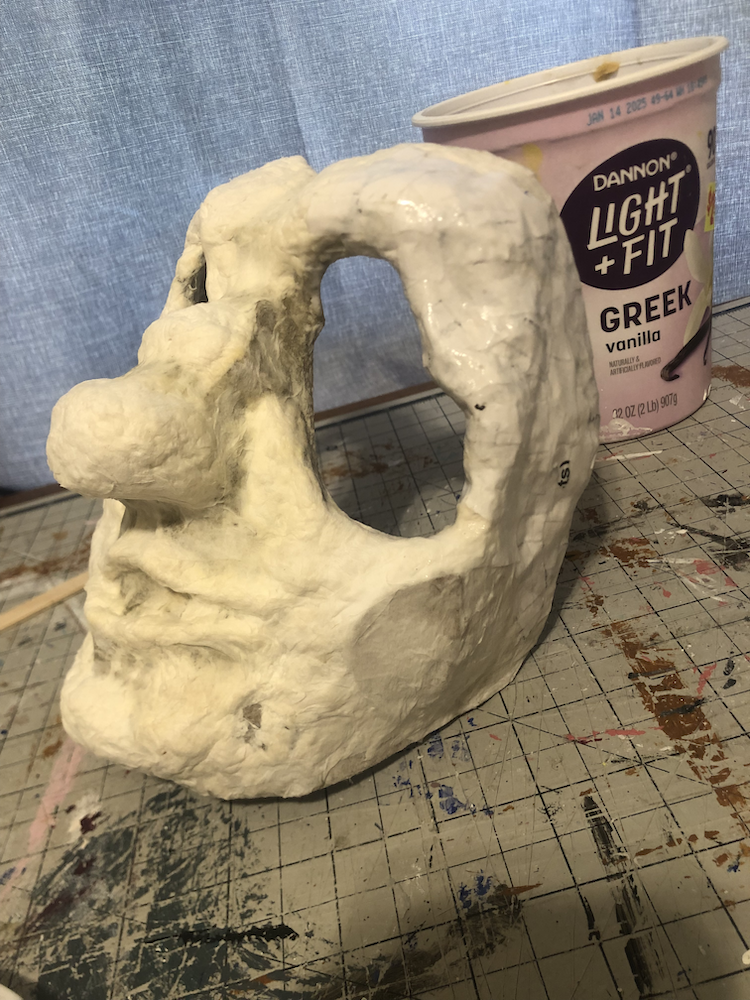
I knew I wanted the large ghost eyes, so I started with tose cutouts first. Using paper clay made from tp and white glue, I started sculpting in the features and rounding out the sharp corners of the pattern. Of course, I had to add my trademark diamond shape to the bridge of the nose.
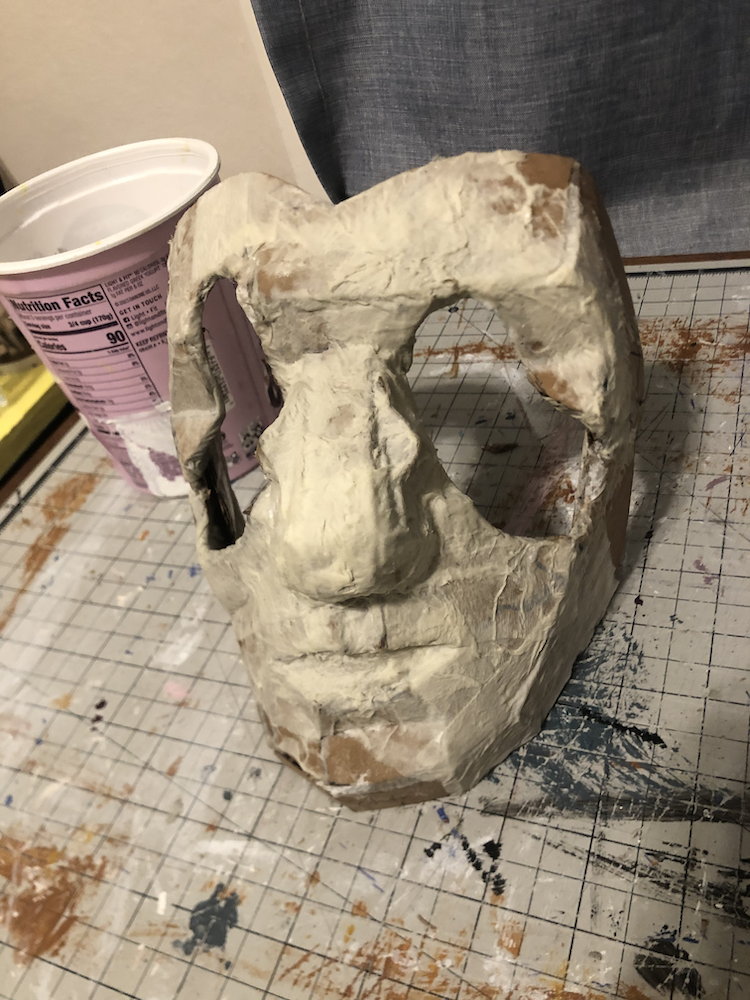
Cardboard and early layers
After some clay shaping
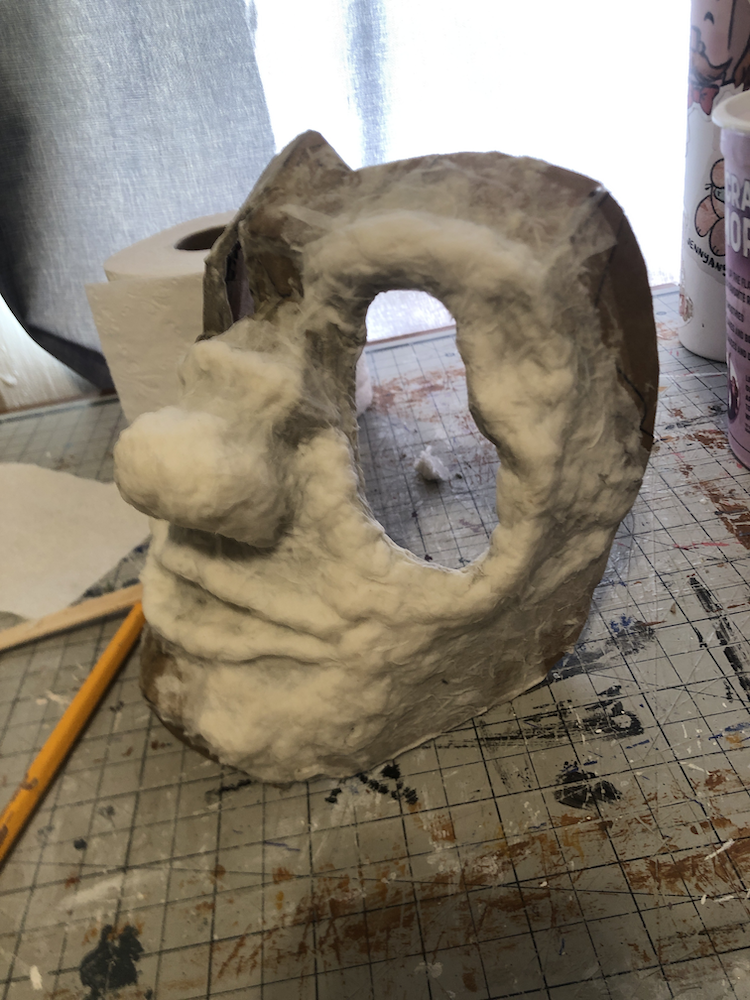
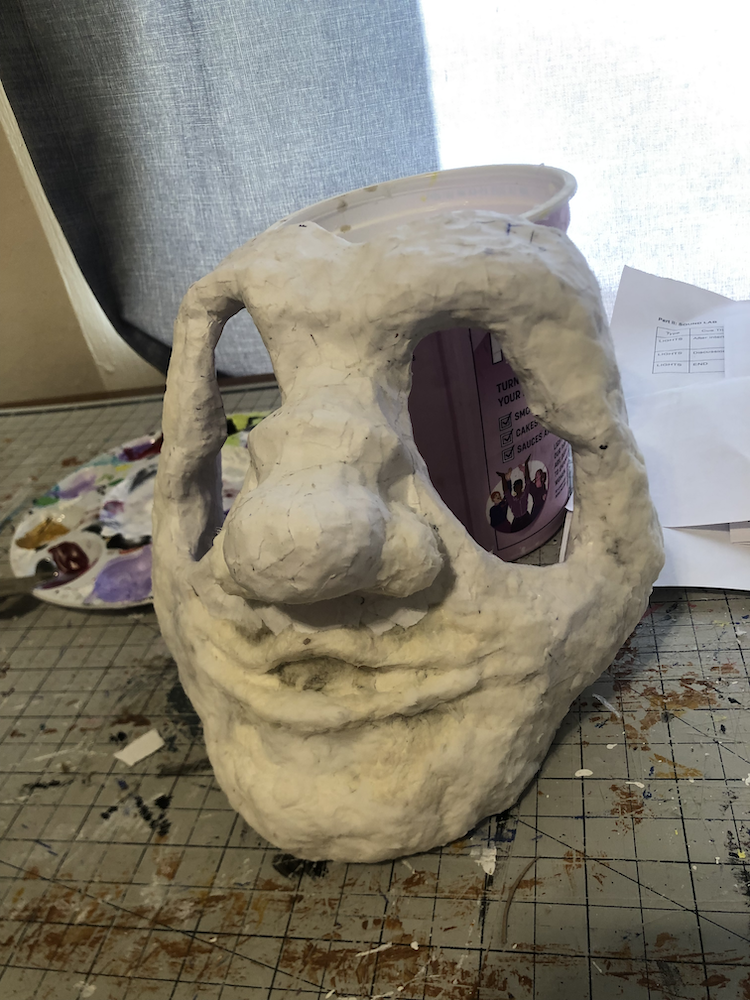
This mask took me about a week, given that I could only work for 2-3 hours max before I would be forced to leave the project to dry (the thickest part of the nose took ovr 24 hours alone). I did more rounds of shaping, building up cardboard where I knew I needed more bulk and structure. After most of the shaping was done, the last layer is paper mache'd on with scrap white printer paper to smooth out the texture.
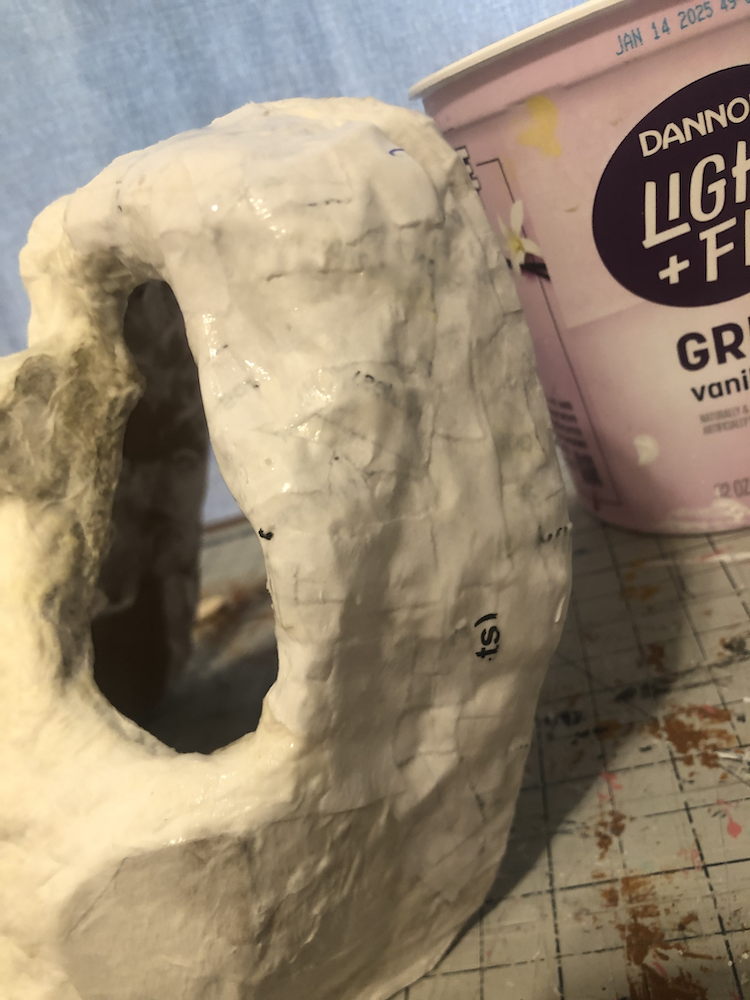
You can see the texture difference here with the white paper
Gotta test it, of course!

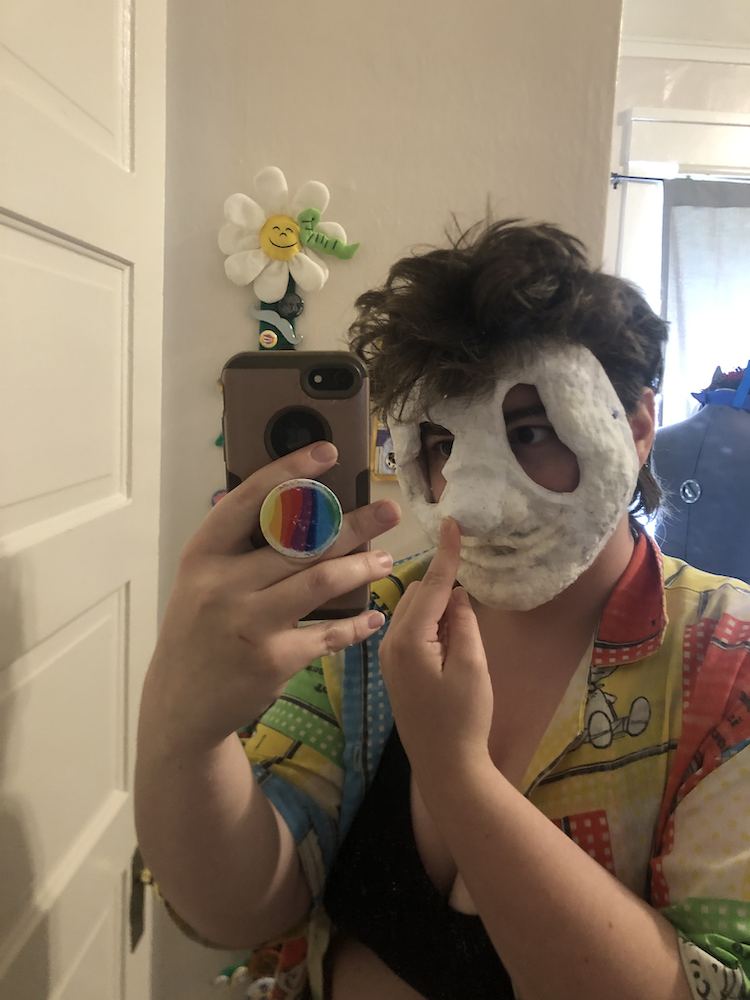
Yes I went back and added more sculpting ontop of my final layer, this is far from a streamlined process
Painting
I am so sad I'm running low on the lovely teal paint I've used for Marlo, Dehlia, and now this mask. It's simply the perfect color for a ghost!!! Since it's mainly cyan, I can't make it easily with the colors on hand either. So I'll have to bite the bullet soon and either buy more of this color or some cyan to mix.
When I'm painting faces, I start by blocking out the darkest shadows.
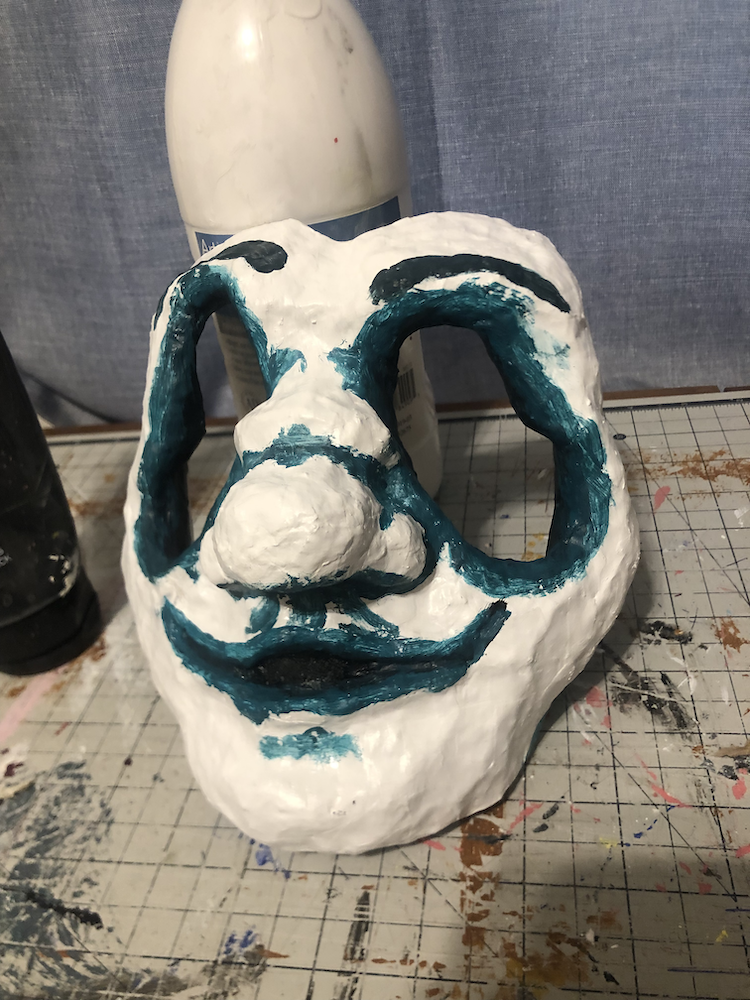
This is what we call trusting the process
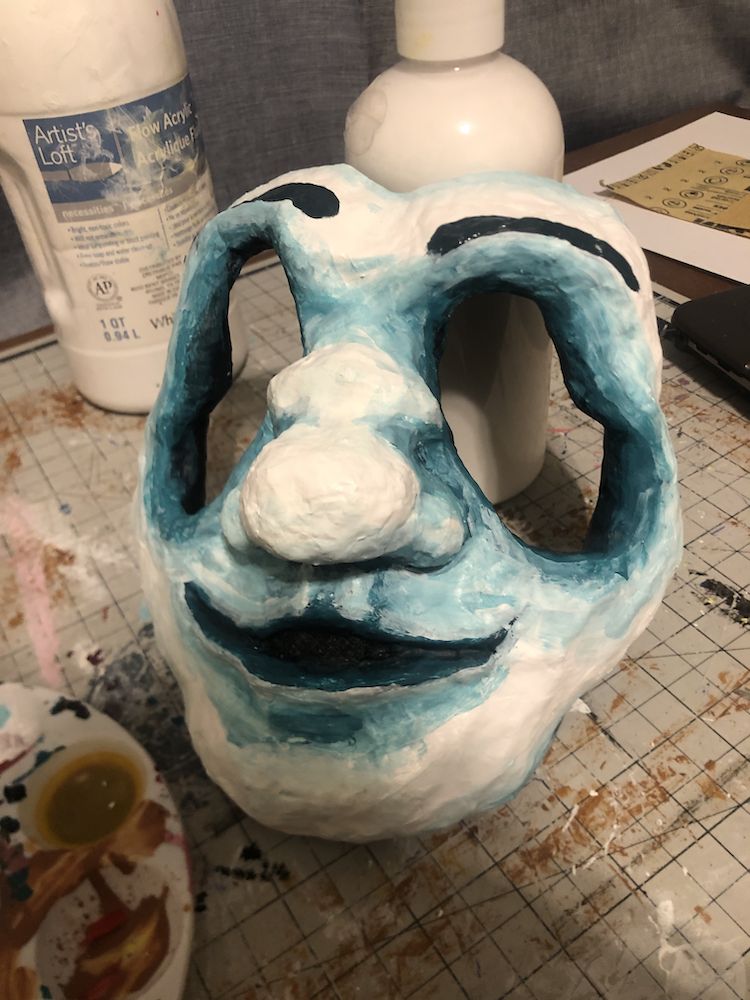
Next, I go in with a mid shader tone, and wet blend it with my base (in this case, the whole face is white, so the base is white and I don't have highlights on top of that. But next would be highllights). The mix of dry and wet blending is a back and forth process.
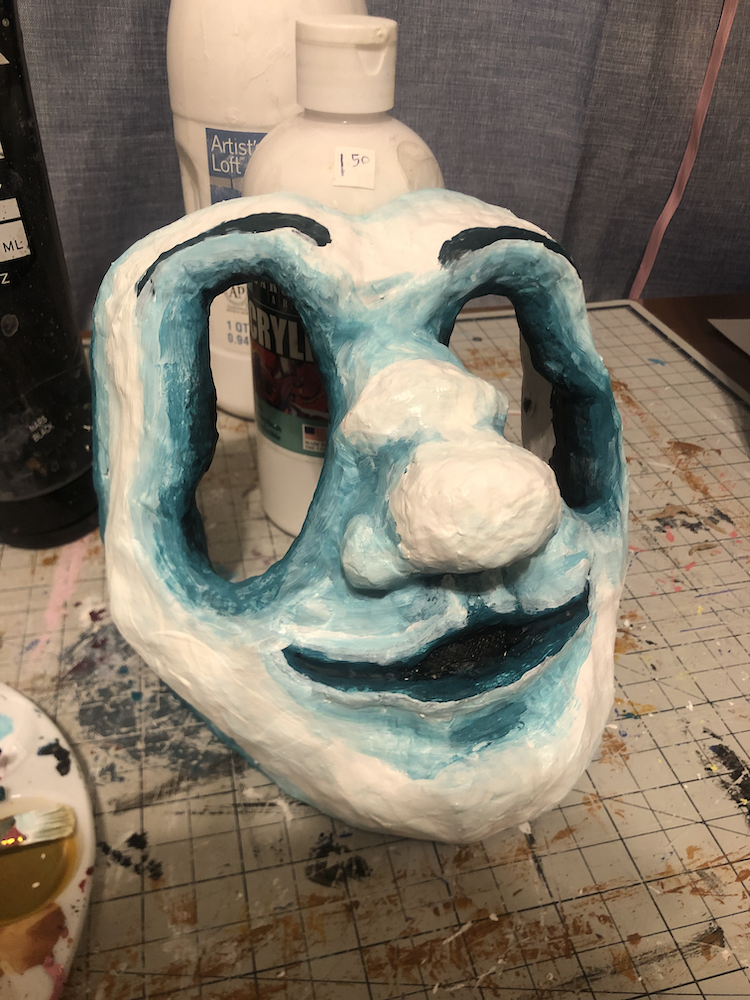
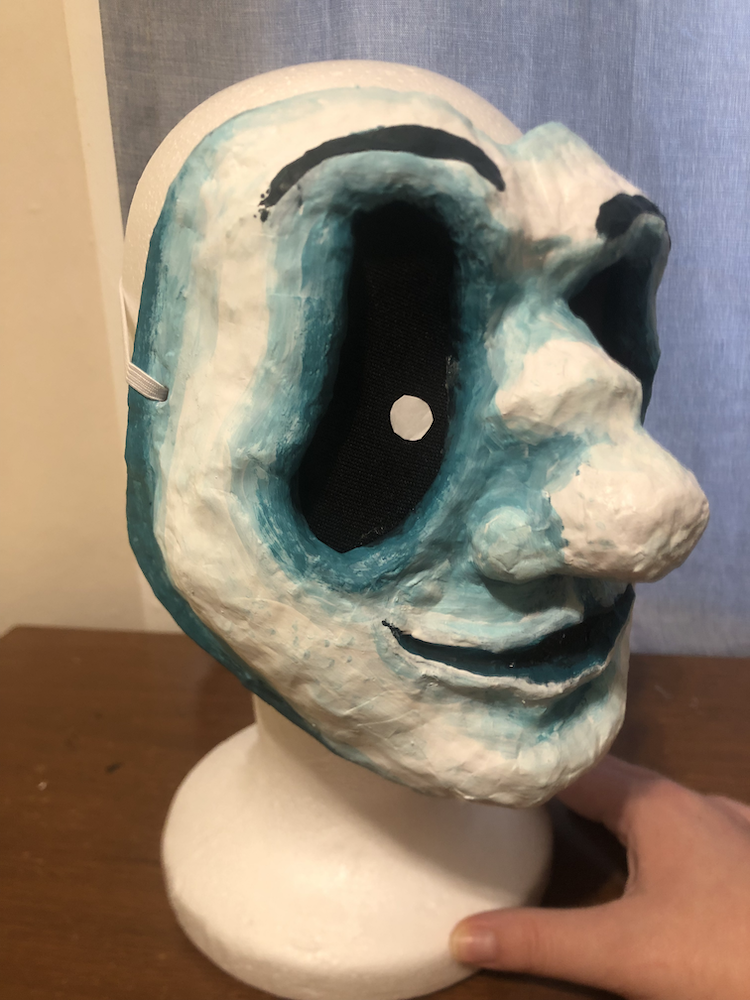
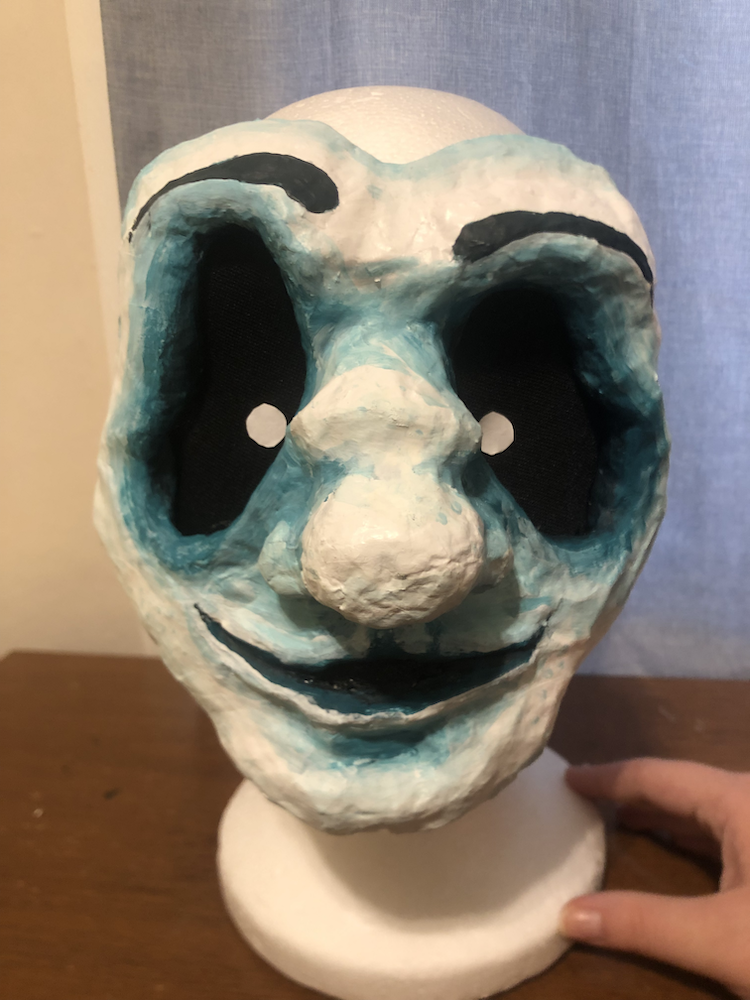
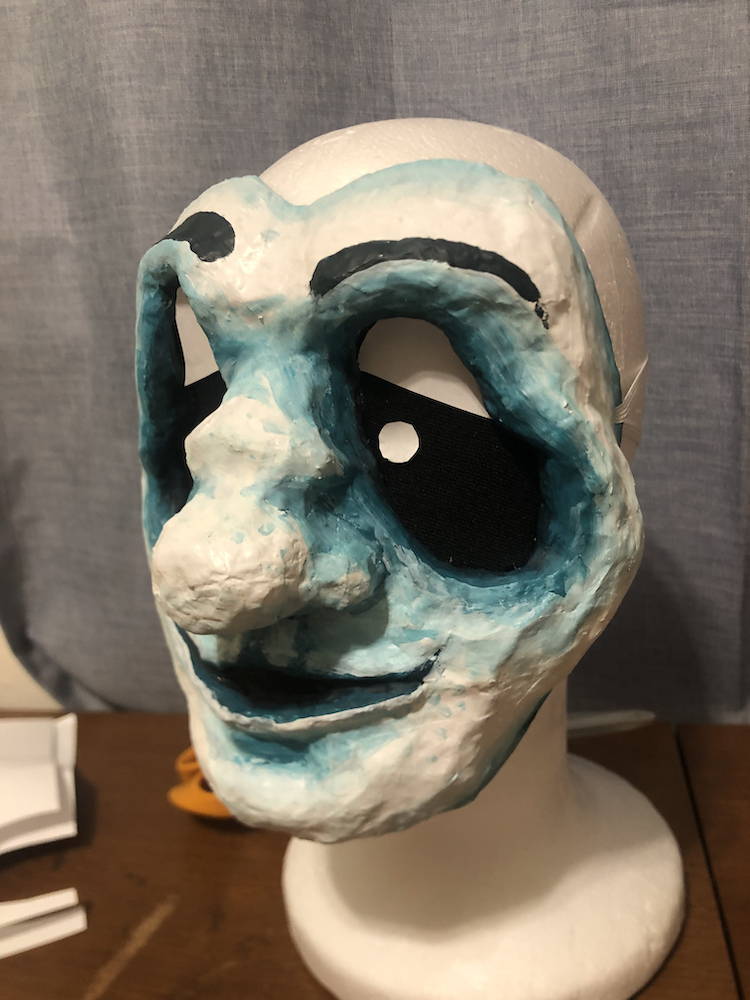
As a final touch, I gave it some faint freckles and texture on the cheeks and nose. Then it was time to add in the eyes!
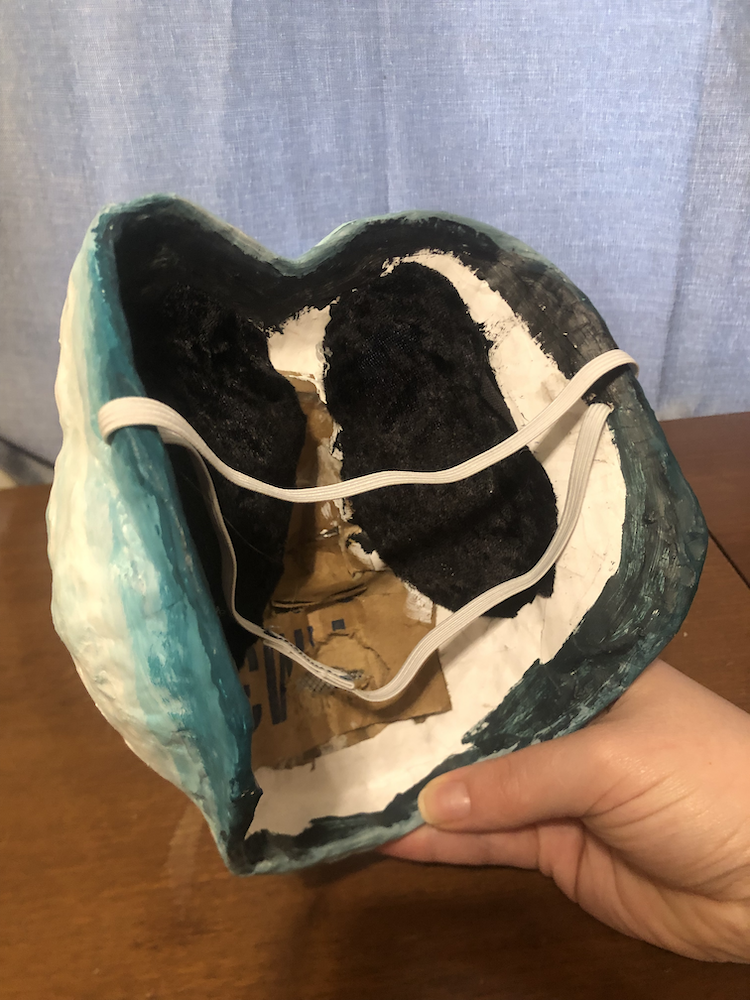
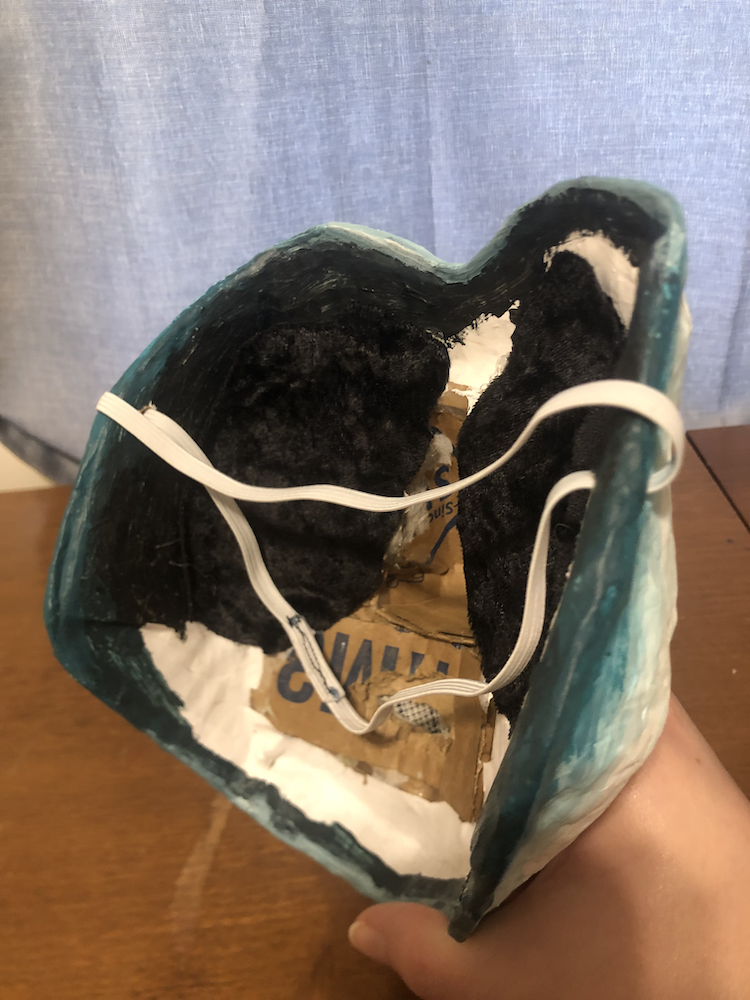
Inside & Ties
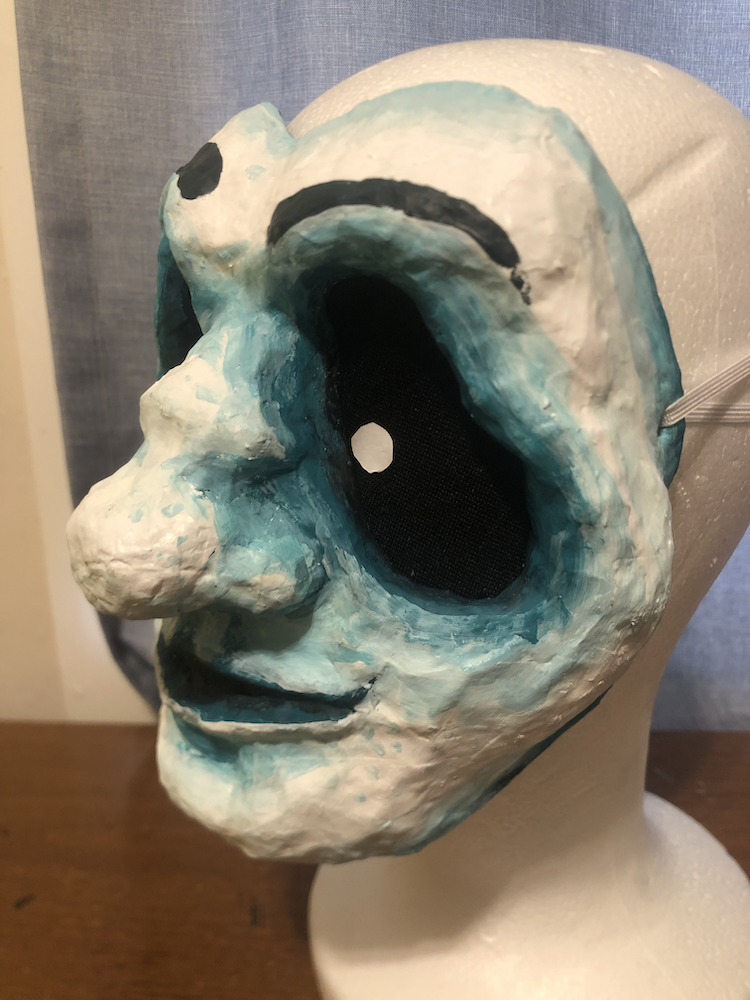
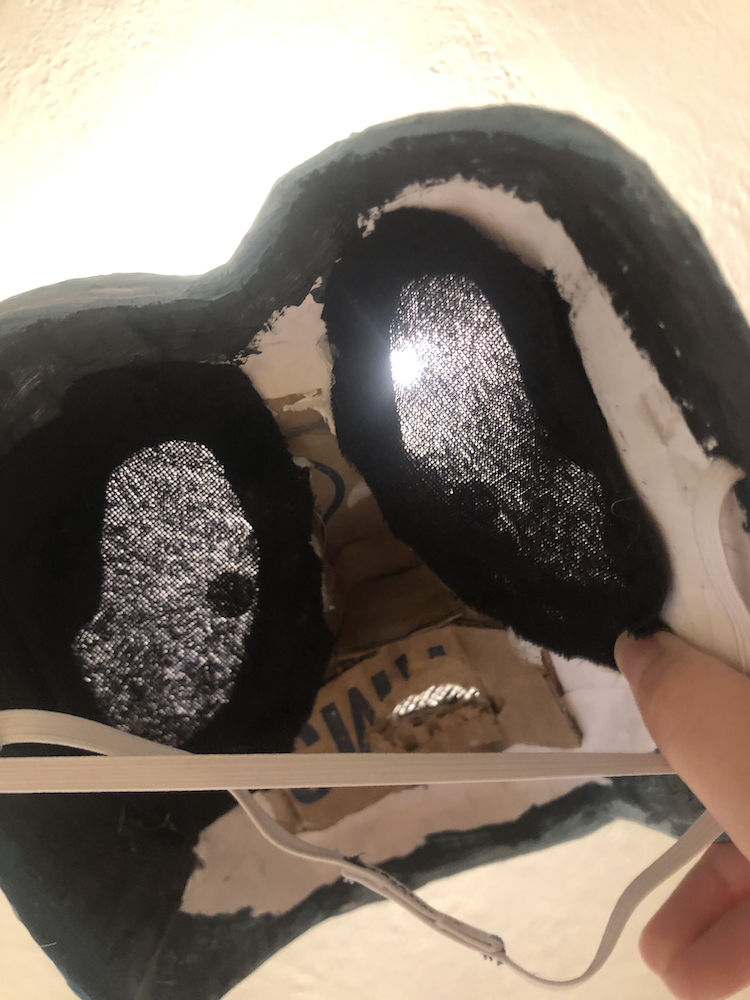
The eyes are made of the back side of a cheap velvet, so it's matte instead of shiny. Cheaper fabrics have much thinner weaves, so I can see through it just fine! I started off using tealribbon for the ties, but it was a pain to tie and I kept getting my hair stuck. Instead, I went with a string of elastic sewn in a loop. The two sides of the loop allow me to spread out the weight across the back of my head.
I have the option of adding pupils with white stickers cut into tiny circles. I think it looks cool without it too, so the stickers let me have more freedom and allow me to change the expression too.
Eyelids & Eyes
After sharing the mask with friends, we decided it could use some eyelids to add to the expression. I started off making templates out of paper, and cut them out of craft foam so that they squished into place and stayed stuck in the sockets without any help.
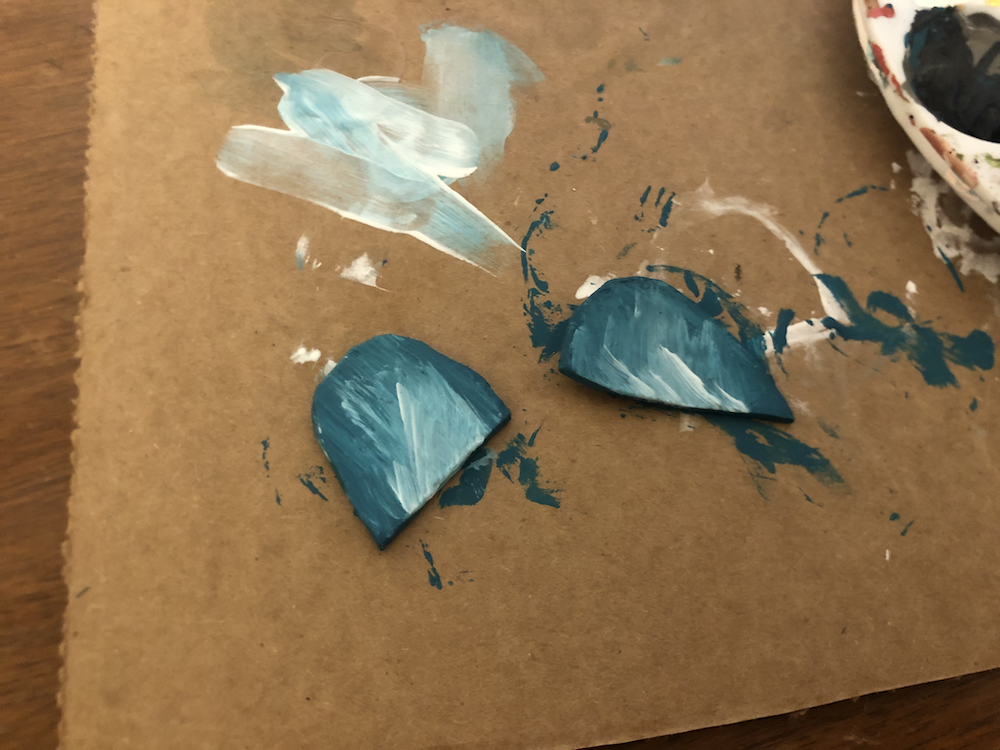
Painting the eyelids
Test with the finished eyelids
His test eyes were cut from paper stickers, so they weren't very sticky and lost their stick only after a couple days of messing with the mask. I started looking into other mehtods to attach the eyes temporarily, which went as follows:
- Velcro: didn't stick
- magnets: the smaller ones didn't stick, and the larger ones got in my eyes
- felt: didn't stick
- stud earrings: worked but also got in my eyes
I ended up using the stud earrings and glueing felt circles to them. I cut off the back of the posts, but they still got in my eyes. So I added some foam to the inside of the mask to give me some more space.
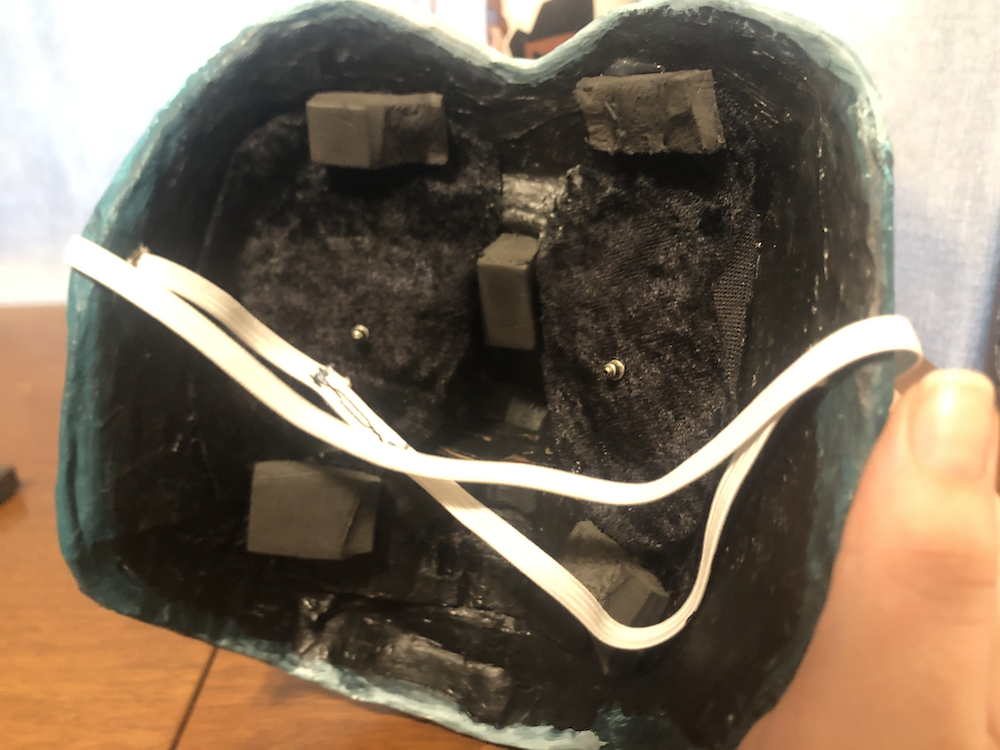
Inside of the eye studs
Test with the finished eyes