Polar Bear
2026
Gallery
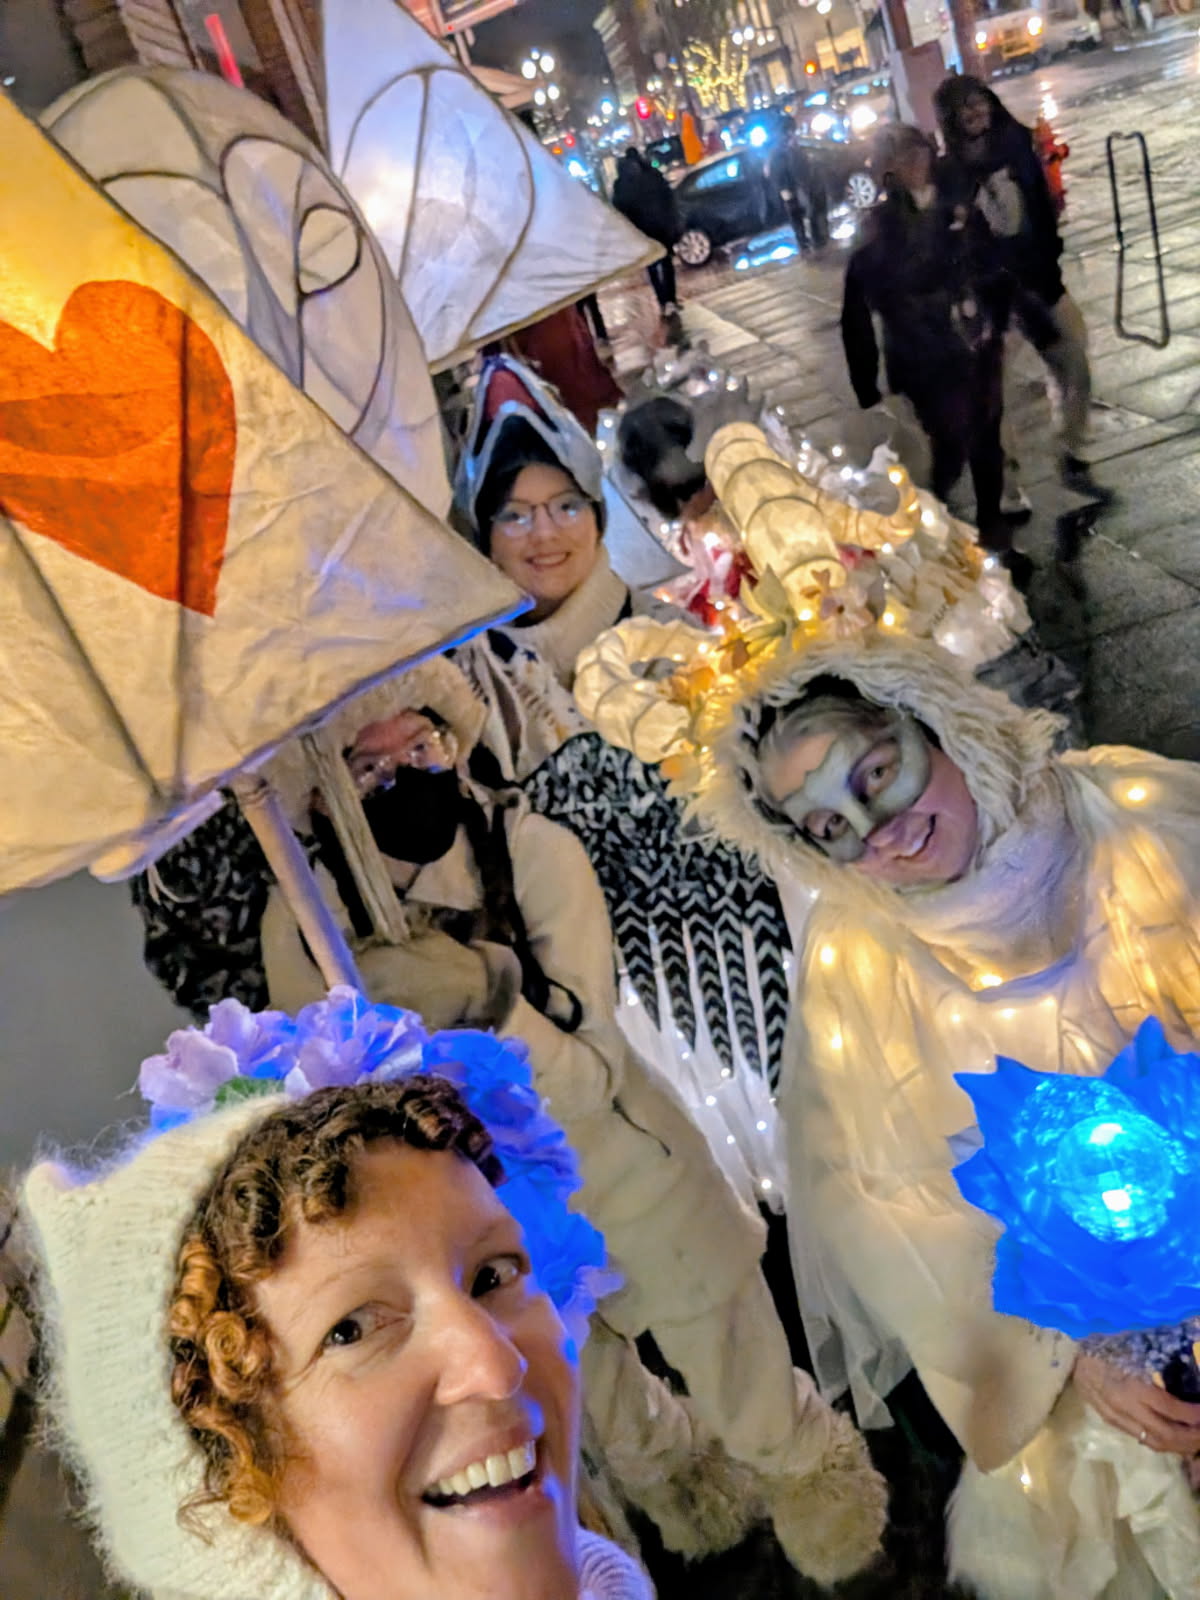
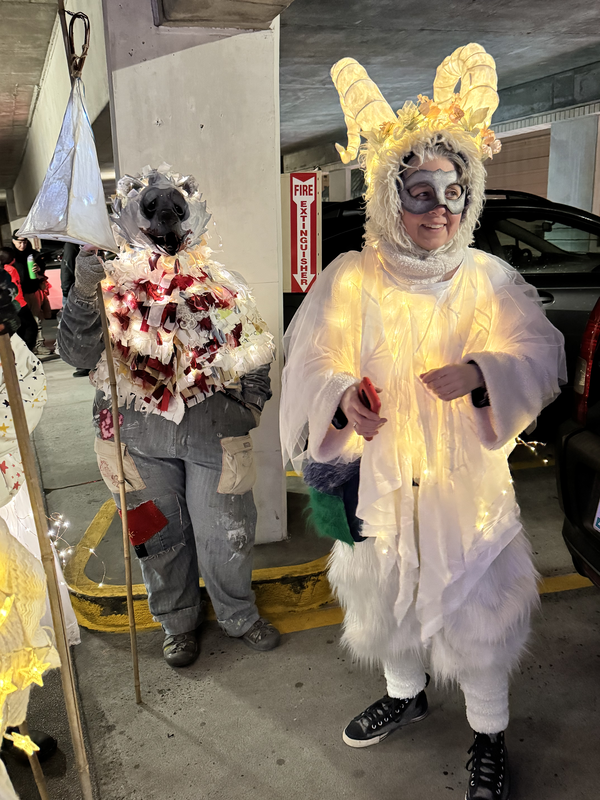
Lantern Festival Parade Feb 14 2026
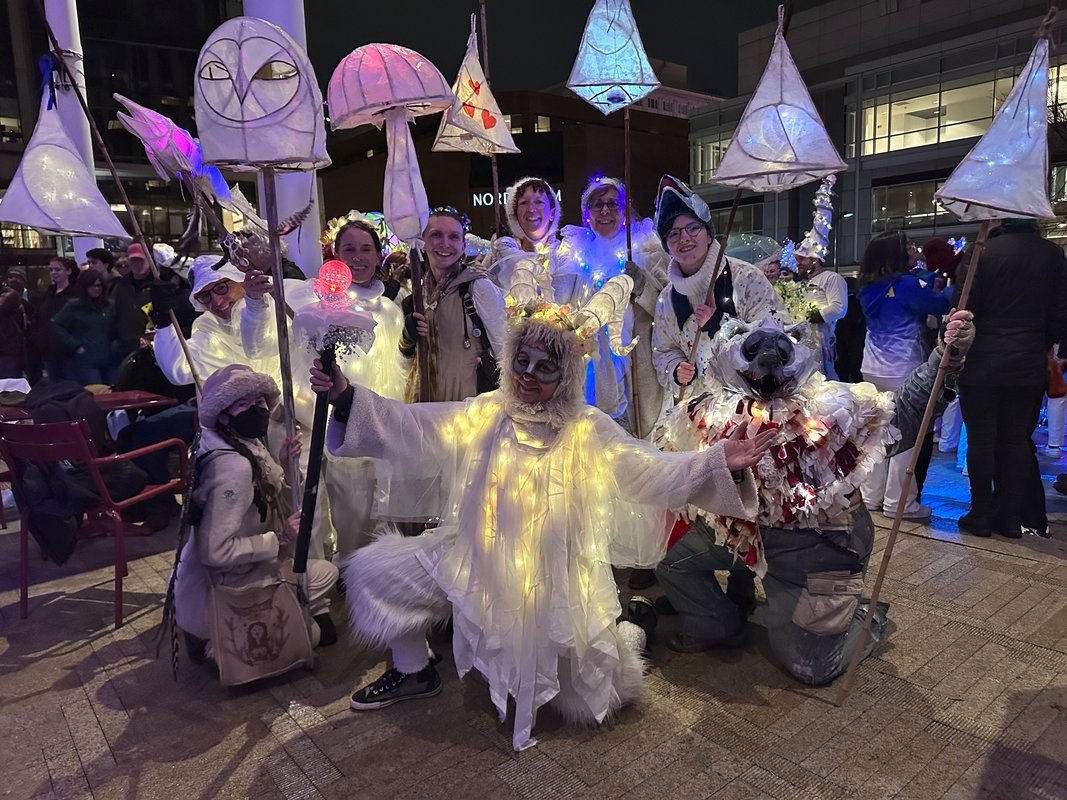
Marching with Moni and friends from Wildland Roots.
Marching with Moni and friends from Wildland Roots.
Marching with Moni and friends from Wildland Roots.
Furlandia May 23 2026


Mask
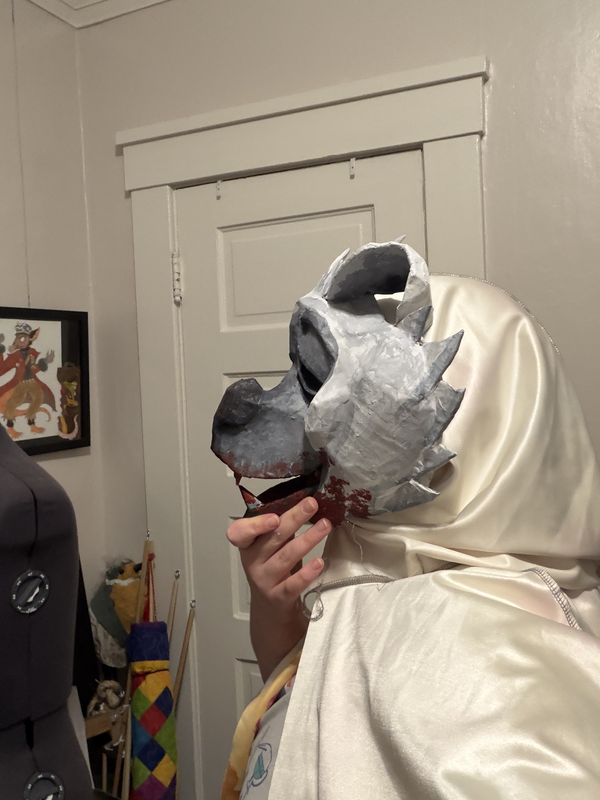
This costume sprang from a sudden urge to make something messy and physical again - after a month of sewing clothes. I went in with the same philosophy as my Pinocchio Masks, with the goal of just blocking out simple shapes and shadows. The shape of this mask is based on classic animatronics such as the Country Bear Jamboree, I just love the wide cheeks and big grin!
Mask
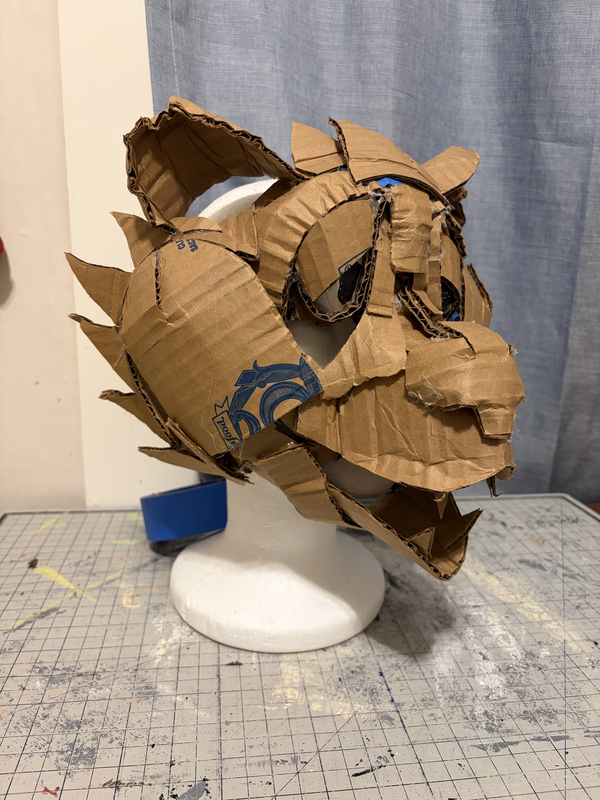
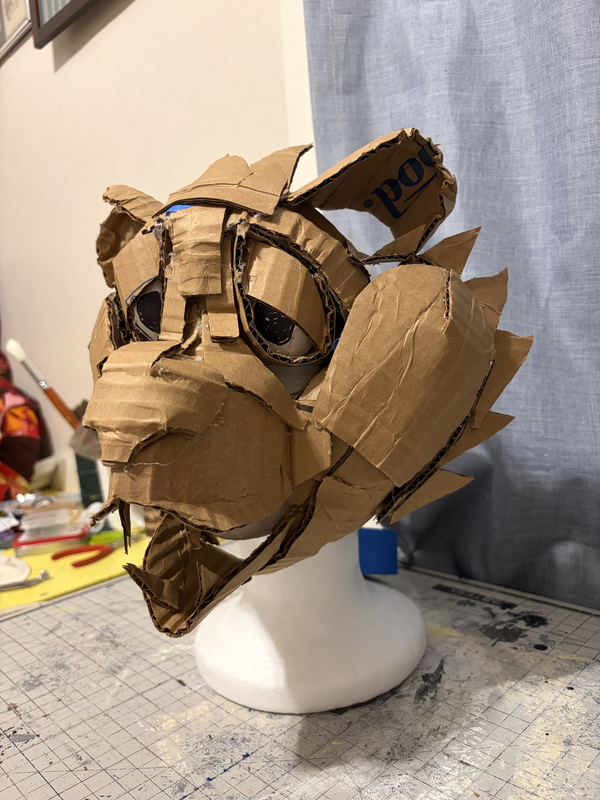
Like my other masks, I start with a simple "superhero" template and tape it to my foam head. From the base, I can build out large shapes with cardboard, cutting darts and massaging it so it'll bend into curves. I'm not afriad of leaving gaps or sharp corners, I know the paper mache will cover all of that. I have had people ask me how I get cardboard to create such complex curves, without maing paper clay, and the answer is a combination of manhandling it until it bends to my will, and forming complicated curves out of many smaller simple ones. On a pure cardboard sculpture, you wouldn't want to crush the cardboard until it's soft. But when you're going to be covering it with paper and glue, it will all be far more structurally sound together.
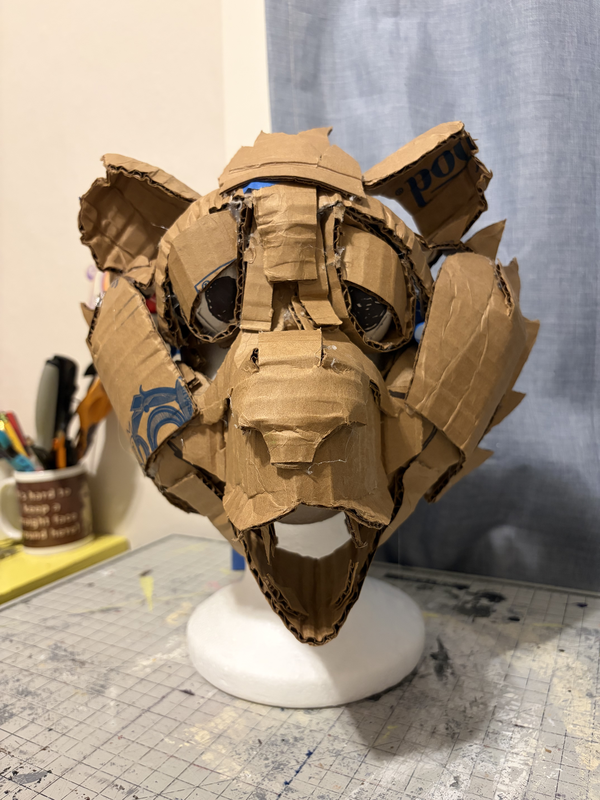
Toilet paper tubes and cereal boxes are great for smaller details where you need denser curves. I prefer toilet paper tubes, since cereal boxes have laminated sides that won't stick to paper mache!
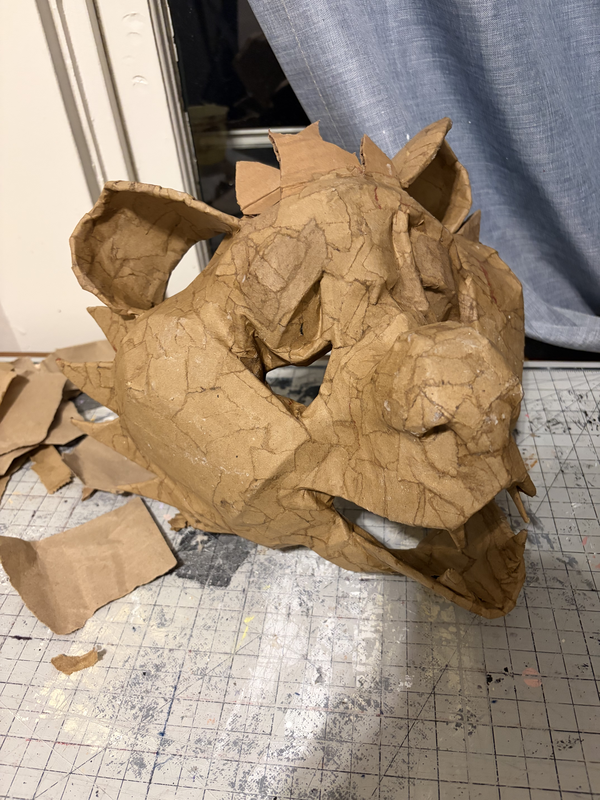
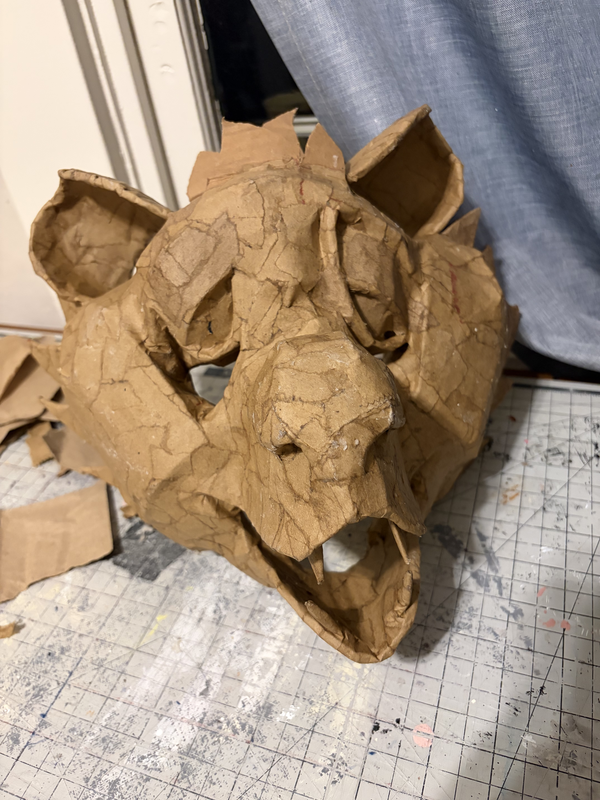
If you look closely you may notice he got slightly bigger cheeks between these photos and the next. After the first coat of paper mache they didn't feel rounded enough, so I just glued them in on top and covered them like normal. You can always go back in and add! No step needs to be final.
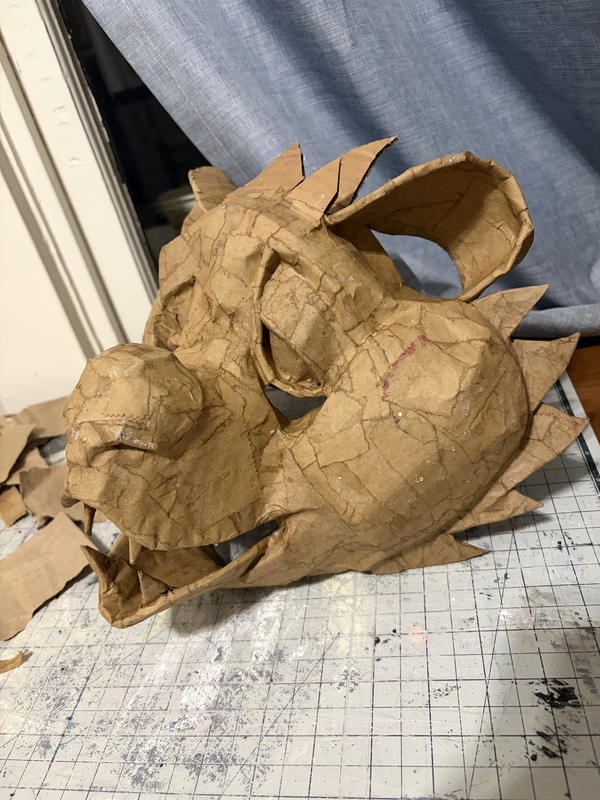
I didn't set out to make a polar bear - I planned to make a brown or black bear like most of my characters. But when I looked in my scrap bin for the cowl I was planning I realized all my black and blue scraps had been used up making the cowls for the rat head puppets, and what I had the most of was white! I went back and forth on this decision, but decided to let the scraps guide me. I also don't usually do gore, but needed some color and interest on the character! This is what polar bears look like all the time.
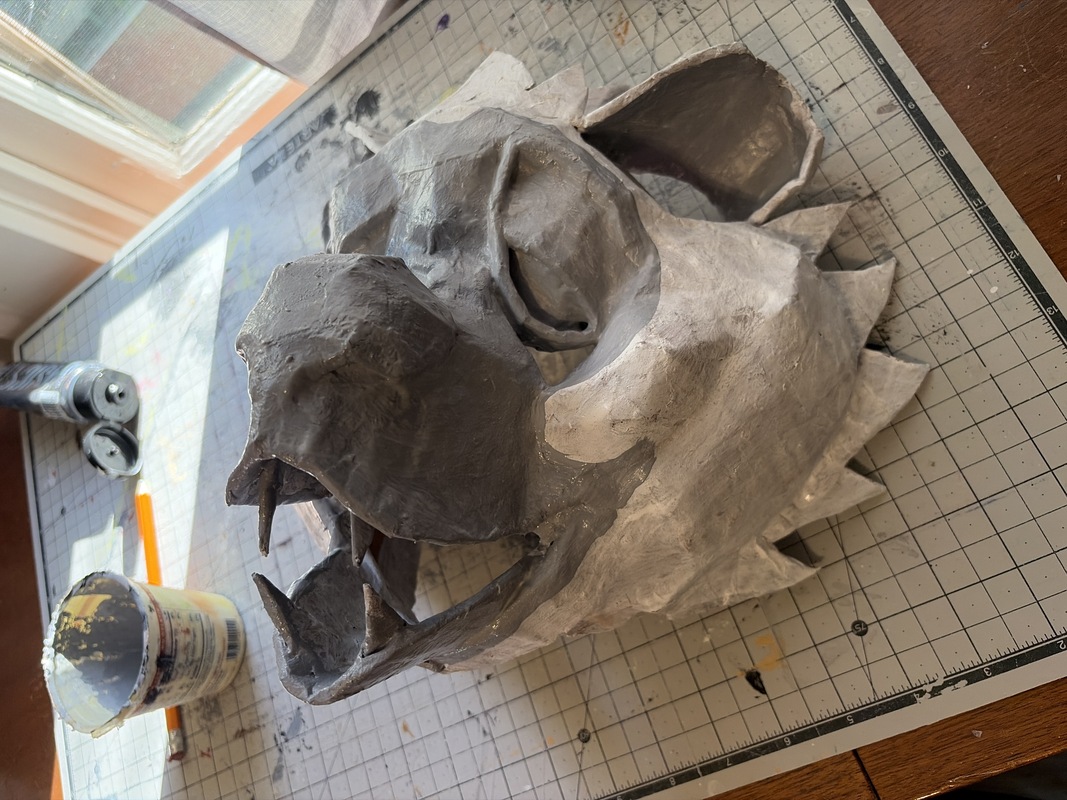
Base coats, blocking out the face

Finished paint job
Possibly one of my quickest paint jobs, I just added in some touches of grey and bits of shading to the white.
The solid black eyes with a single eye shine are becoming a reoccuring trend for me, aren't they?

No one can stop you from putting dollar store earrings on your masks
That's it for the mask, for now, it's time for the -
Cowl
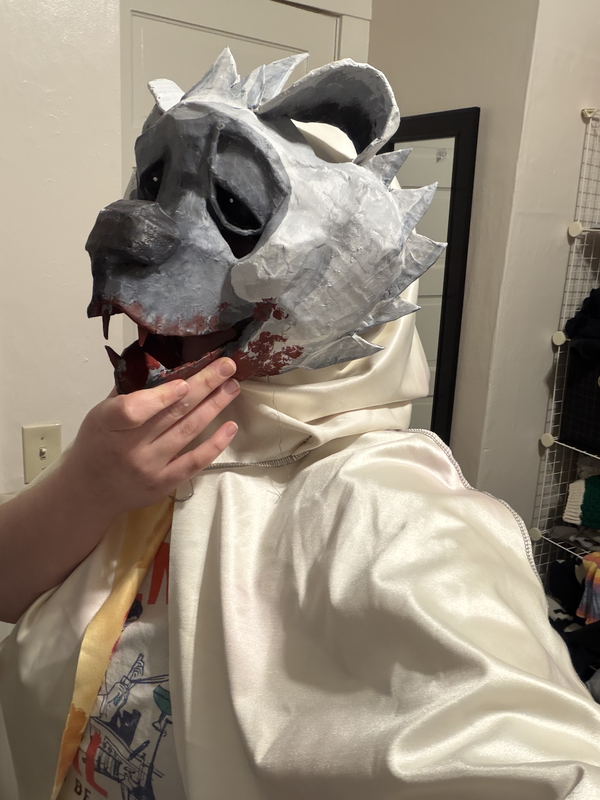
Testing the fit
This cape is actually a re-purposed piece. I had gotten it in a big bag of fabric scraps from my sewing friend Jonath Ochs. I don't ever work with stretch fabric, he does almost exclusively. The other side is gold with flowers, so I just flipped it, and cut it to capelet length. Using a stretch fabric for this base turned out to be perfect - since the neck hole was just a little too small once attached to the mask and it still pulled over my head easily but snugly.
I did have to learn how to sew on stretch, however. I picked up some stretch needles, and Jonath suggested I used tissue paper in all my seams to provide stability. He didn't know at the time just how many seams I would be sewing! But he was right, and the tissue paper worked perfectly to keep my machine from skipping stitches. It just took forever to pick back out of the seams.
Just like my rats, I started by collecting all my scrap fabric in white and adjacent colors. I cut the scraps into strips 2-4 inches in width, and cut along one side of each strip to create lengths of pinata-paper ruffles. In addition to these larger pieces, I also cut some small sections of yarn, other trims, and tiny scraps of fabric to add on top. This cowl is going to be so full of various textures!


Once the white layers were done, I also added some bits of red down the front, to match the blood on the mask.
The cowl is hot-glued to the back of the mask, and a thick elastic band under the fabric keeps it sturdy on my head. Three snaps down the center hold the cape together down the front.

After experimenting with soda can metal for my scrap patches, I wanted to branch out and see what else I could do with the material. I cut the metal into teardrop shapes, and added thin strips of aluminum tape folded along the edges to reduce the sharpness. Beads? Pendants? Each one got a small hole with a thick needle, and two jump rings.
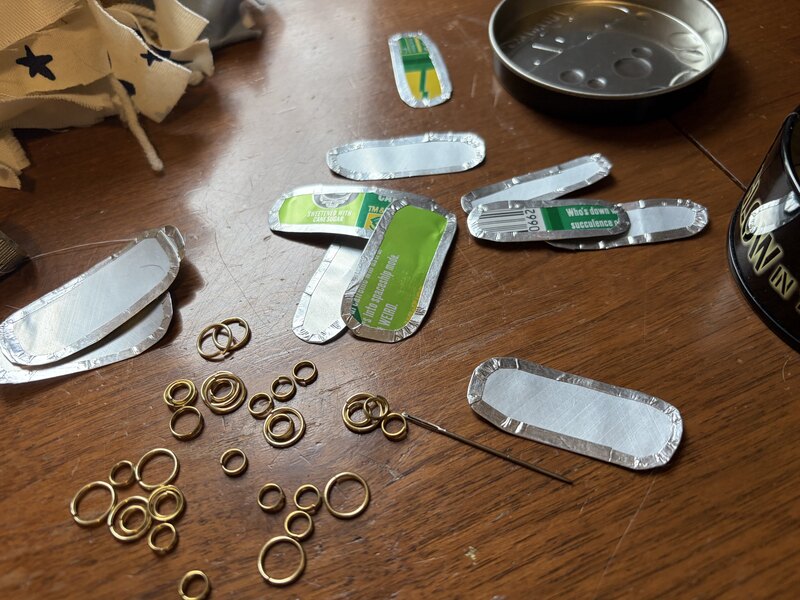
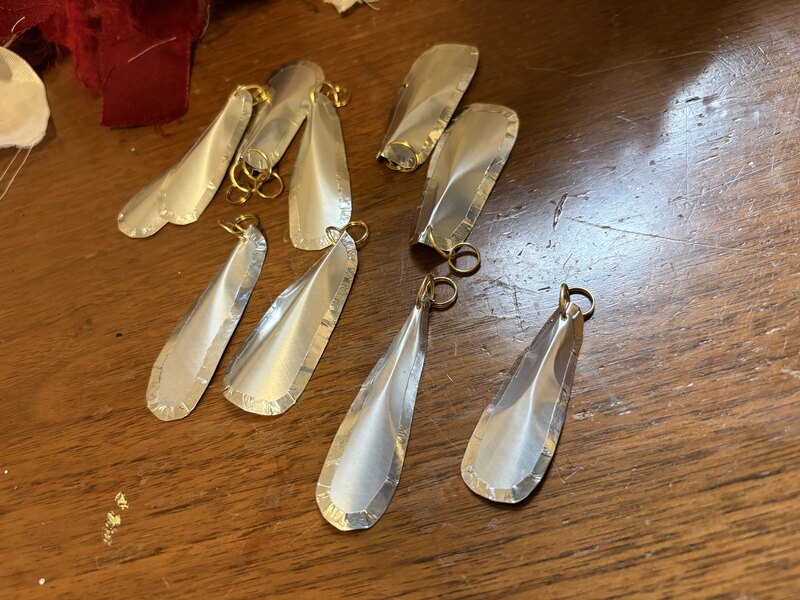
I also made a few out of red cans, to attach specifically in the 'bloody' areas.
I attached about 30 of these, and then ran out of jump rings. I would love to add more, I like the way they catch the light and create a soft jingling sound. It's a new idea I look forward to exploring more!
Arms and Legs
I cut both the arm and leg cuffs from the same fabric as the cowl, and used the same technique of overlapping fabric strips to create the fur. Of course, the arms needed paw pads!
Arm cuff bases


