Body
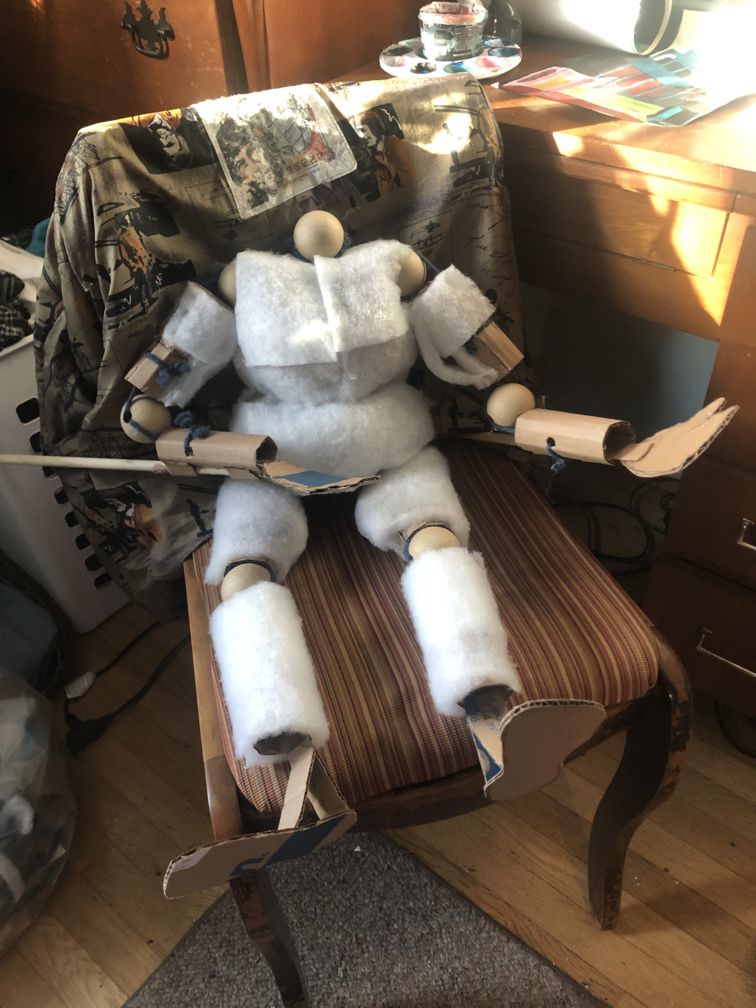
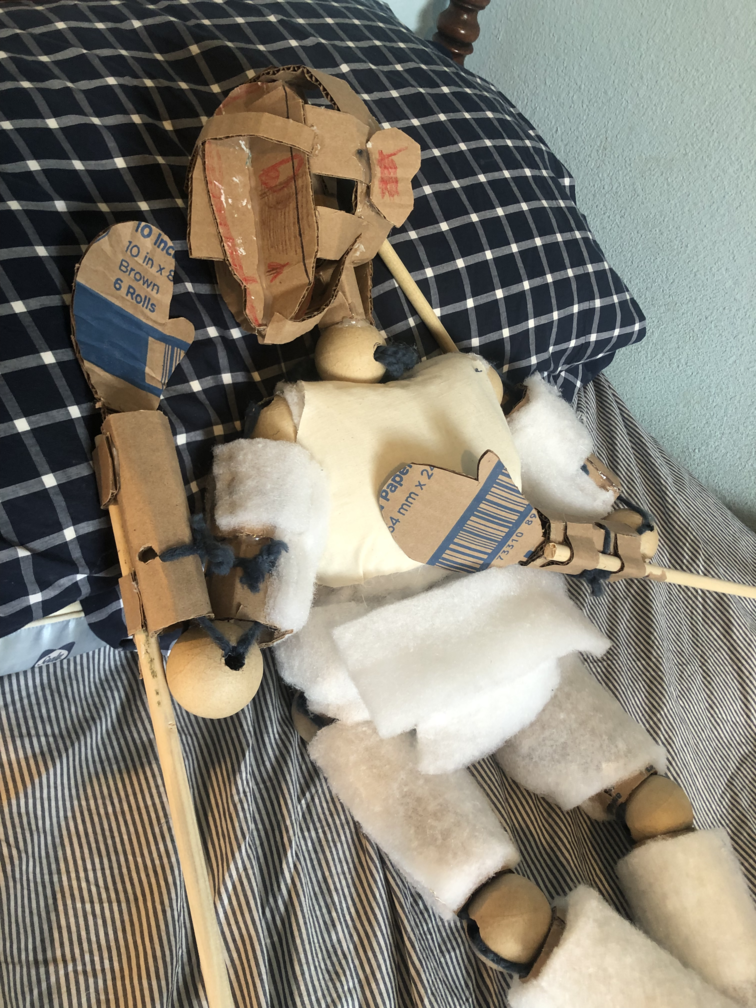
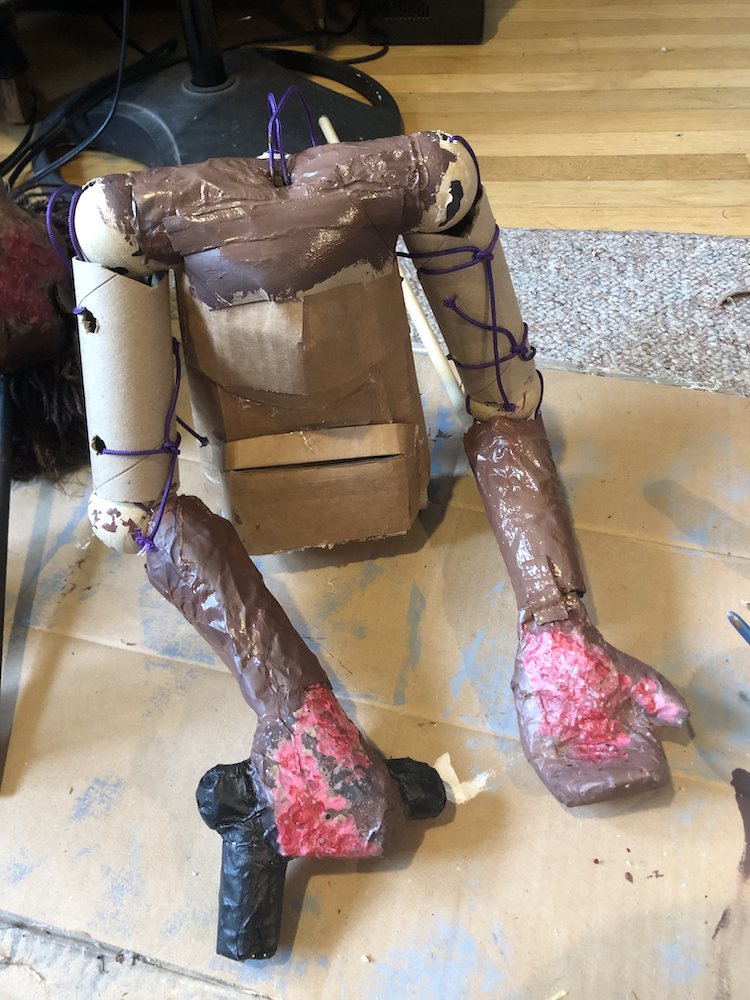
These two puppets are the sort of process that I was so unsure of if it would work, I felt anxious to take any documentation. Regardless, the body structure and joints are nearly identical to other puppets of mine like Job or Jack, just sized up. The bodies are made out of cardboard, with paper towel tube structures to provide a rigid skeleton. I started by sketching a vague reference for proportion onto the cardboard I used as a paint mat. After building up the shape of the body, I used plastic ornaments pretending to be paper mache DIY materials (they have brown paper coverings, but it is absolutely plastic inside) as the beads for her joints.
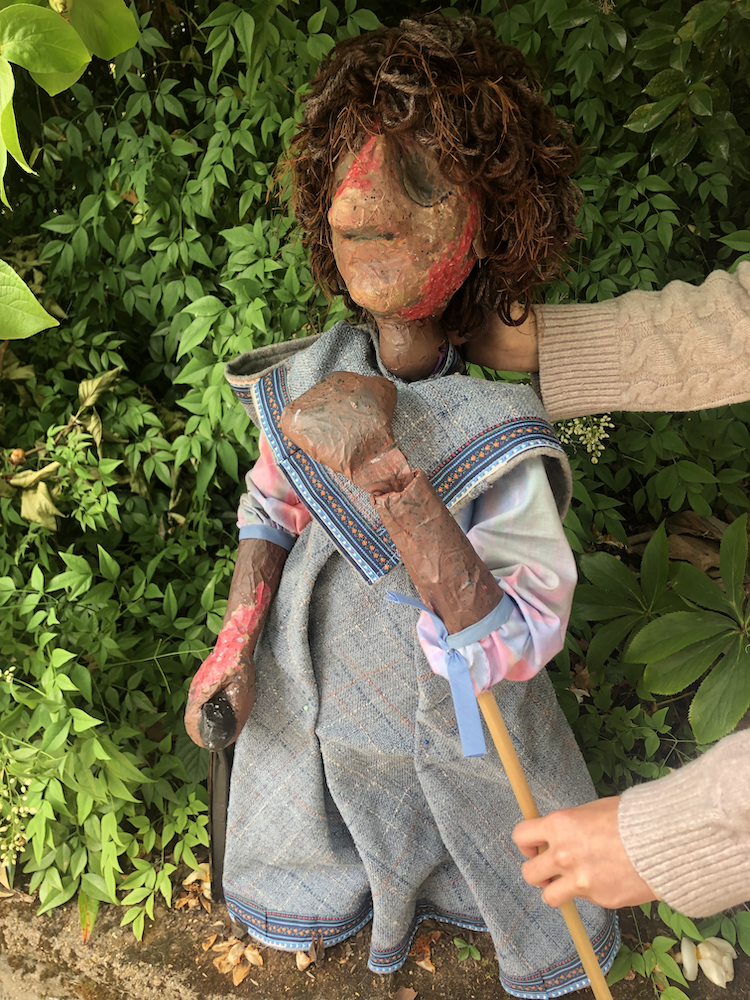
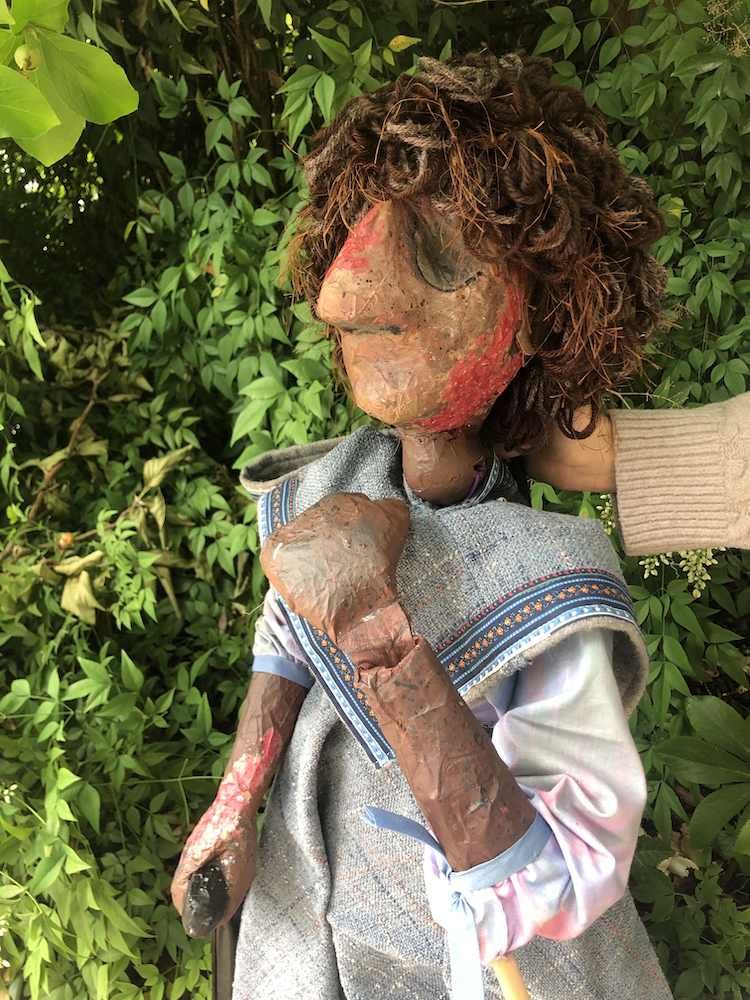
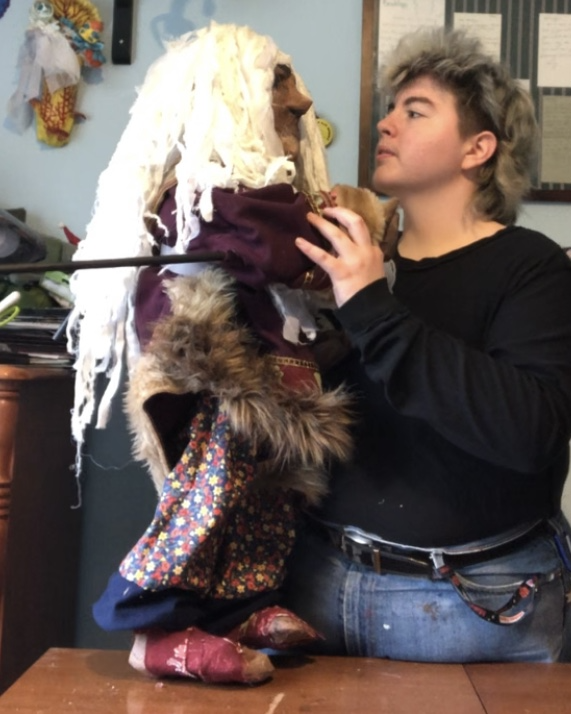
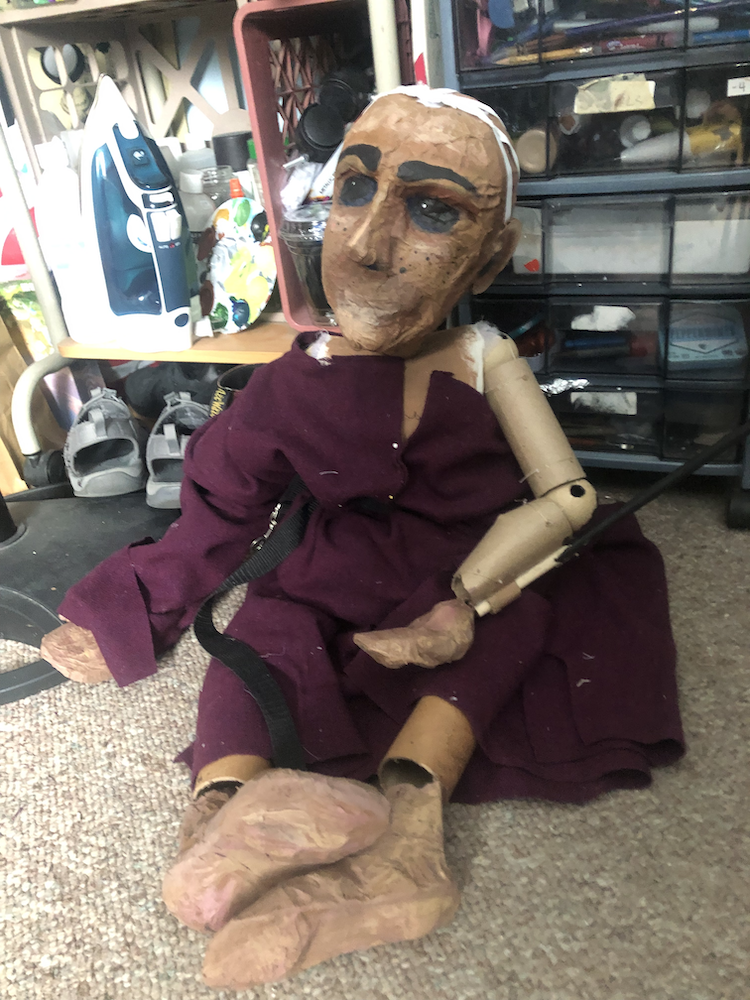
As the puppets are meant to be moved in a Bunraku style, I attached wooden dowels to the backs of the lower arms. These poles stick out backwards past her elbows, and allow a decent amount of very direct movement from a puppeteer standing behind.
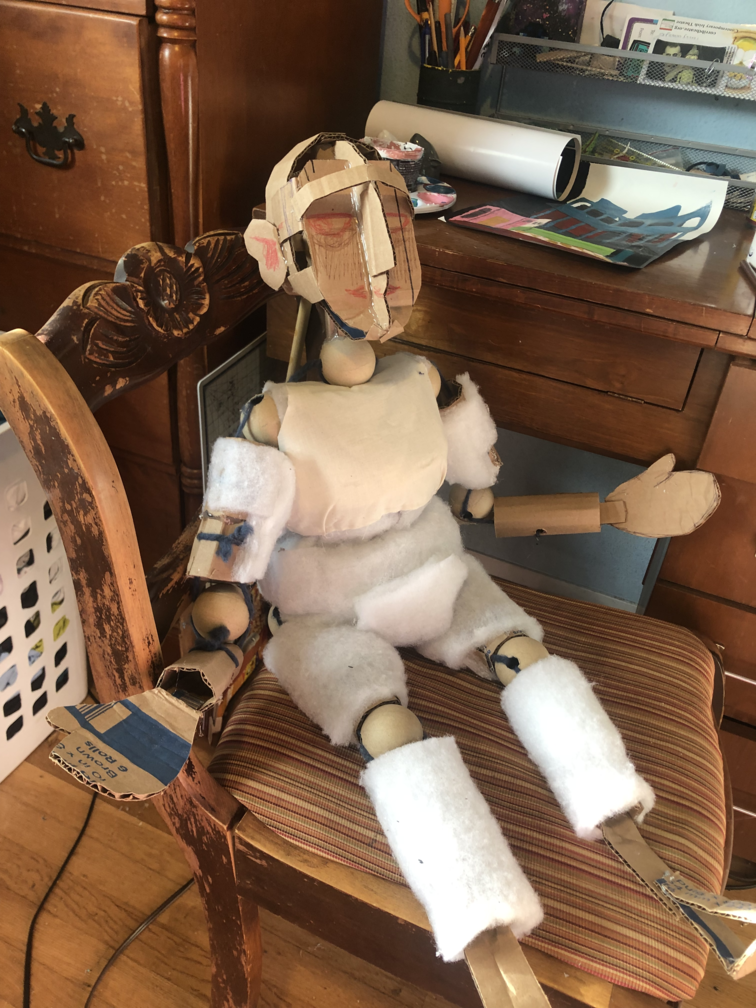
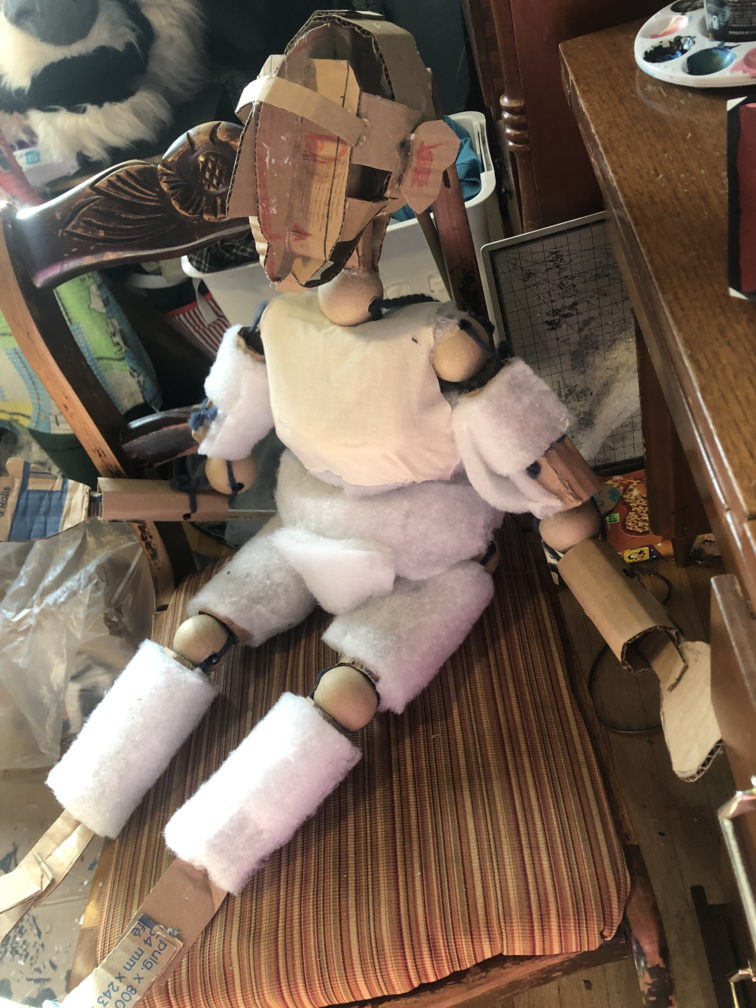
After the cardboard base, I padded her out with some quilt batting.
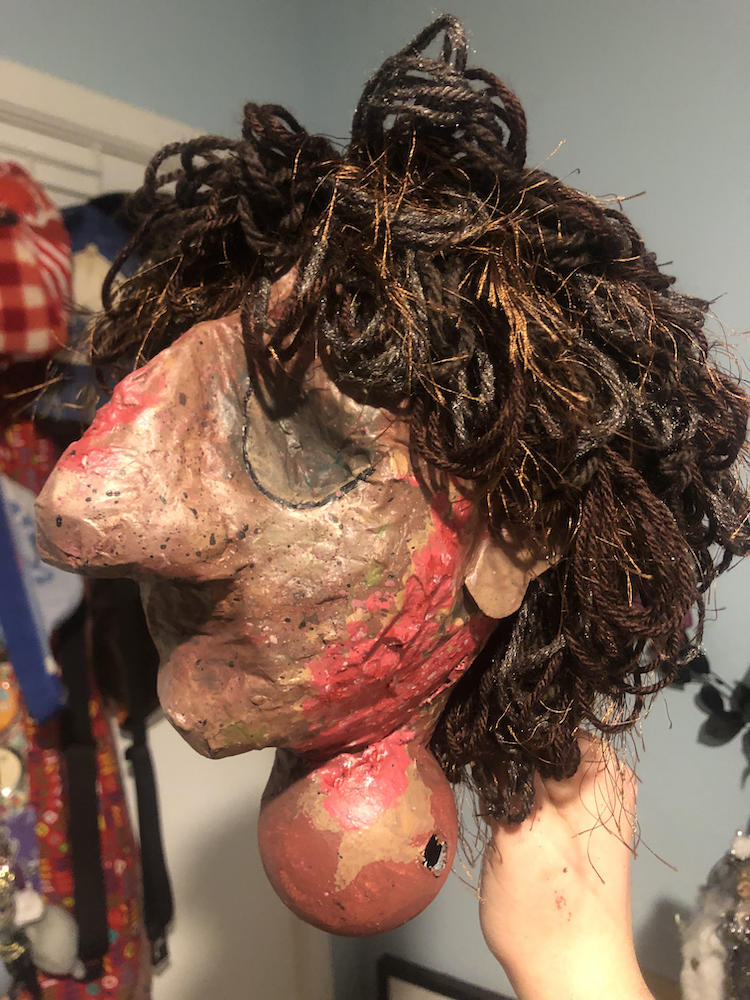
Her head started off as 2D planes to sketch out the general shape and size. She also has a wooden dowel sticking out of the back of her head to control her head movement.
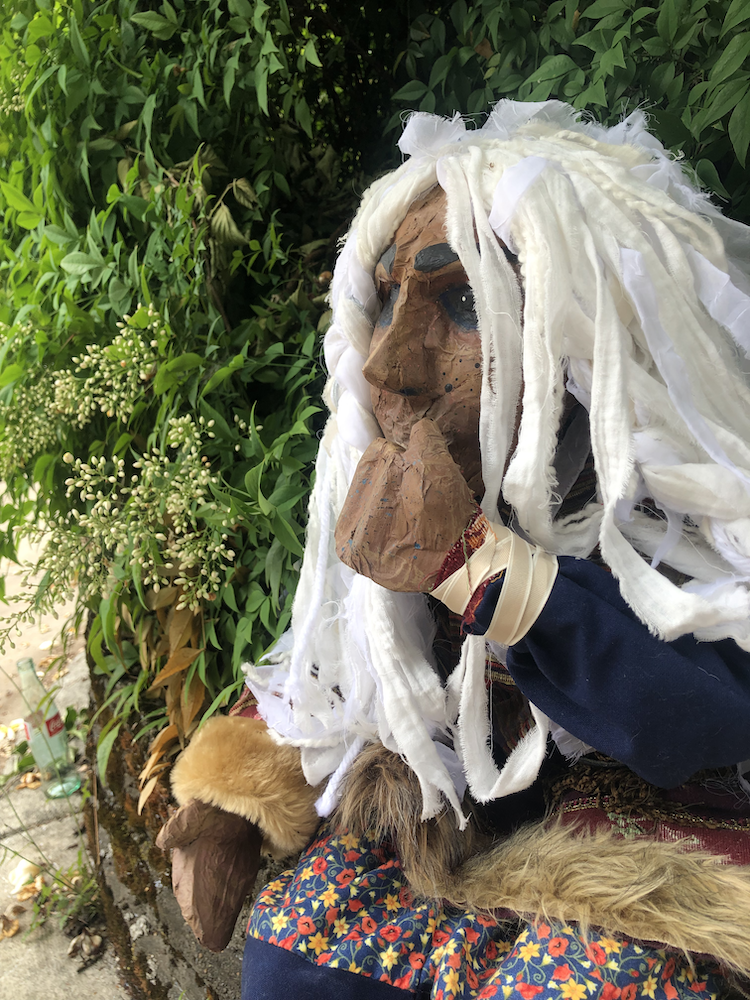
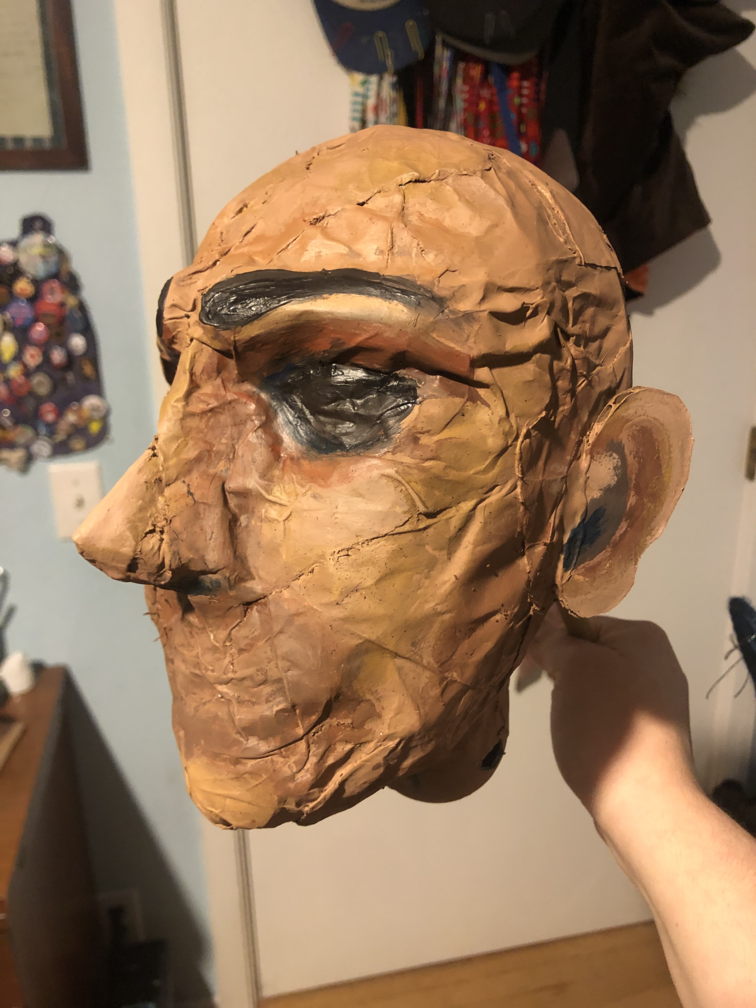
After the basic skull, I continue to fill out the shape of her head and face with more layers of cardboard and shaping with crumpled up paper bags and hot glue. There isn't any paper mache, the last layer of her skin is paper bags glued on with hot glue.
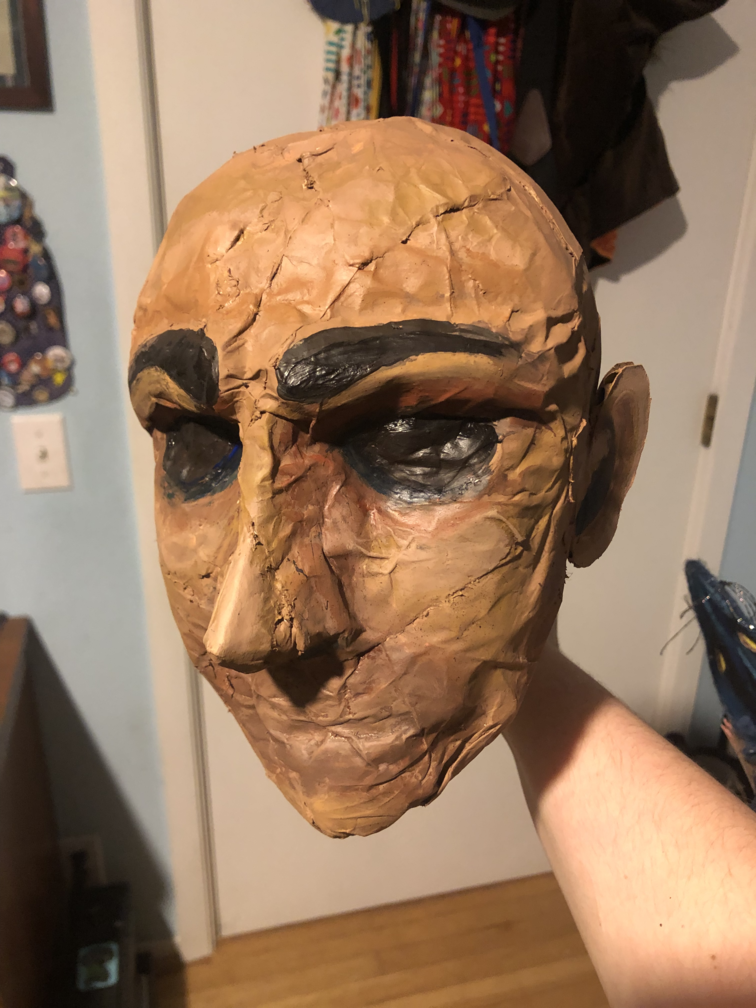
Not giving my characters a mouth is a re-occuring signature of mine. For two reasons: the first is practical, I'm able to project multiple different emotions onto a puppet depending on the voice, body language, and lighting, which just gives me way more freedom in my storytelling. The other reason is that I feel very strongly about the faces of my characters and faces in my art in general, and I don't like forcing them into one emotion in an empathetic sense. Depending on the character, it can just feel wrong.
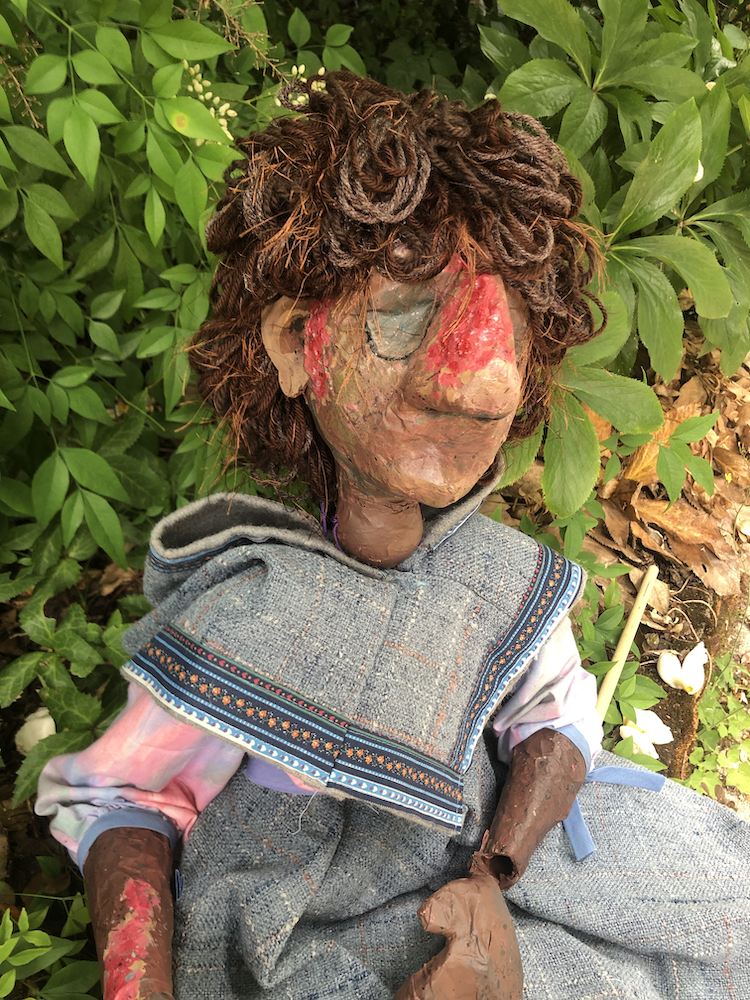
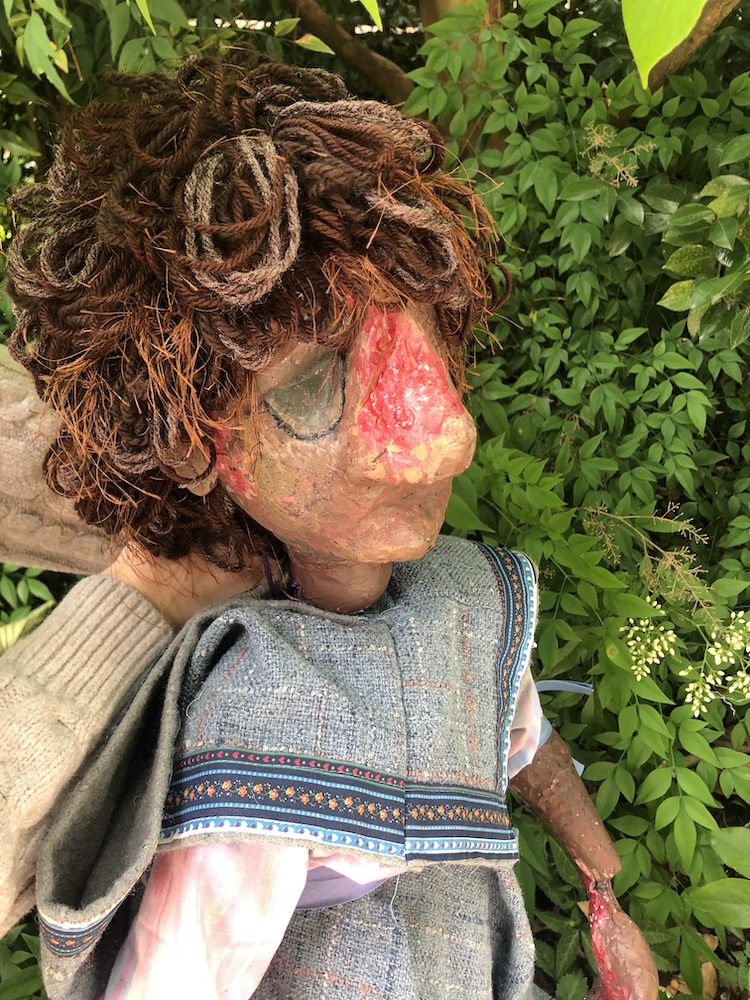
Painting the Face
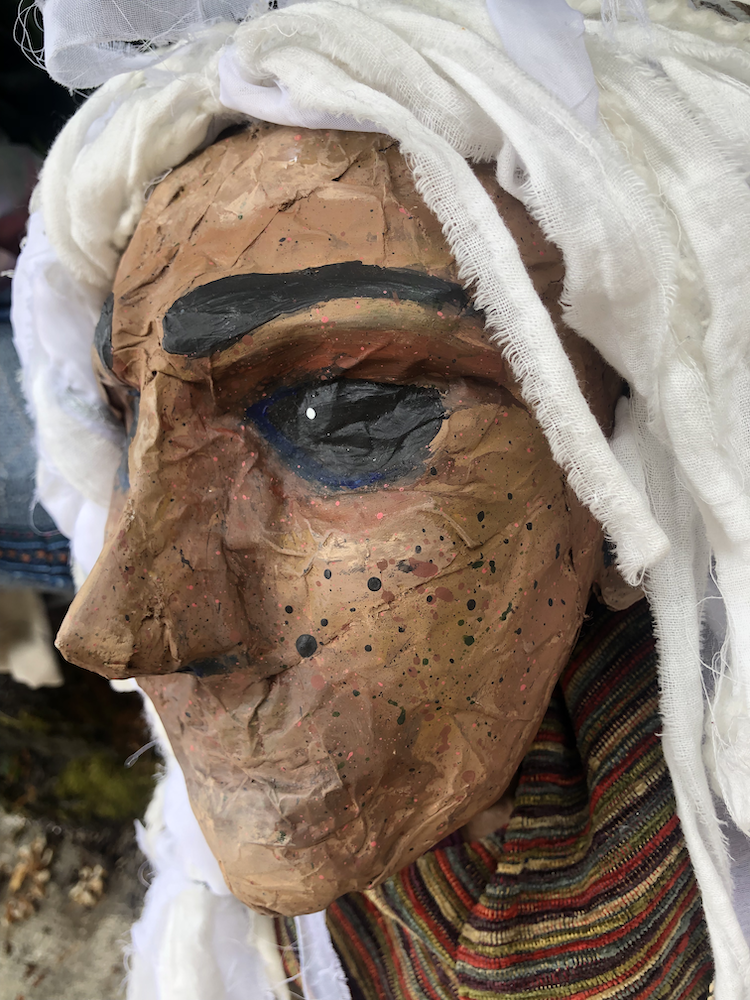
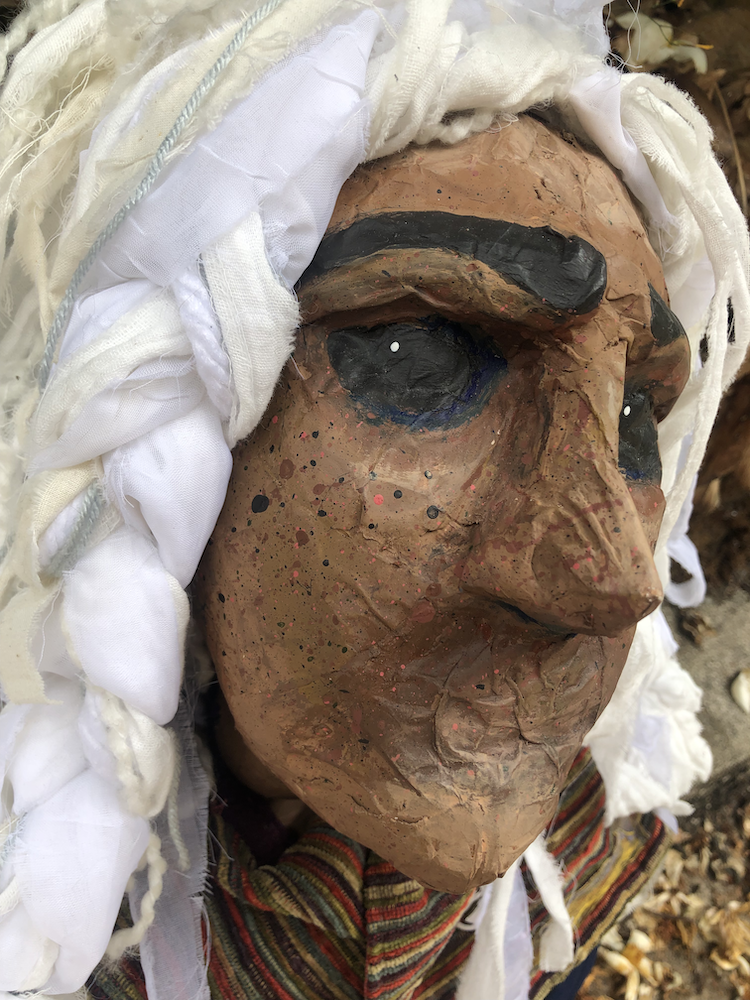
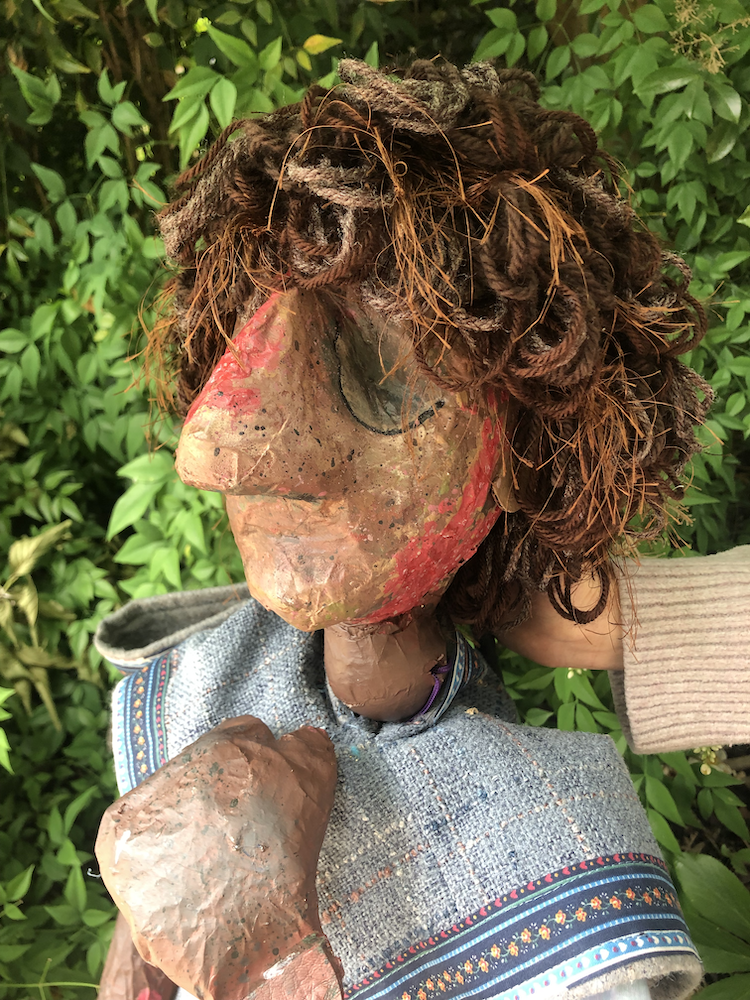
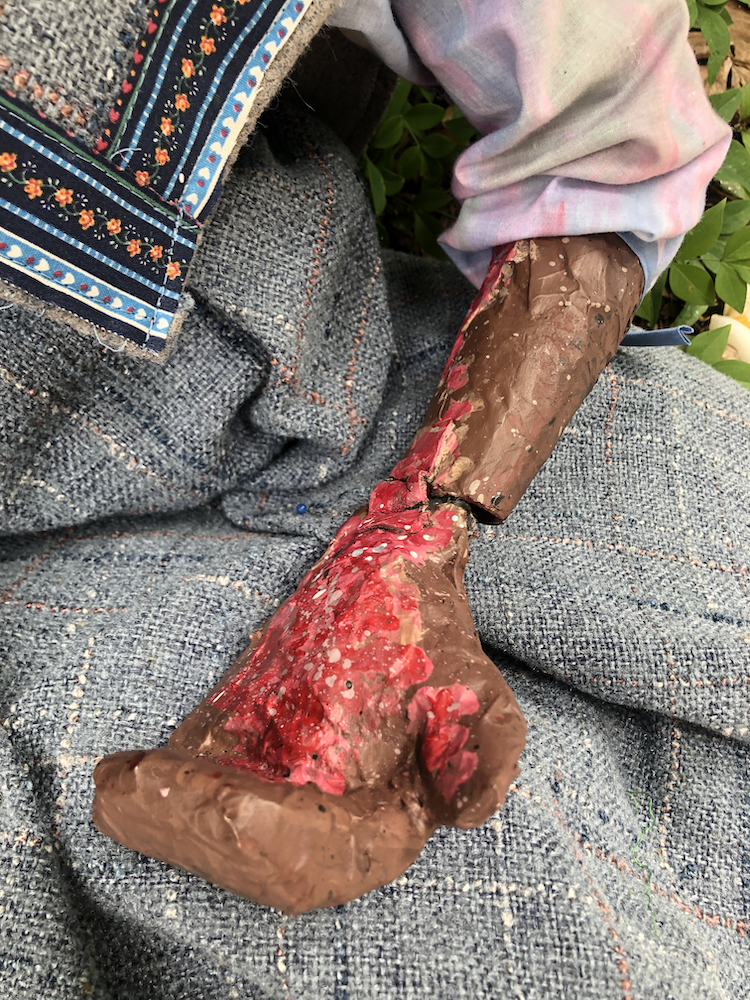
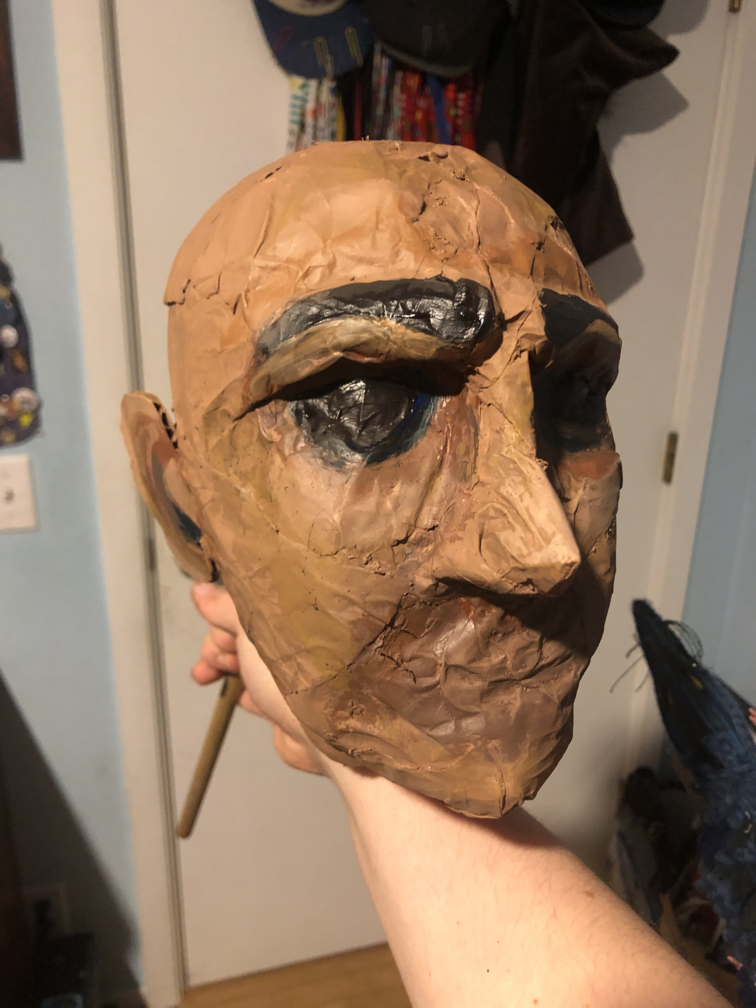
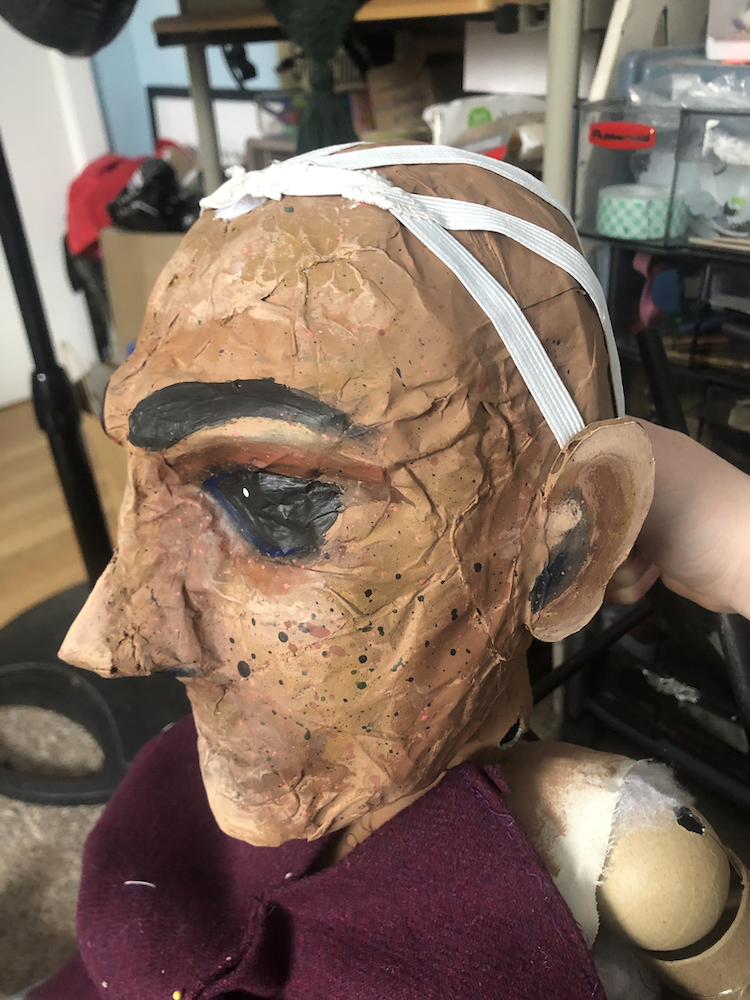
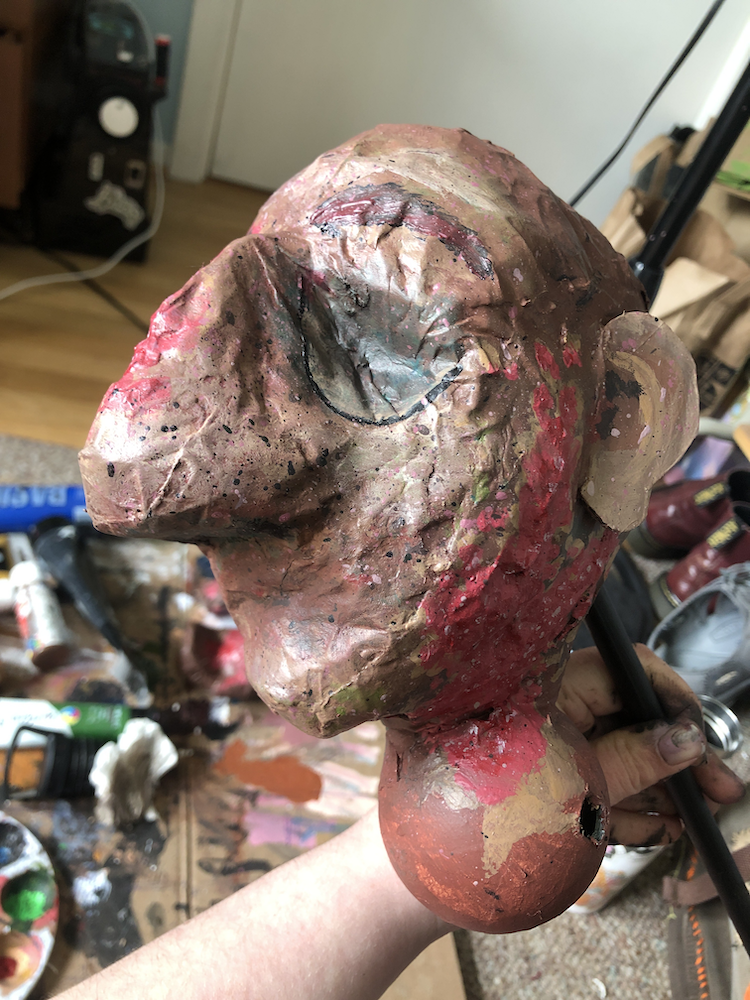
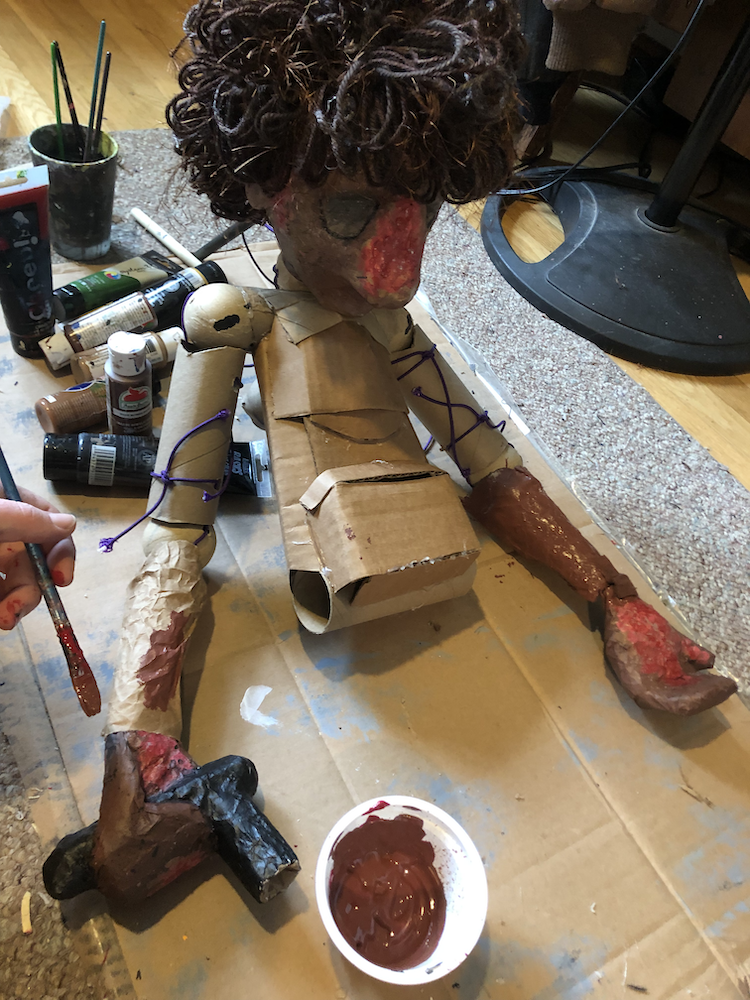
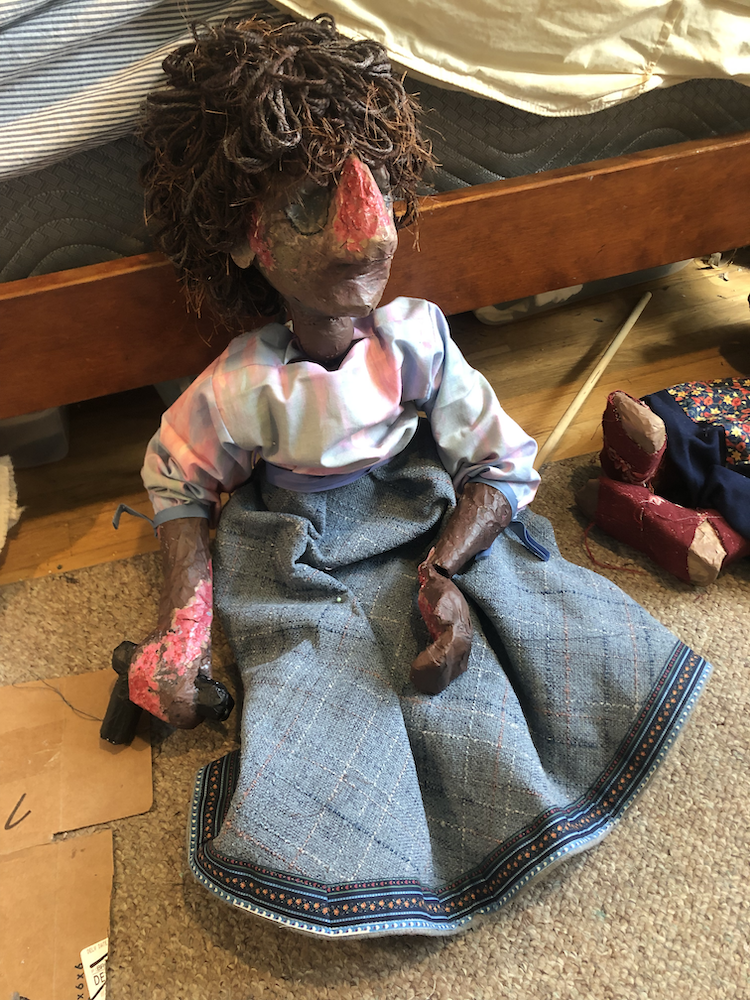
I love taking my time and putting a lot of love and care into the skin details. Her paint job started off with a deep reddish brown, covered by a slightly yellow tan and working up from the shadows until finishing with the highlights.
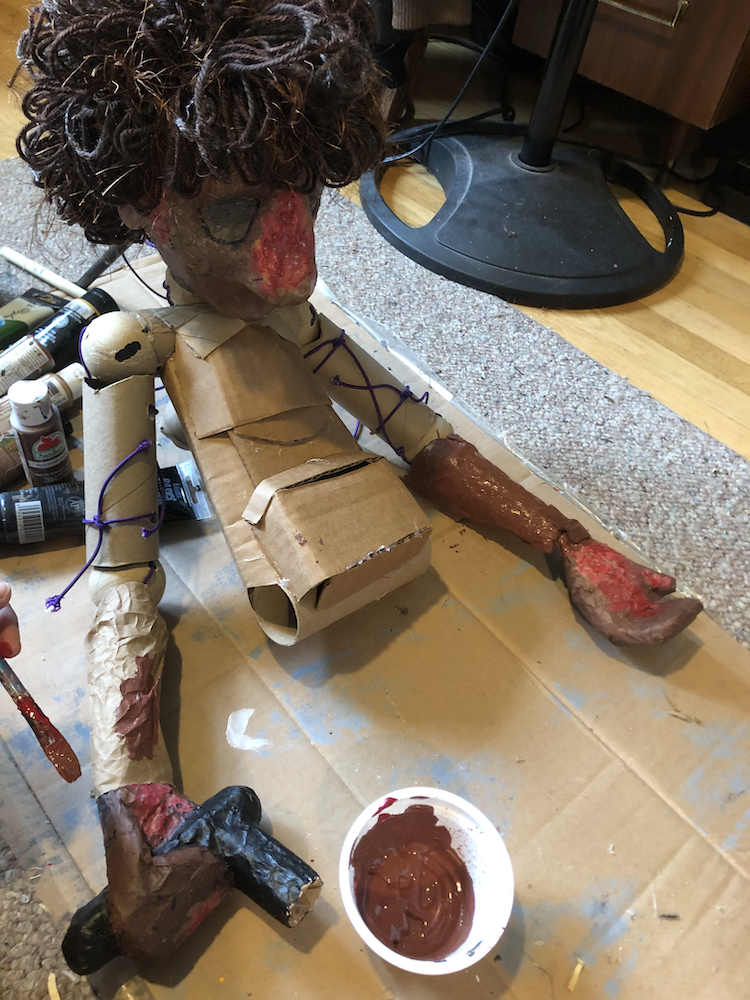
After initial shading, I go over with multiple passes of splatter paint and dry brushing in all sorts of colors. I like to include greens and blues in the mix to mimic the variety in real skin. I also painted blue into the corners of her eyes, which makes the black of her eyes look even darker. Under bright lights, even solid black tends to look dark brown, so a little blue looks blacker than black. Why does she have solid black eyes? Similar to her not having a mouth, I didn't want to lock into one expression or another.
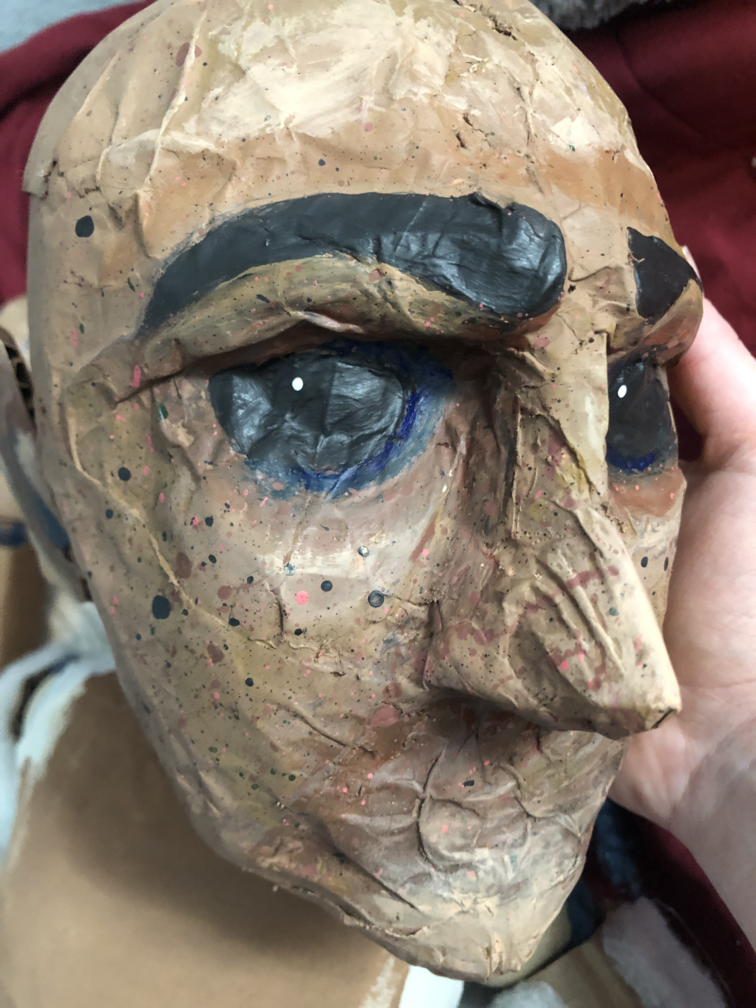
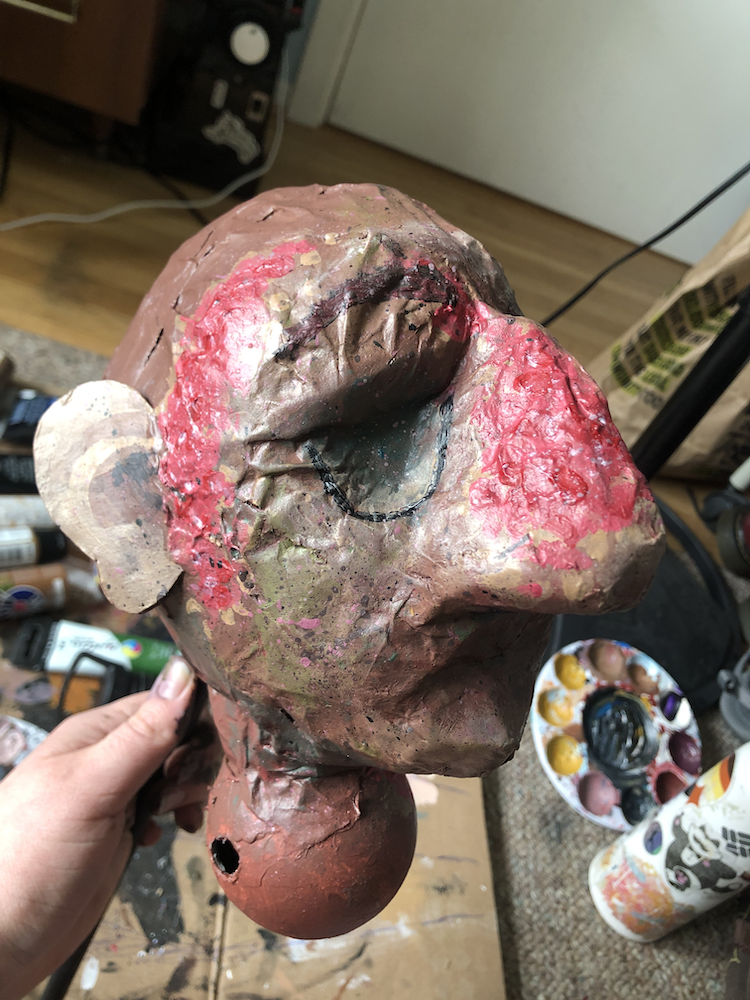
Face after additional painting
I also painted her hands and feet at this time.
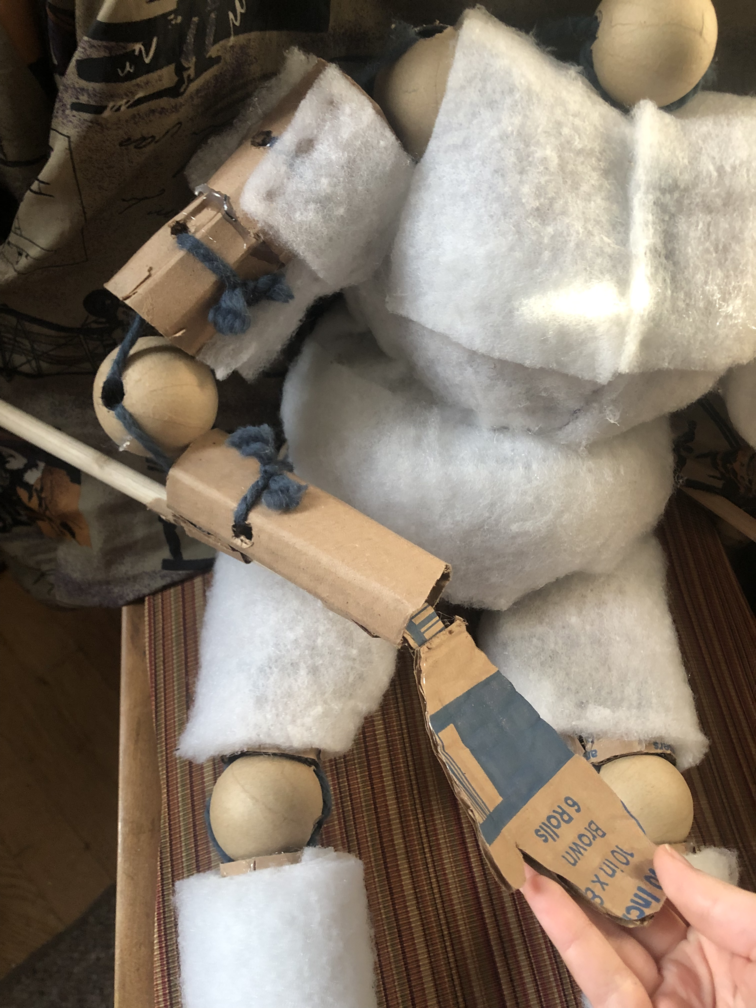
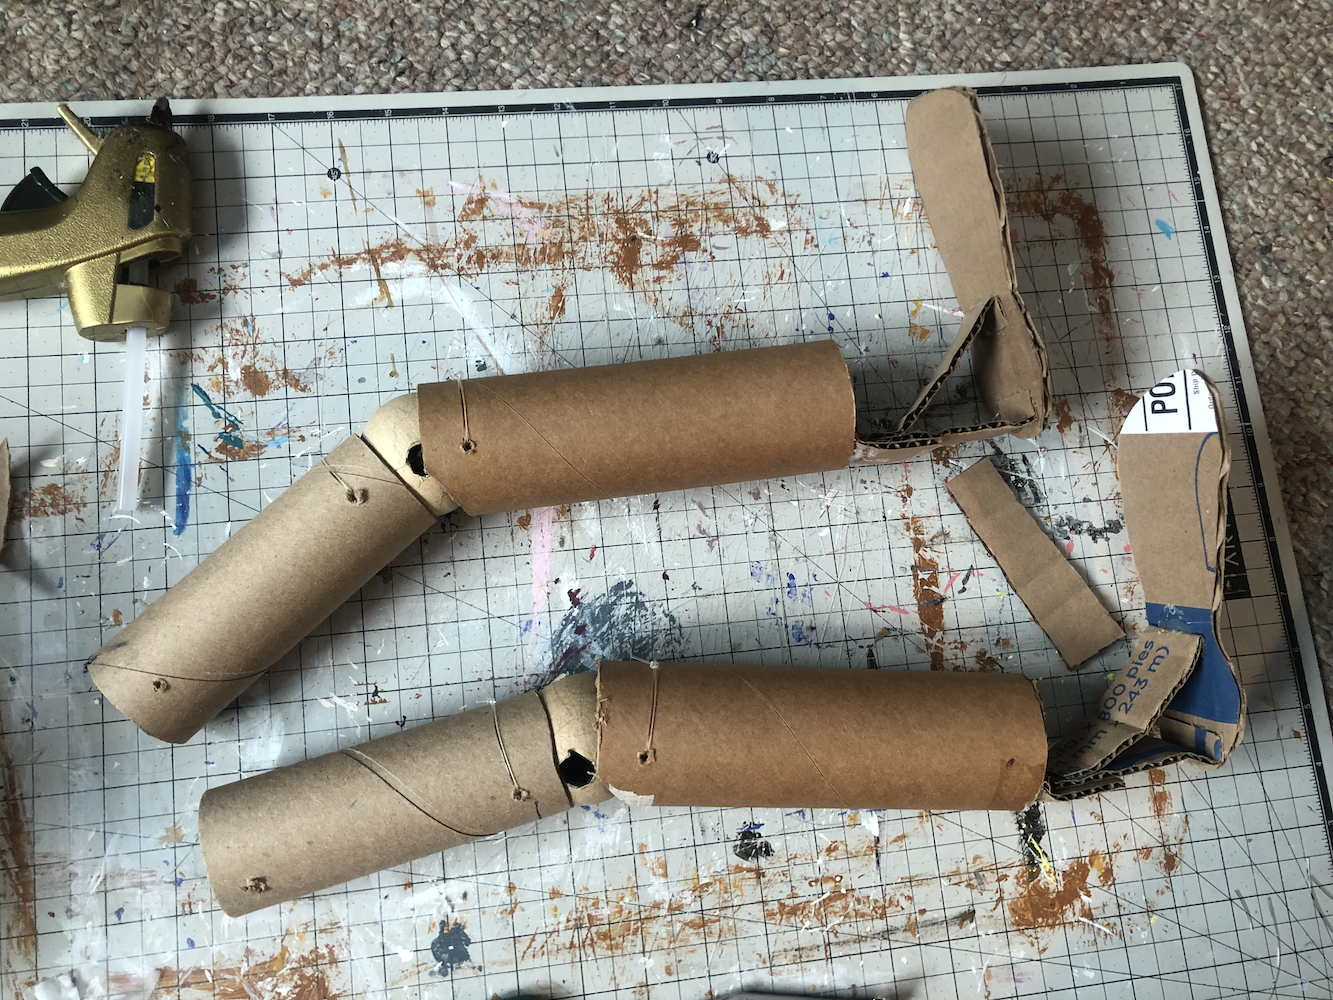
Leg Replacement
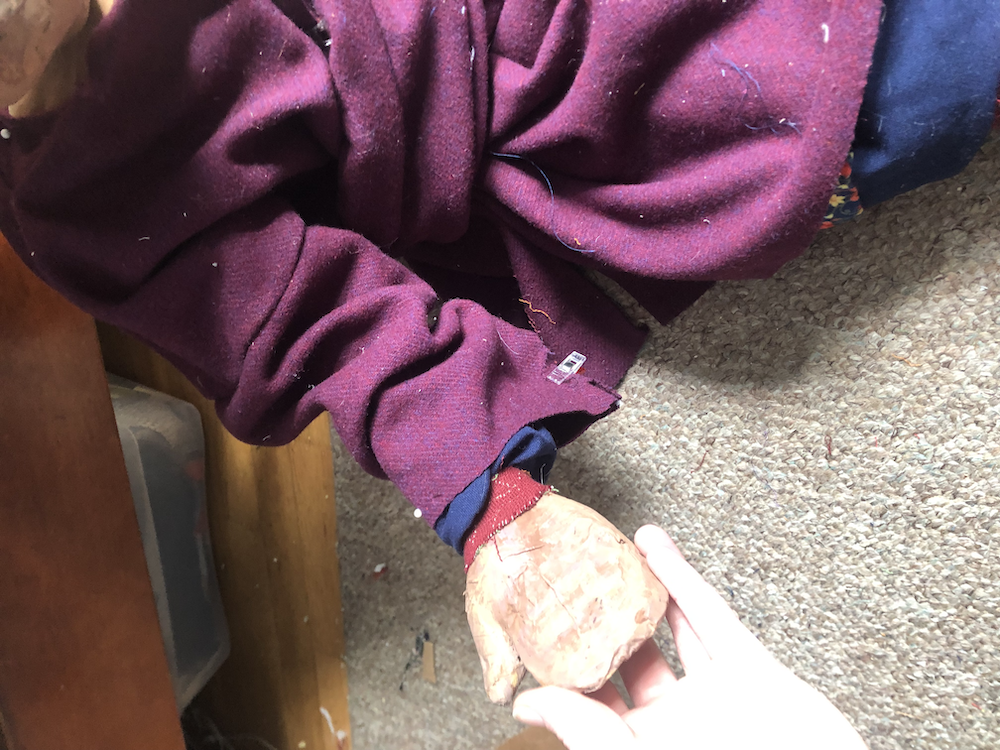
As you can see in some of the earlier photos, her arms were originally custom made tubes of rolled-up cardboard. These weren't super strong, so when I got more paper towel tubes, I decided to replace all of the limb sections. It didn't take too long since all that was needed was cutting some new holes and re-stringing the pieces.
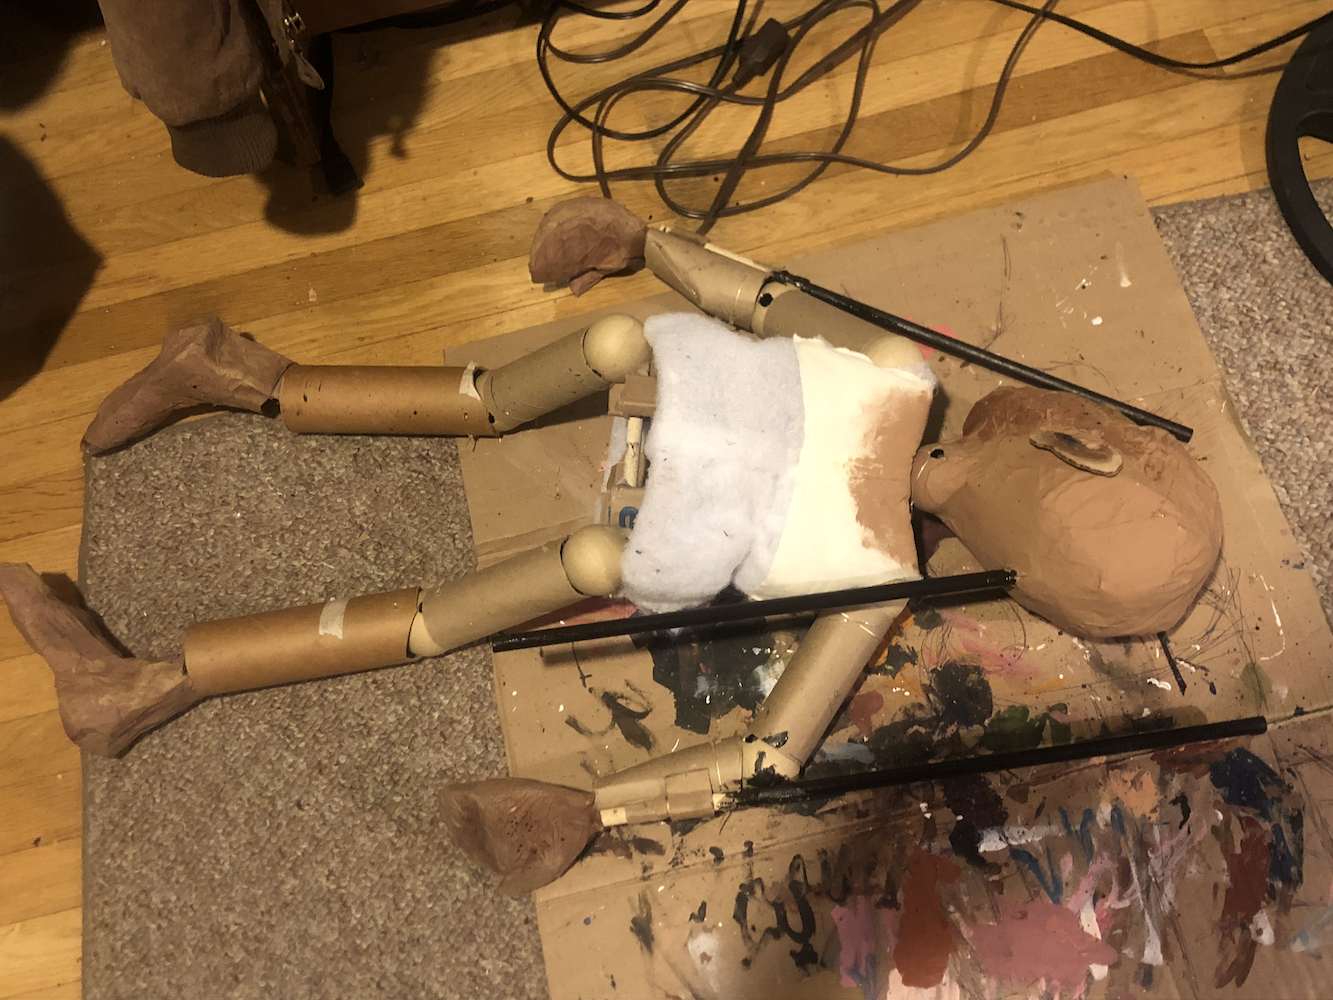
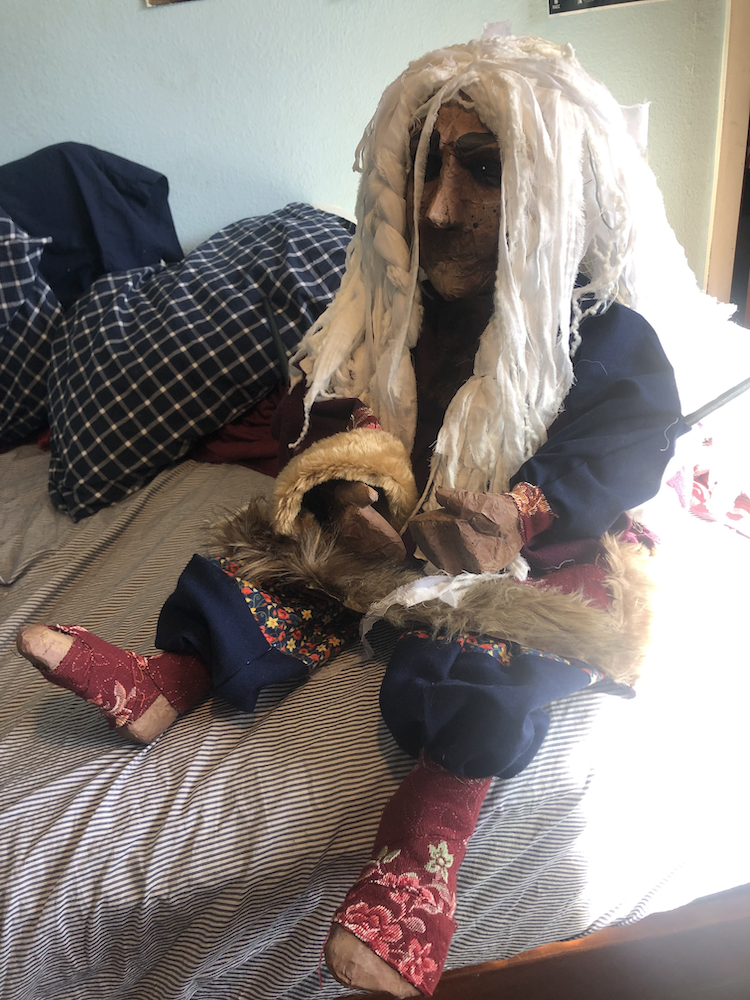
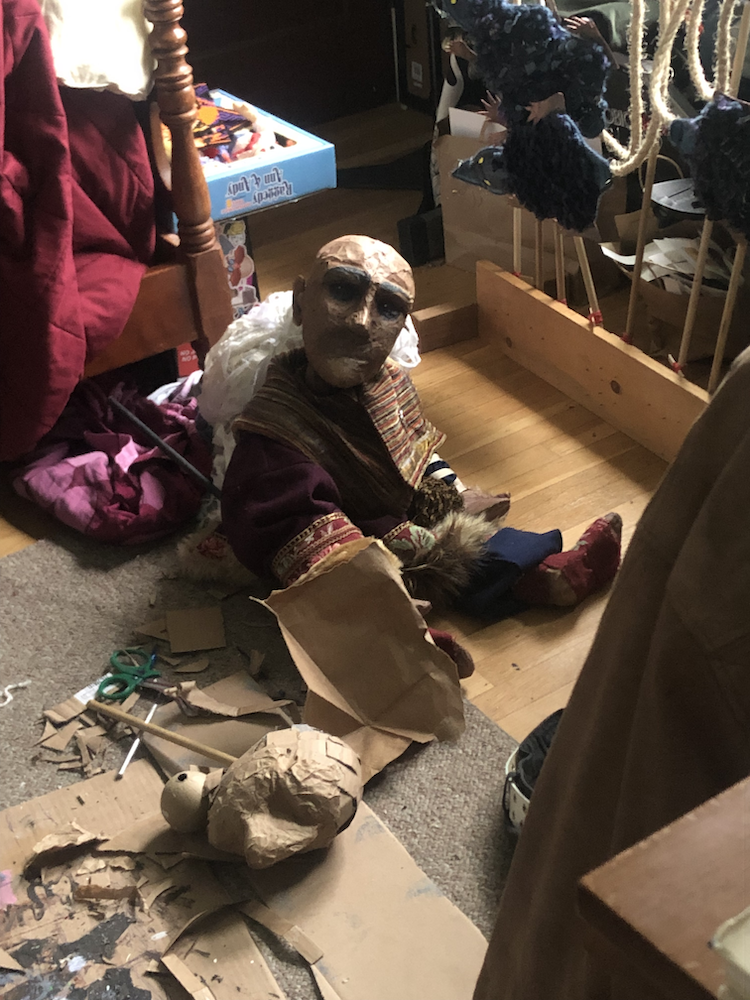
This is the point where the puppet lying facedown starts to be a little uncanny huh
Clothes
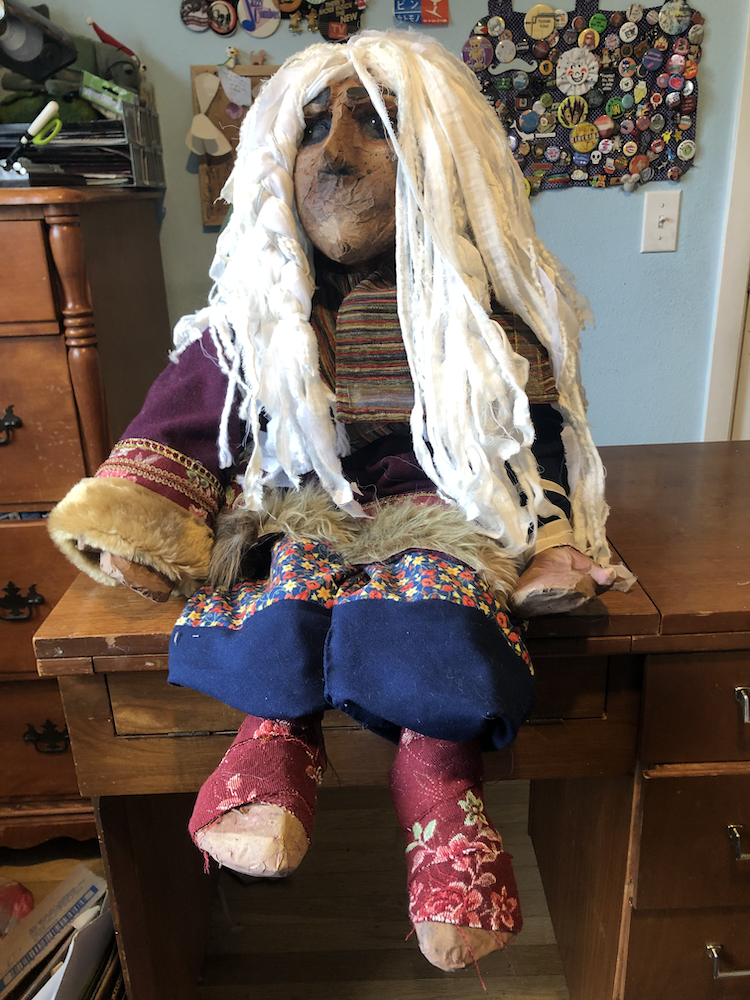
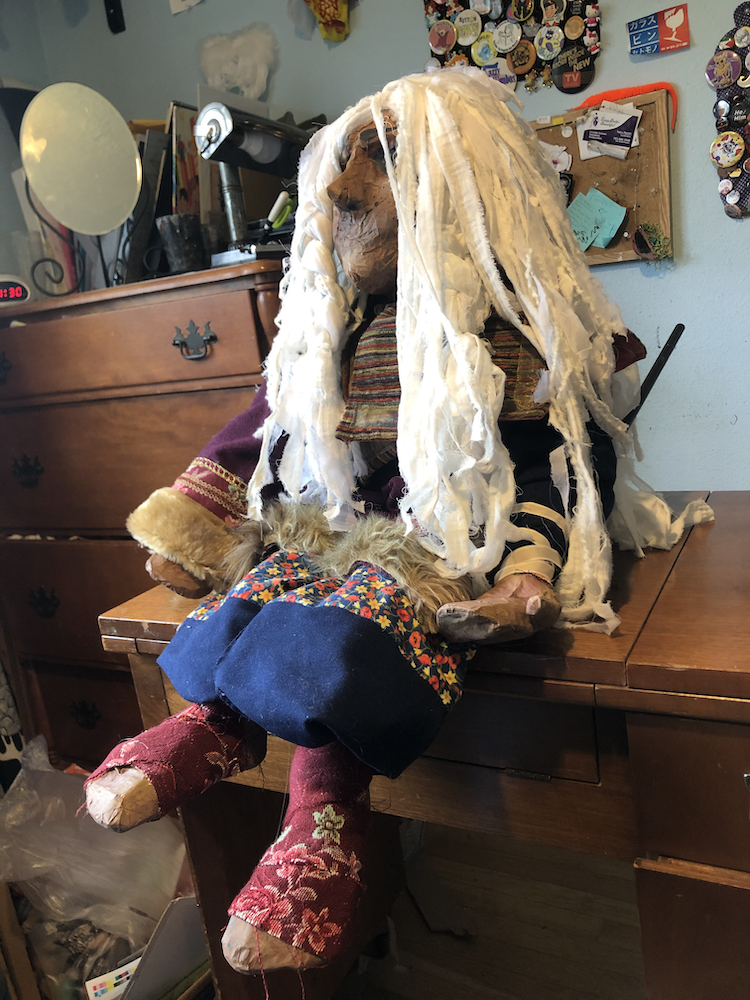
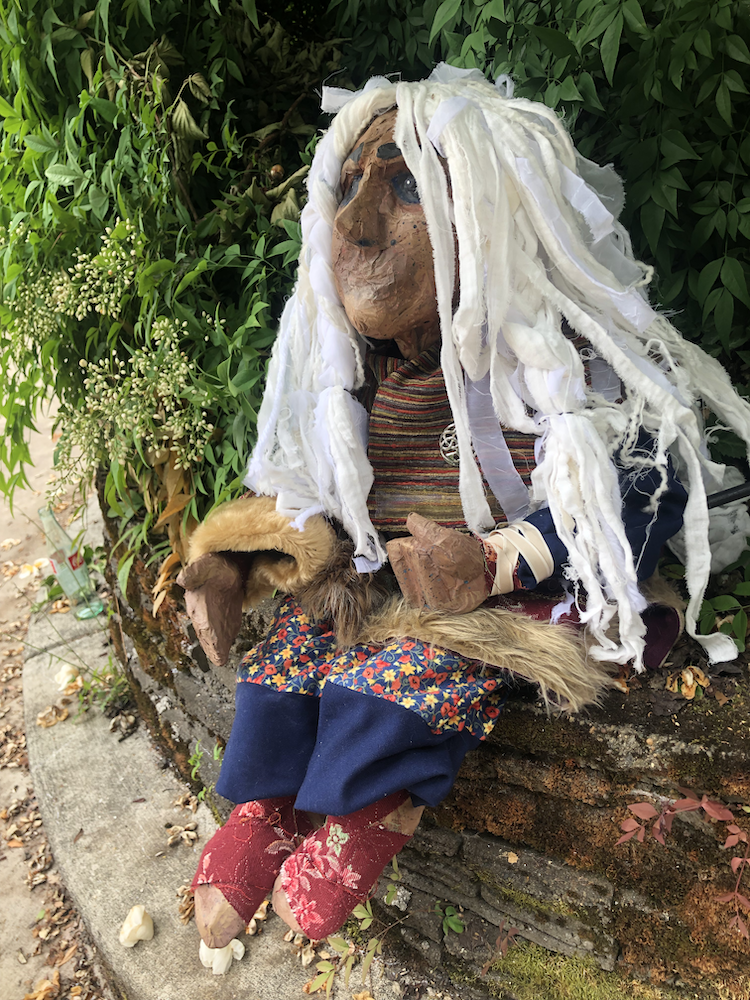
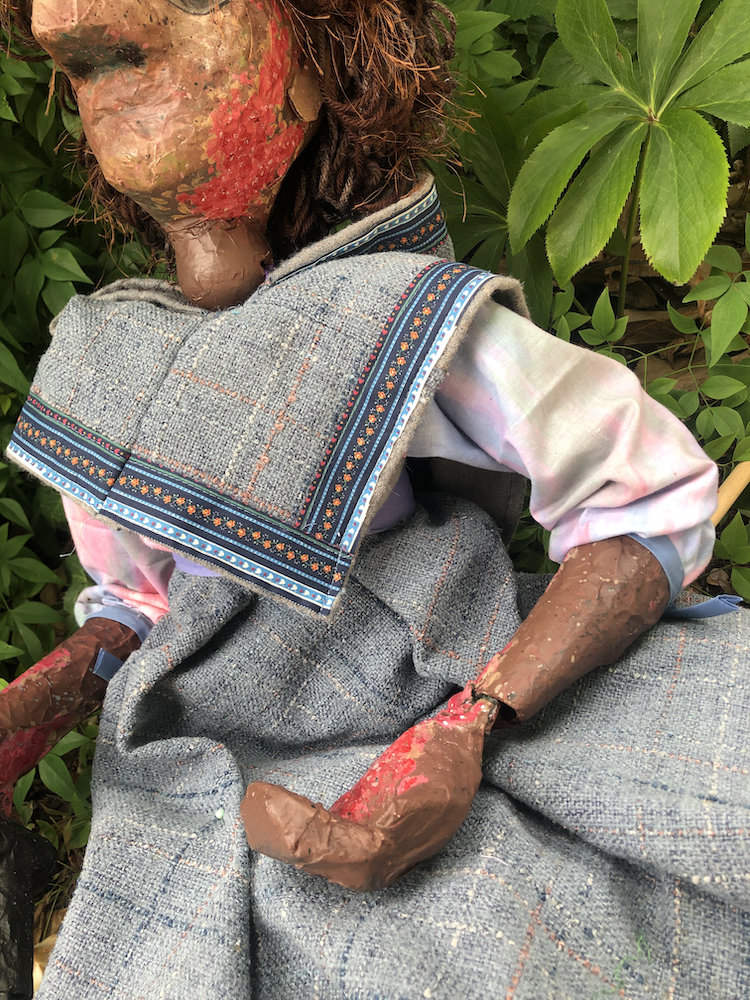
Her story has always been vaguely set in a pre-medieval northern Europe. She never had a very specific design though, and I went into the making of her clothes by using scraps and fabric I could easily buy secondhand, instead of fitting them to a pre-existing design. Since she's a puppet, another important factor is limiting how many layers of fabric are on any of her joints, to not limit her movement. Since she'll be wearing a tunic, I only gave her sleeves of her undershirt, one of which doesn't even cover up to her shoulder. I often depict her with fur, and I know I want her outfit to balance abundance and texture with earthy colors and a mismatched feel. She has no reason to worry about money, and has collected many adorned and embroidered things she enjoys over the years, but isn't concerned that much about having a distinct style or showing off wealth. While onprojects like my smaller Brúni doll I did all the beaded embroidery by hand, my goal with this project is simply how they will look onstage, so premade fabrics and ribbons will suffice to provide the patterns I want.
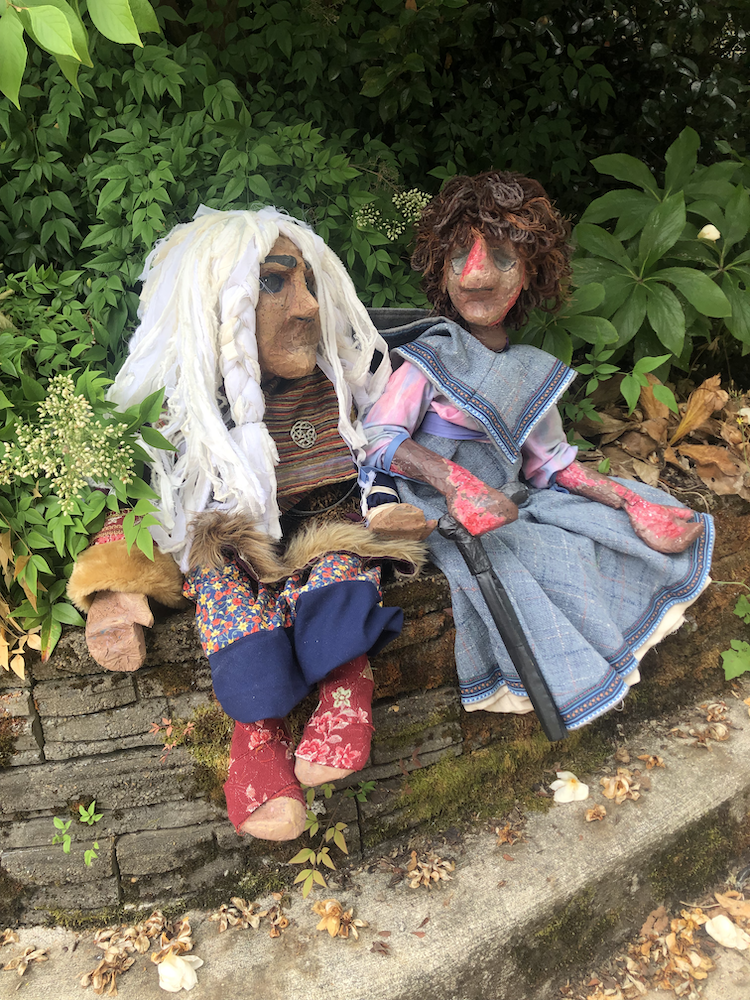
Since I had two characters to dress, I decided to focus on layers and detail instead of high detail or craftsmanship. They sure look good from a distance, but if you got much closer you'd definitely see how messy my work was here. It's all rectangles. I measured her and cut out some simple rectangle pants that would be large enough to gather and hide the simple shape. Showing how scrappy the plans for these were, I ran out of the floral fabric here and filled in the space with more of the dark blue.
Pants, sleeves, and foot and hand wraps
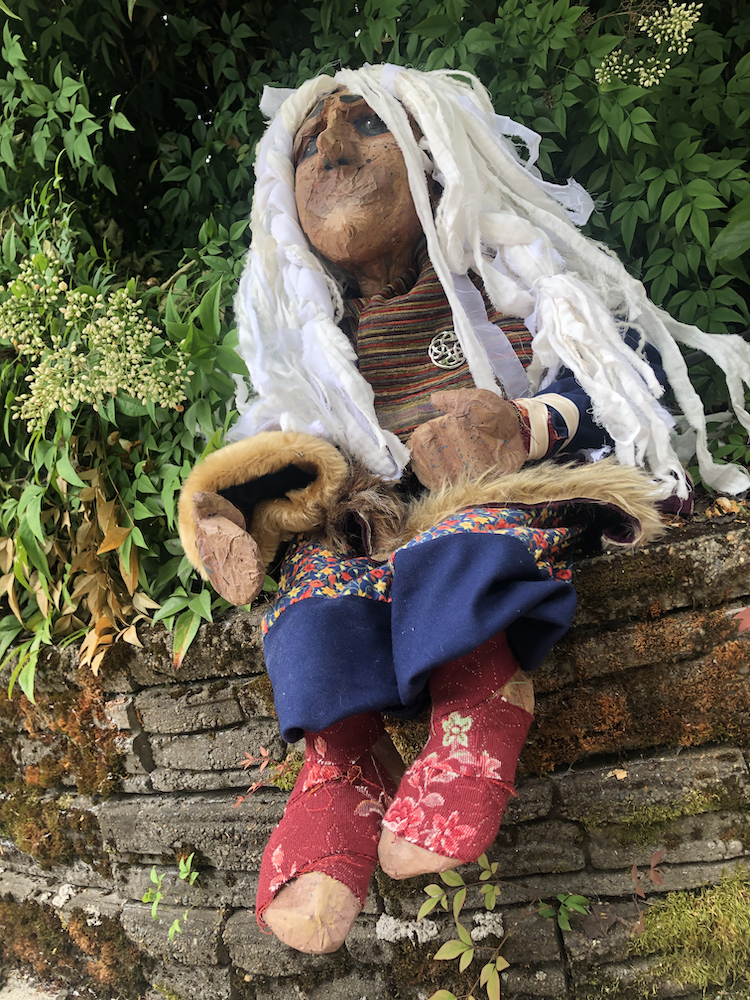
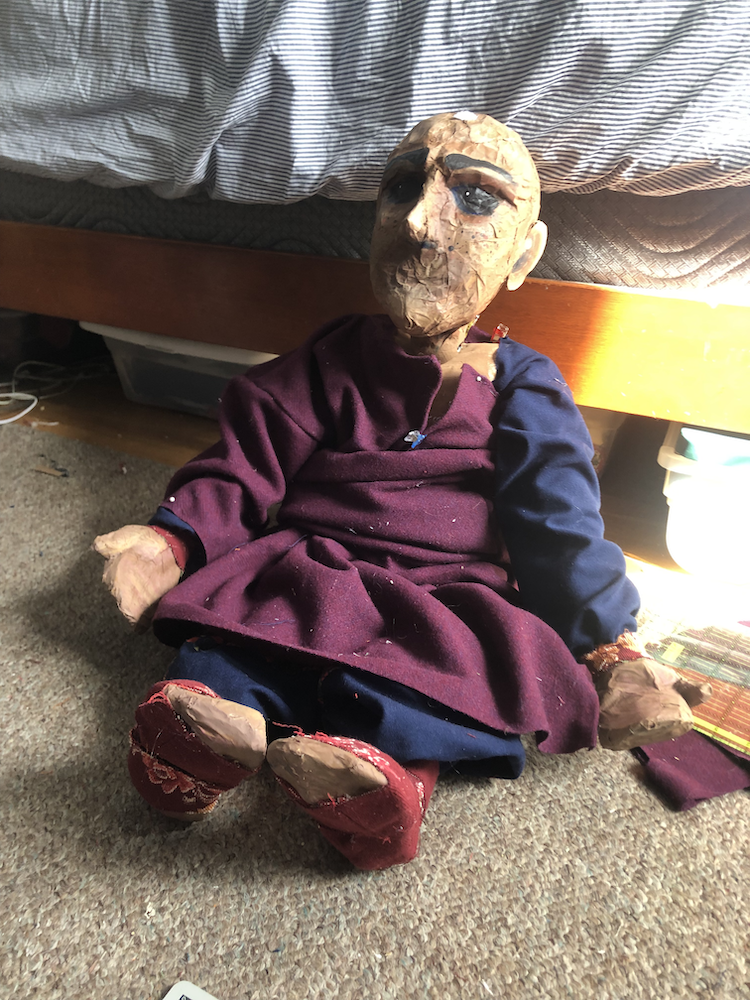
After the clothes were finished, I sewed them into place along her waist and arms, and glued the cuffs to her ankles and wrists. To hide the edges, I gave her wraps around her feet and hands using a patterned upholstry fabric.
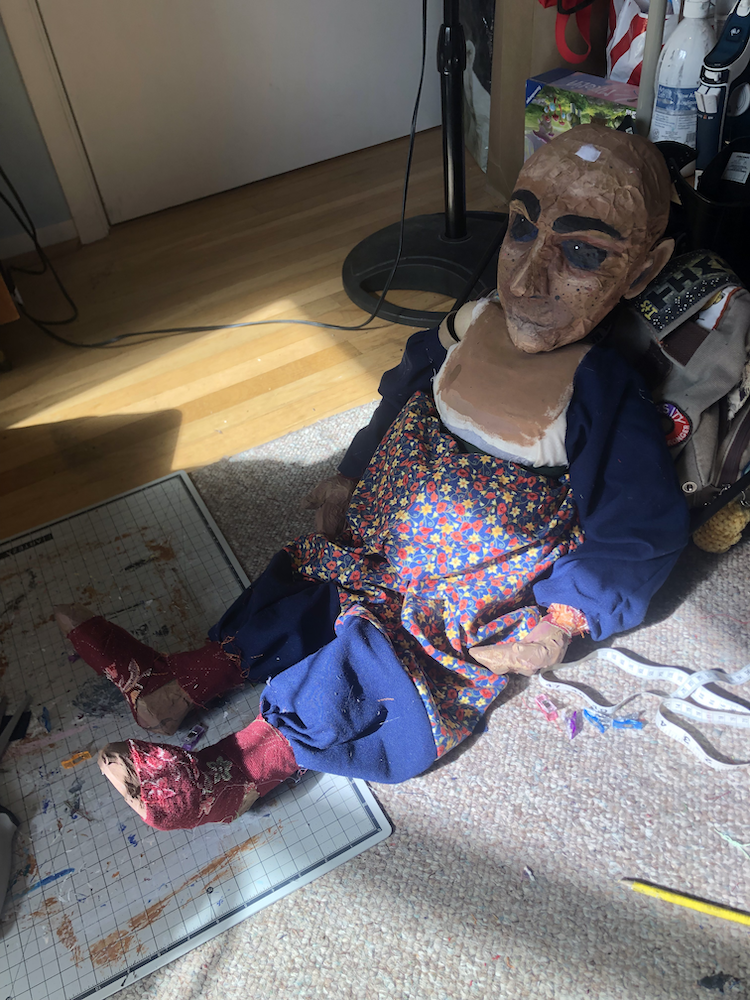
Her tunic is made from a wool shirt I had originally made for a costume that turned out to be too small. I didn't even take in the sides, I only had to cut about a foot of fabric from the bottom and recut the side slits. She's wearing it asymetrically so I could show off the sleeve of the undershirt and add some visual interest.
Testing the tunic, before I had made her under layer
Since remeber, she has poles sticking out of her arms, I had to cut the side seams of the sleeves to fit the fabric over and around the control rods. With the undersleeves this was easy, since they're just tubes of fabric that don't also have to fit over her entire body, but trying to wrestle her into the tunic was an annoying process. I cut the side seams where I needed to and clipped them into place for the initial tests of the fit and movement, but couldn't sew them on until everything had been attached.
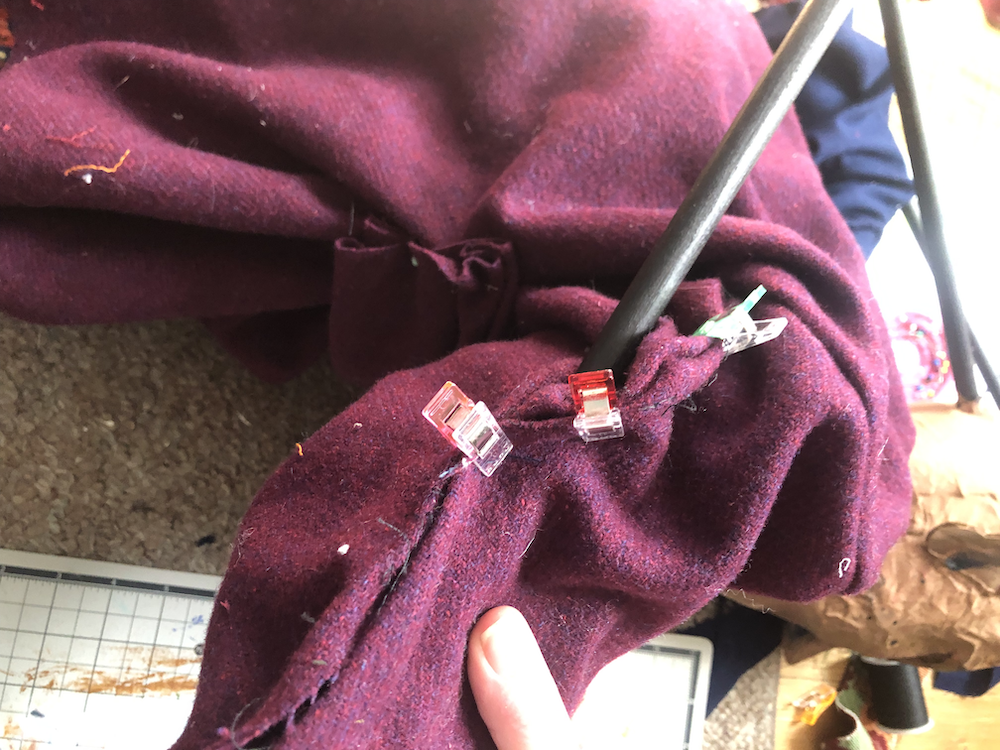
Clips along her underarm seam that opens to allow her control rods through
Taking the tunic off again was like wrestling with a toddler, but I had to one more time to sew on the trim. With more of the same floral upholstry fabric and a bunch of scrap fur from previous projects, I recklessly pinned and zig-zag stitched my way to a properly detailed and busy garment. Seriously none of this is hemmed or even folded under, just layered and stitched. I didn't bother doing the other arm, since I knew it would be tucked into her belt by her side and out of sight.
The final time I put the tunic on, and could finally sew it in place
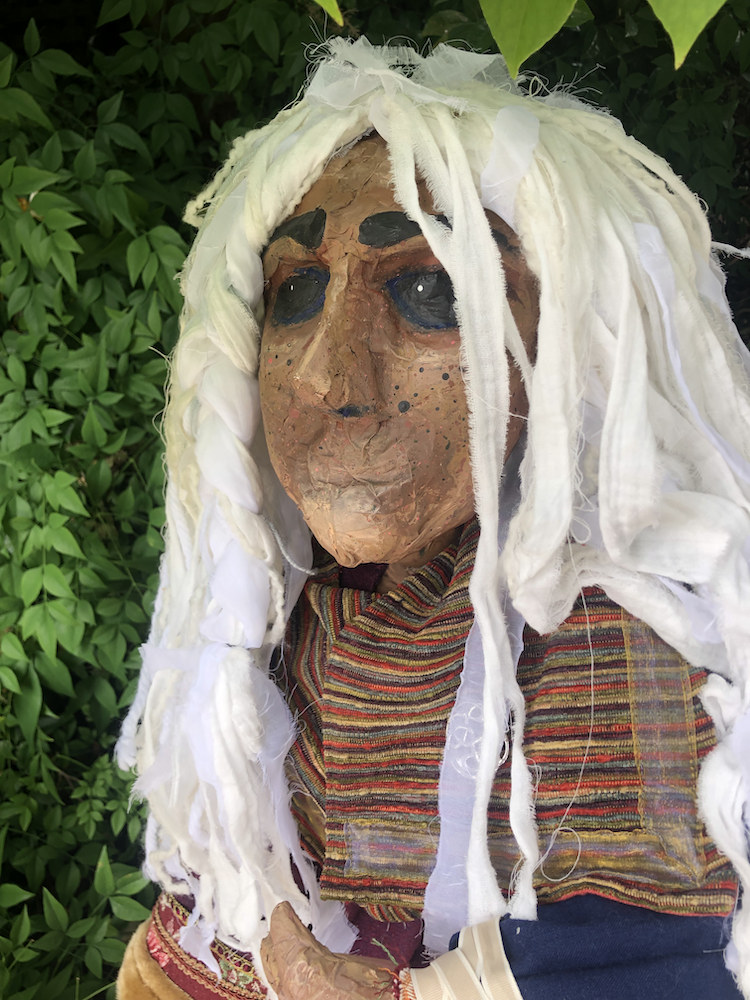
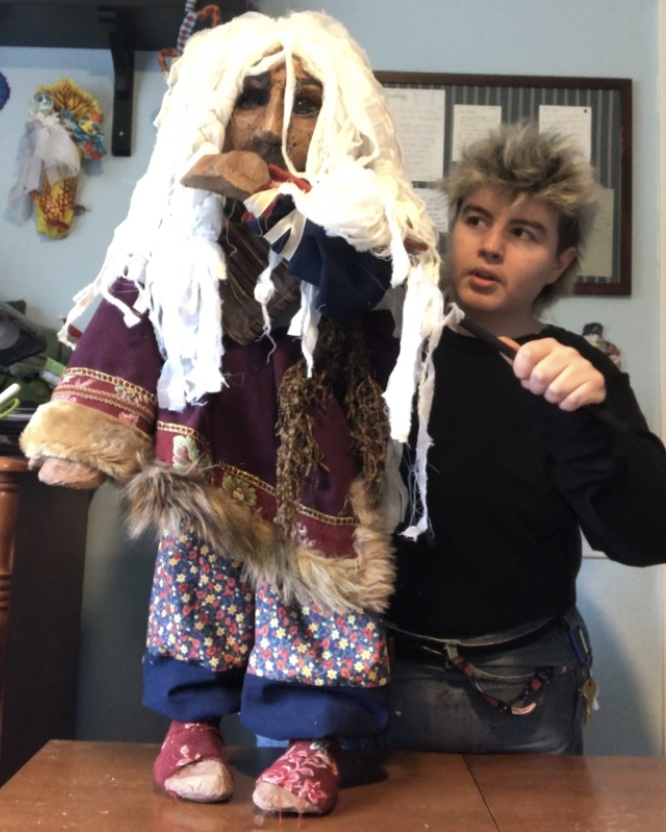
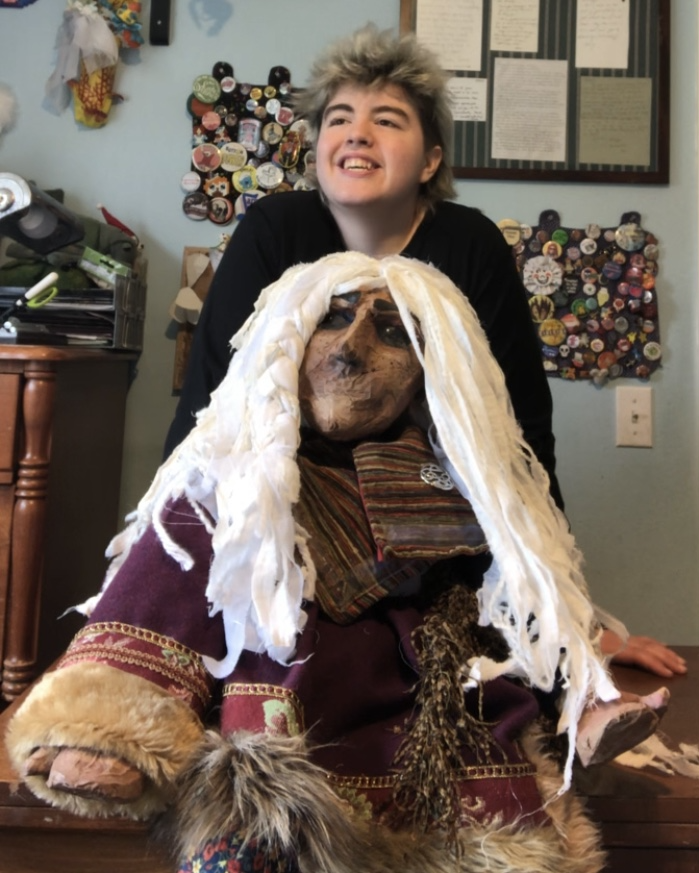
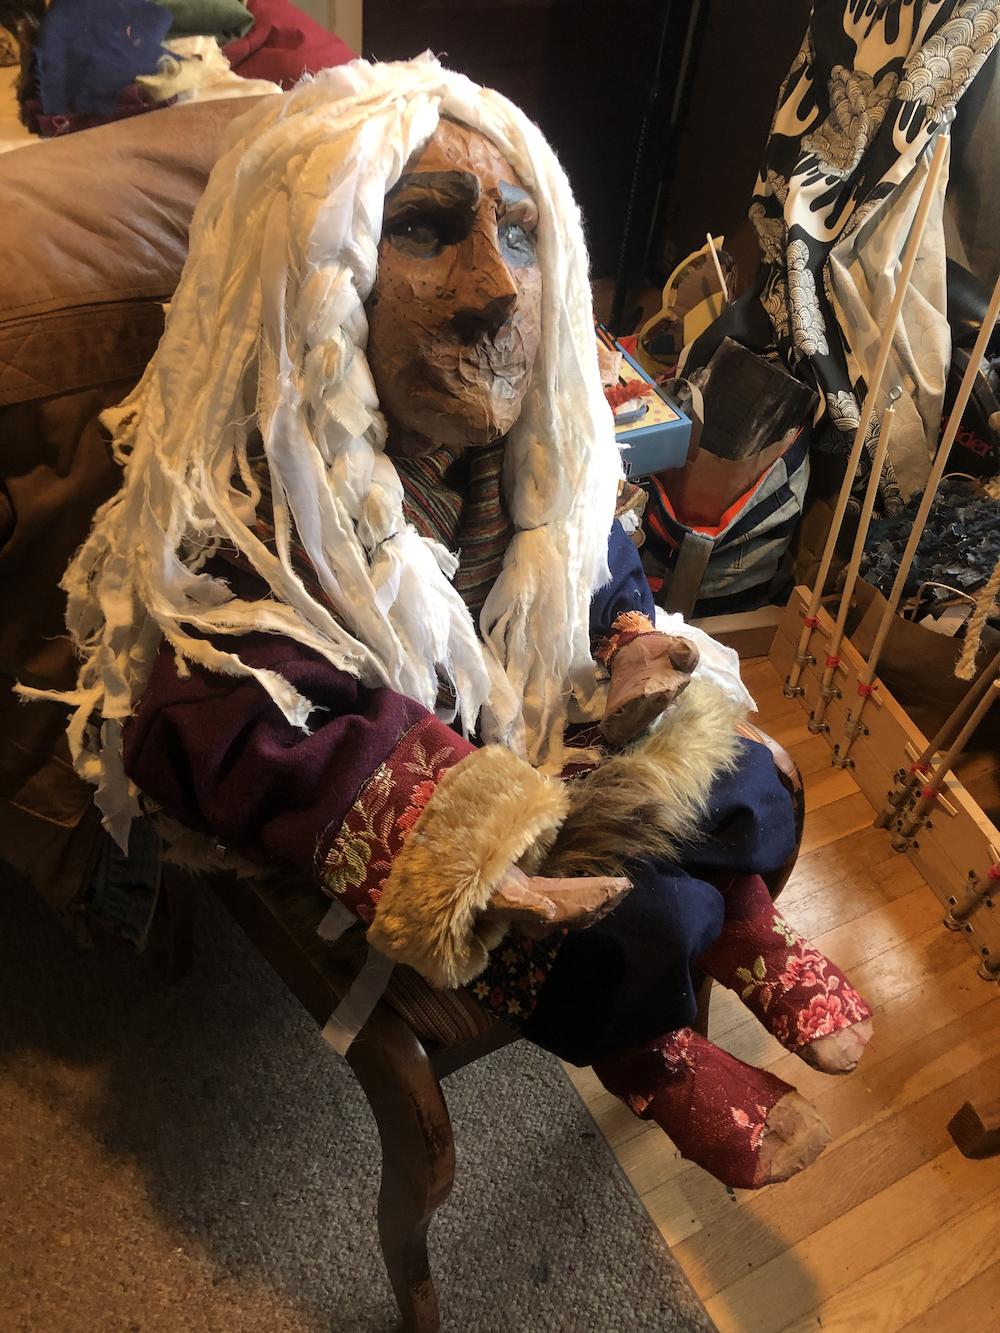
Making the Wig
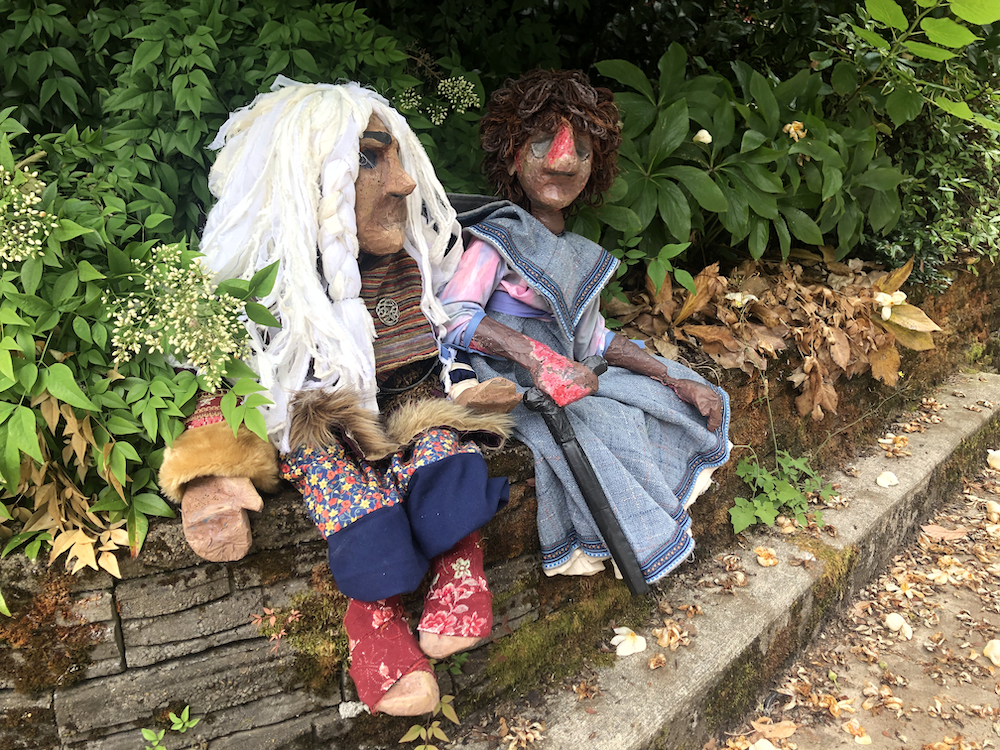
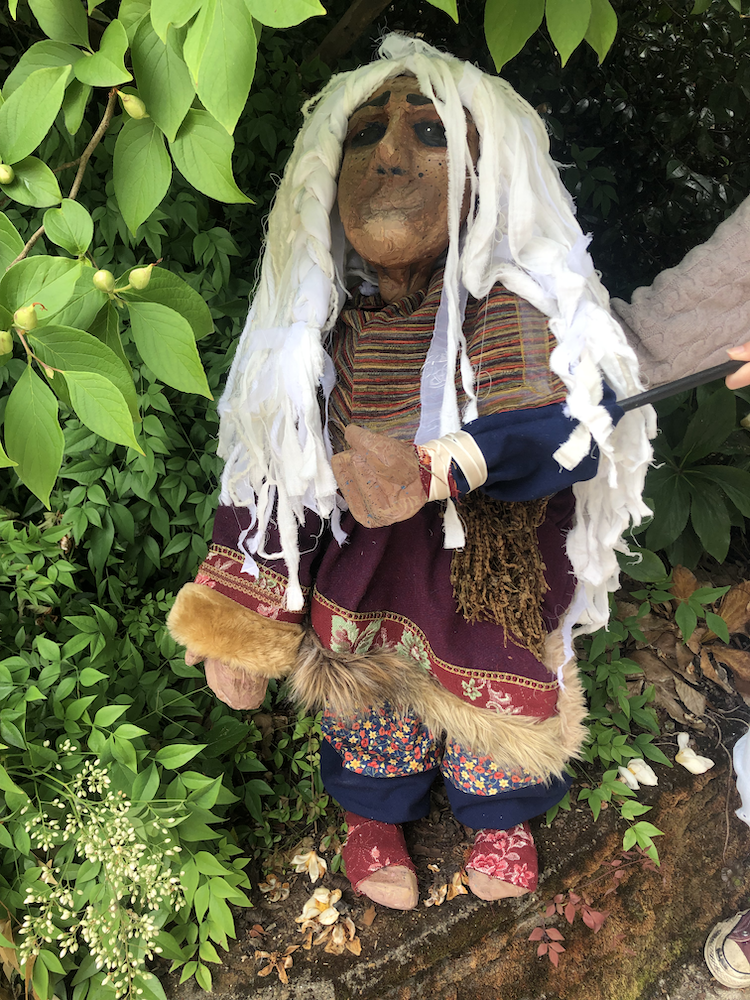
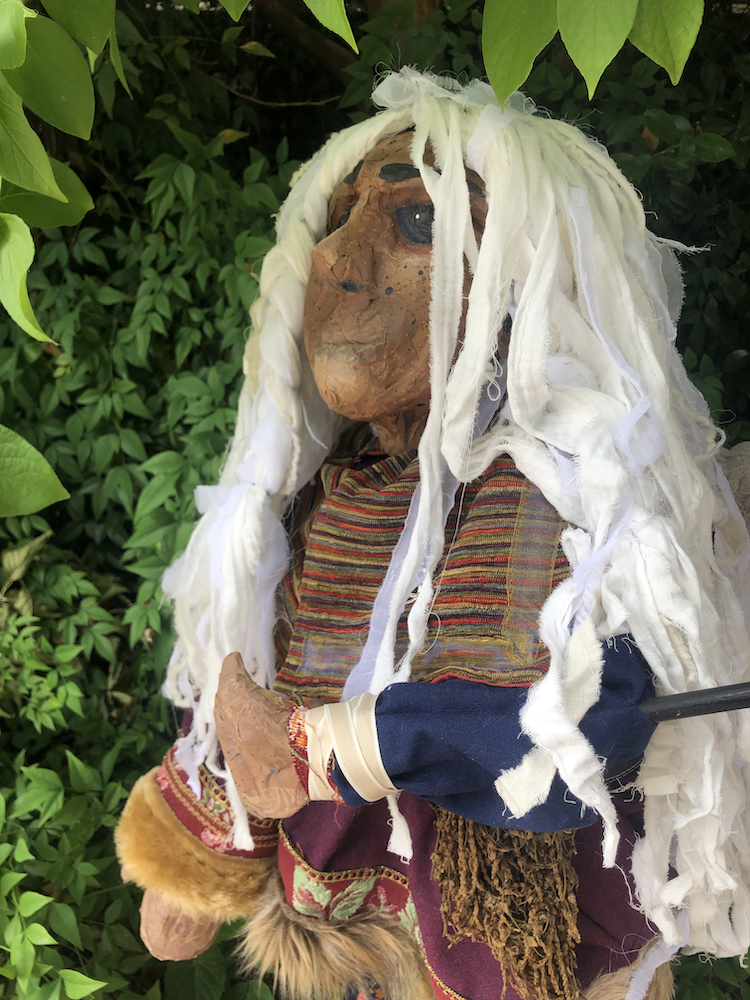
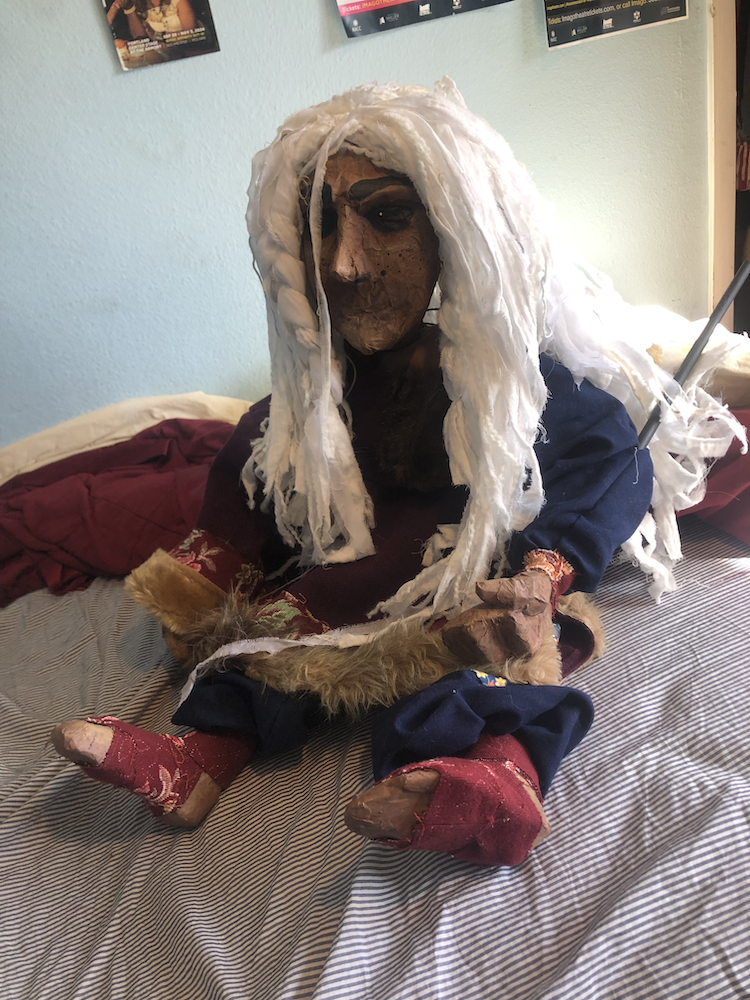
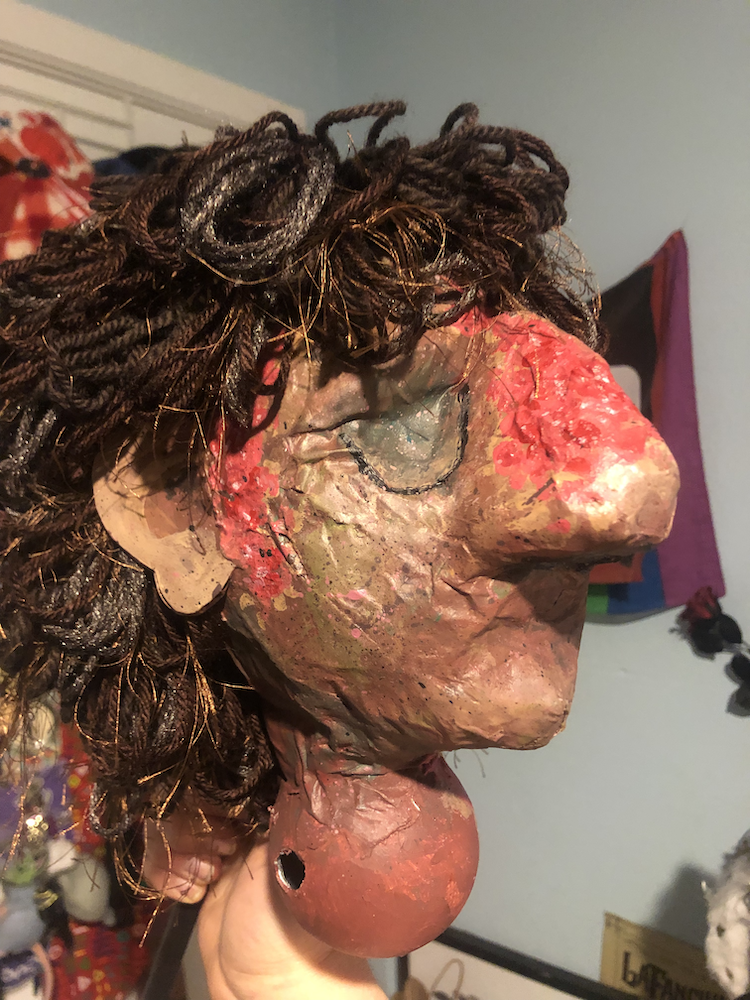
If there is one factor that has remained with Brævmohr ever since she was created, it's that she has HAIR. Waist-length locks of thick, white hair that define her silhouette. Working off my previous projects combining textures (my rats, or my yarn wefts on projects like Bustopher) I chose to make her hair out of a mix of fabric strips and many different textures of yarn.
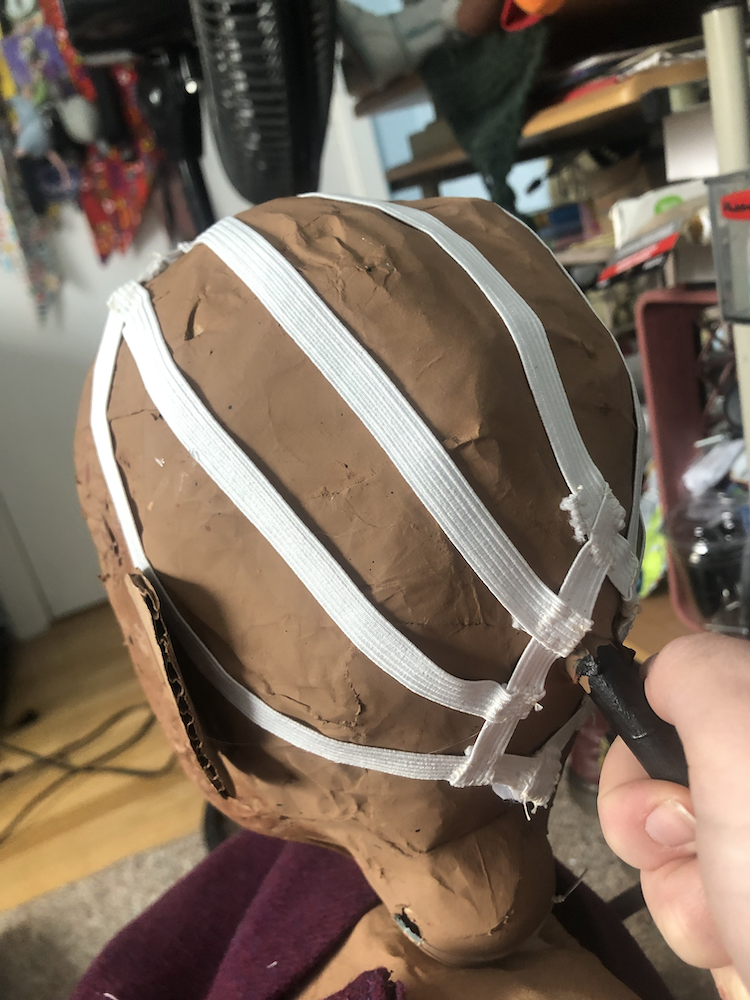
First she needed a wig base. This was made out of elastic strips and attached to her forehead with velcro.
Starting at the bottom row, I sewed the "hair" along each strip of elastic while varrying the mix of scraps and yarn. For the part on top of her head, I sewed along the middle of the strips so they completely hid the elastic and covered both sides. After trying it on her, the hair struggled to make it around her ears, so I cut most of the hair from the rows right above and near her ears. Then I could style it! By weaving some of the hair back and forth I kept it in place covering the spots between the wefts, and of course had to add her braids. It's still a mess to keep in order and she usually needs a de-tangling after travel, but I love the volume and texture and nothing would be more accurate to the character.
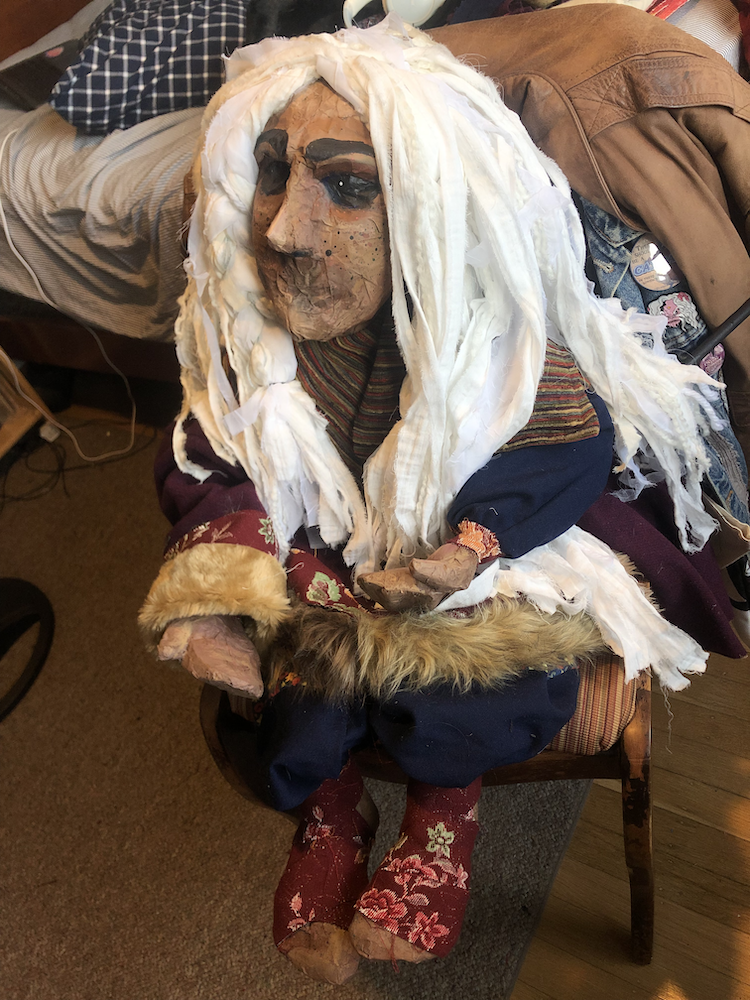
Finishing The Clothes
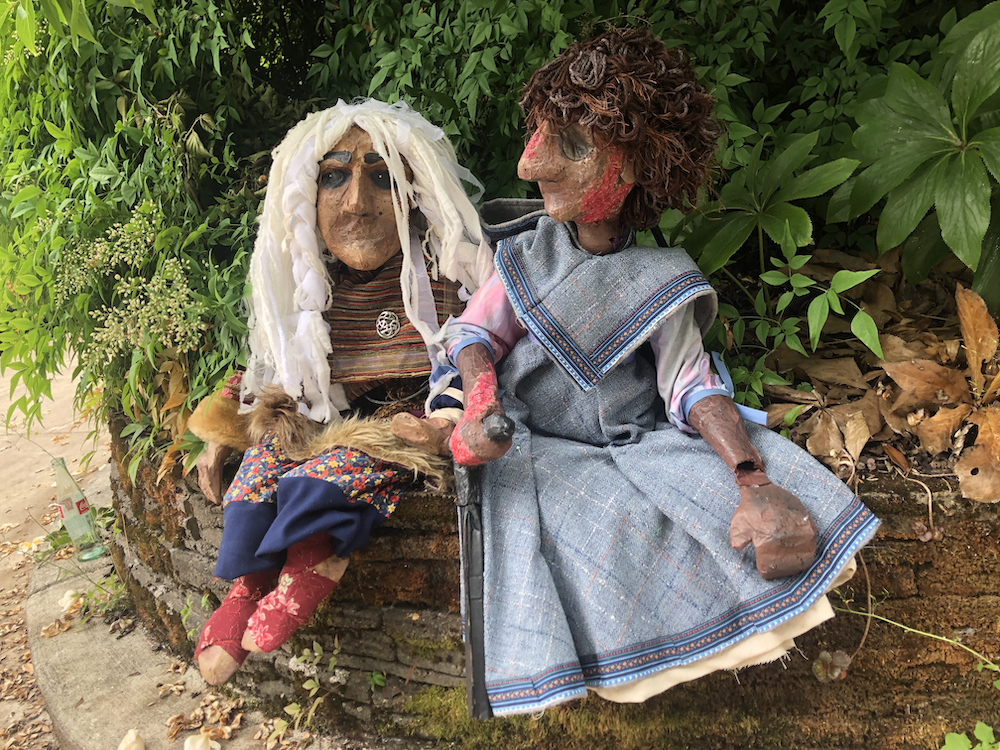
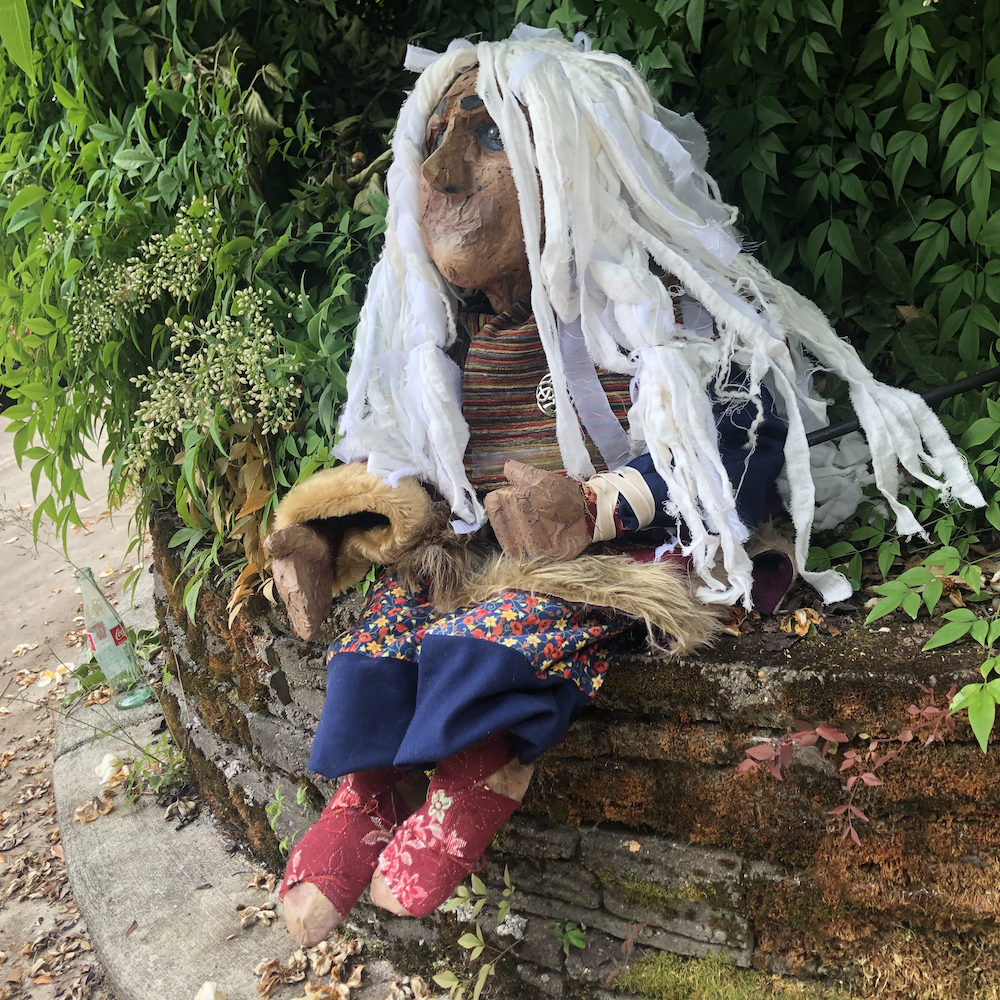
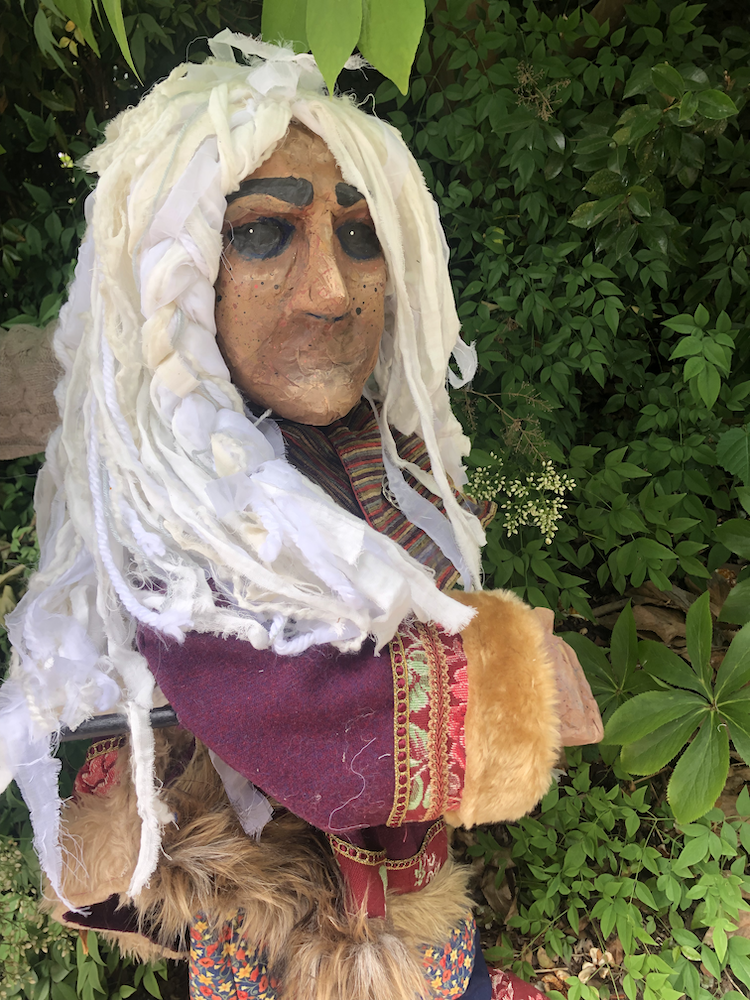
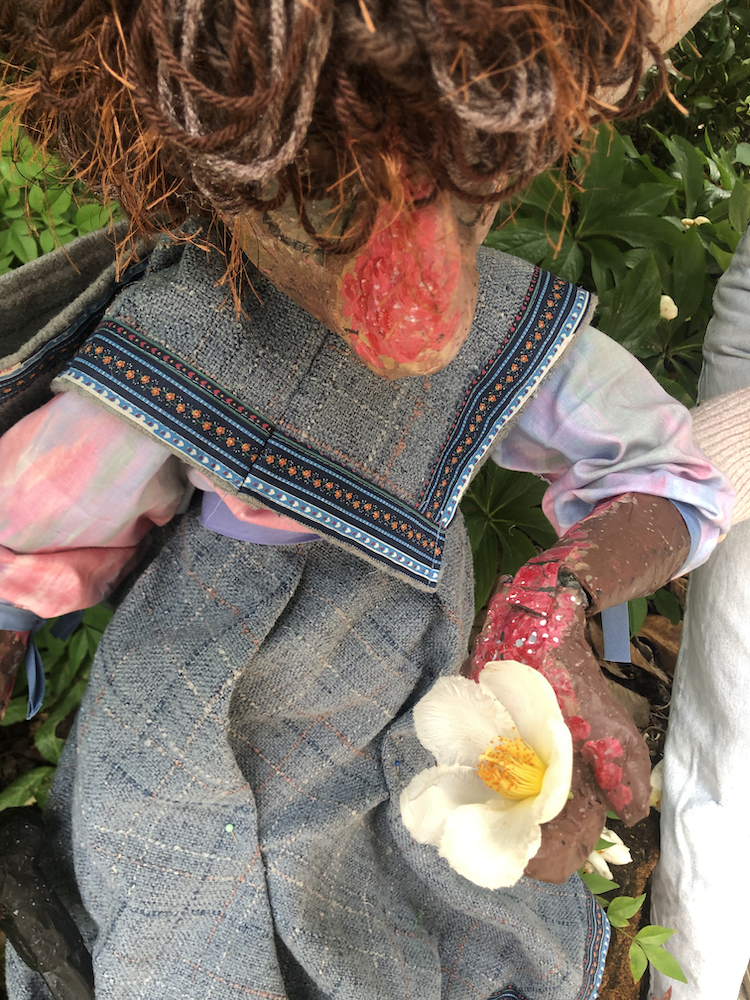
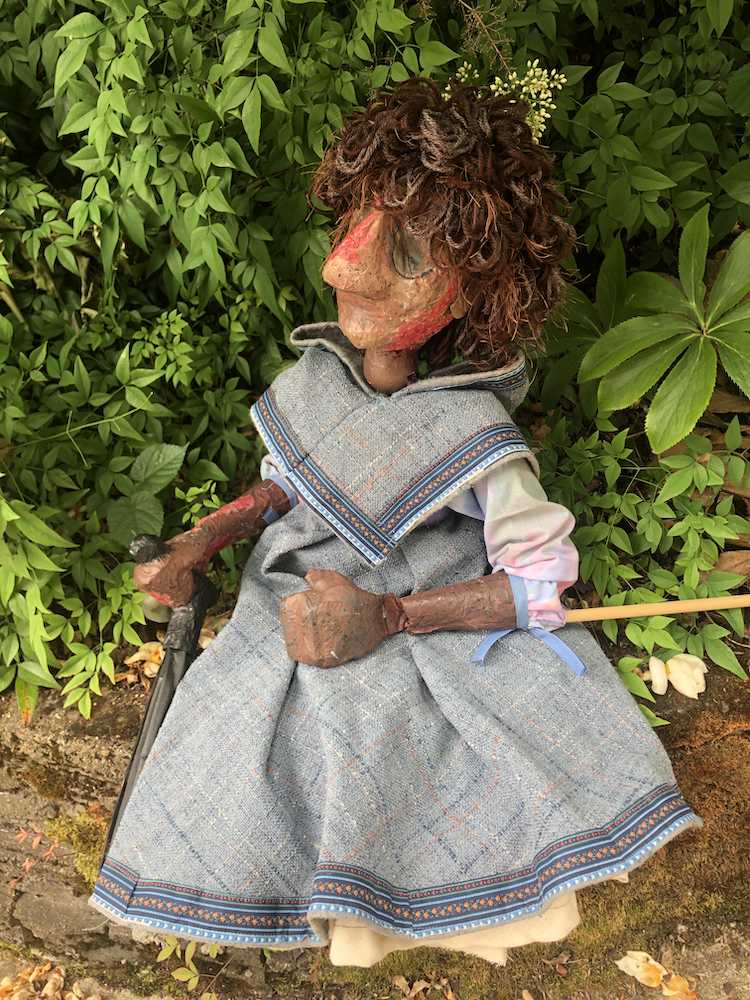
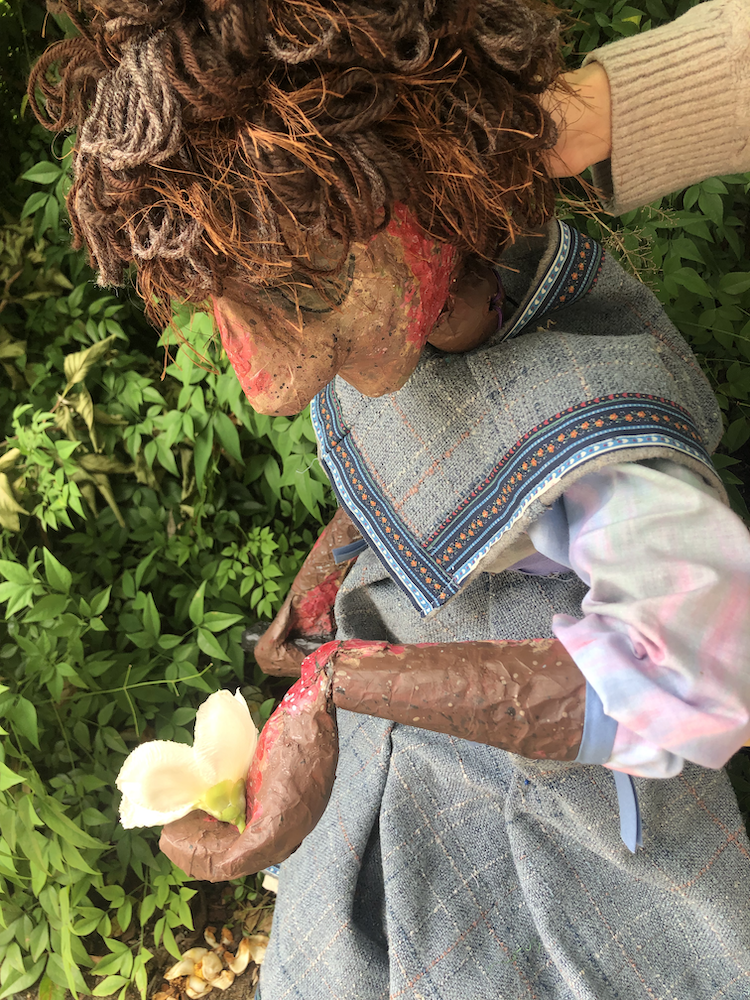
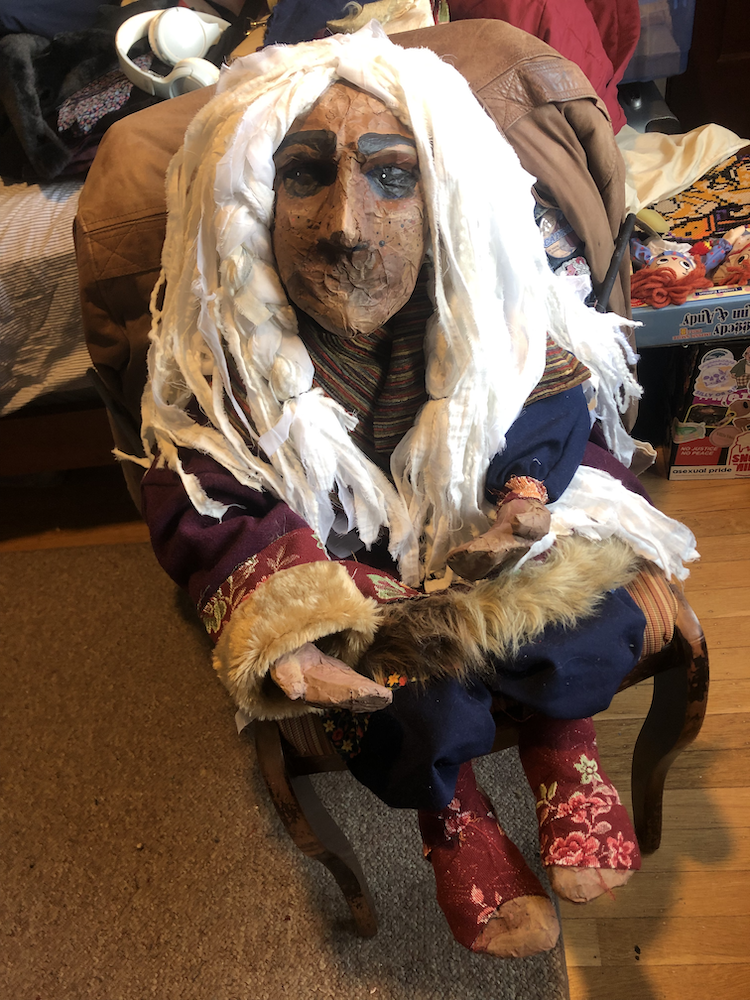
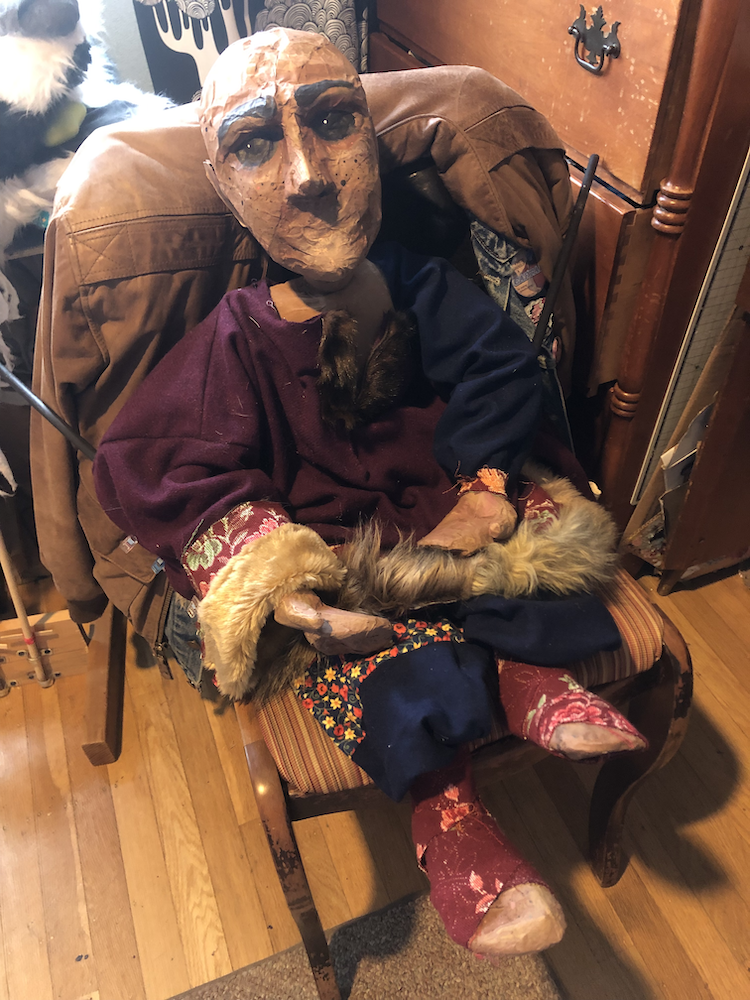
After her hair and clothes were finished, I knew she needed a couple final touches. I had planned to make her something to go around her neck, since the tunic exposed too much of her shoulders and the frame of the puppet itself didn't feel broad enough. I found a square striped piece of fabric already hemmed (I believe it used to be a pillow cover - there is still a zipper on one side) and cut a line through to the middle to create a short cloak to wrap around her neck. I added detail with some iridescent ribbon along the edge, and hemmed everything up to sew in place.
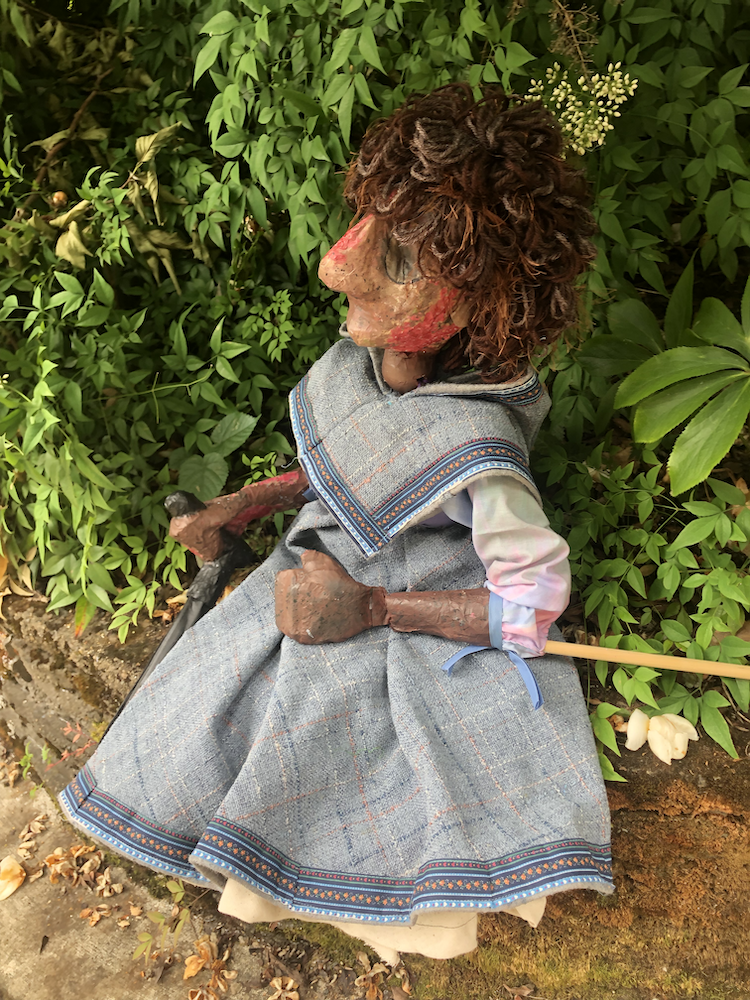
I used two old belts with completely torn-through holes and wrapped one around her waist with the other going over one shoulder and under the other arm. In the belts I could tuck some bits of fringe and straps just for more visual interest. The belts also double as a more sturdy handle on her back that's easy to loop your hand through.