From La Mécanique Du Coeur (The Boy with the Cuckoo-clock Heart)
References
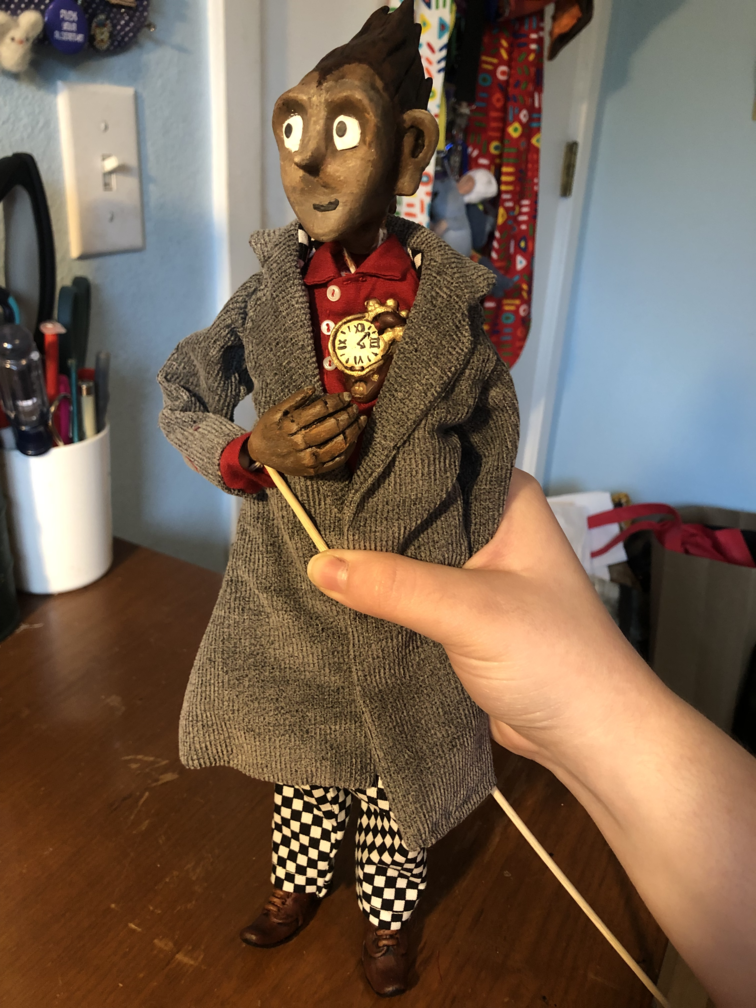
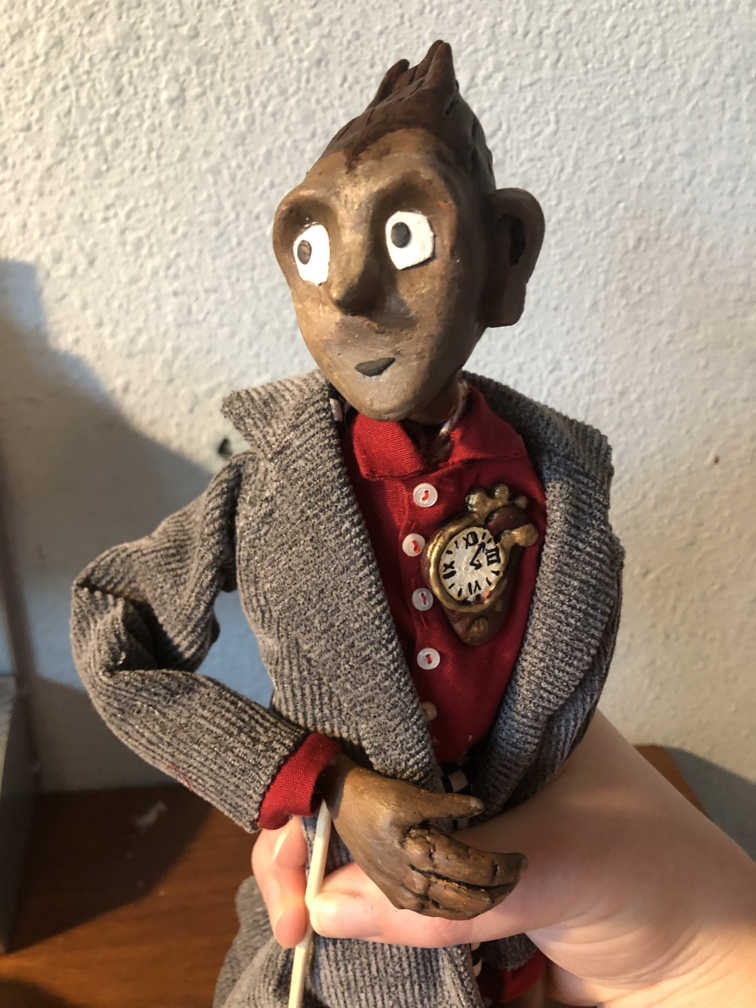
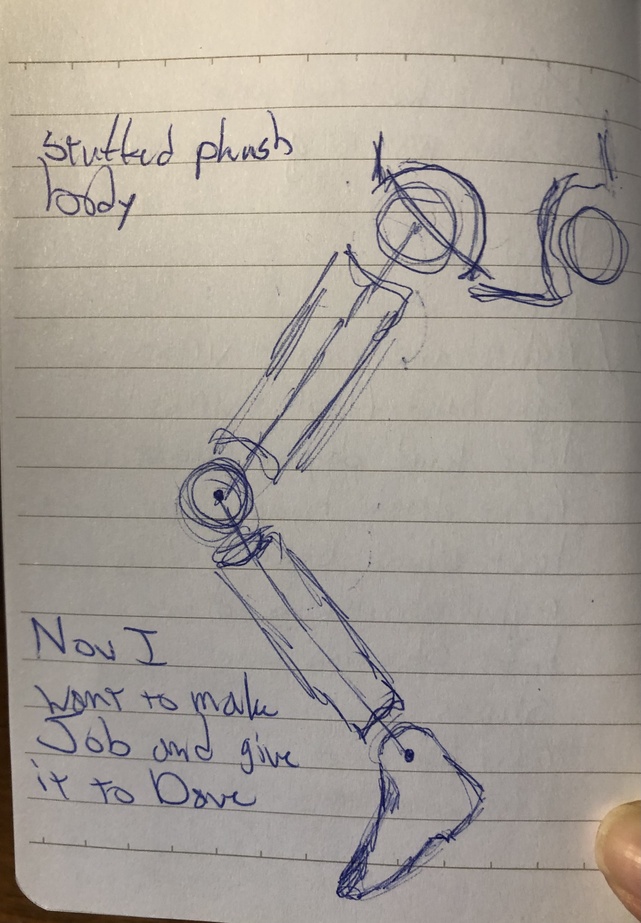
I have another puppet projcet in the works right now, but it's a colaborative piece and I have to wait until more things are set in stone before I can make the actual puppets. So, I decided to make a prototype of the style I'm planning on making these pupepts in! I'm thinking about 10 inches tall, with sculpted heads, hands, and shoes, and jointed bodies.
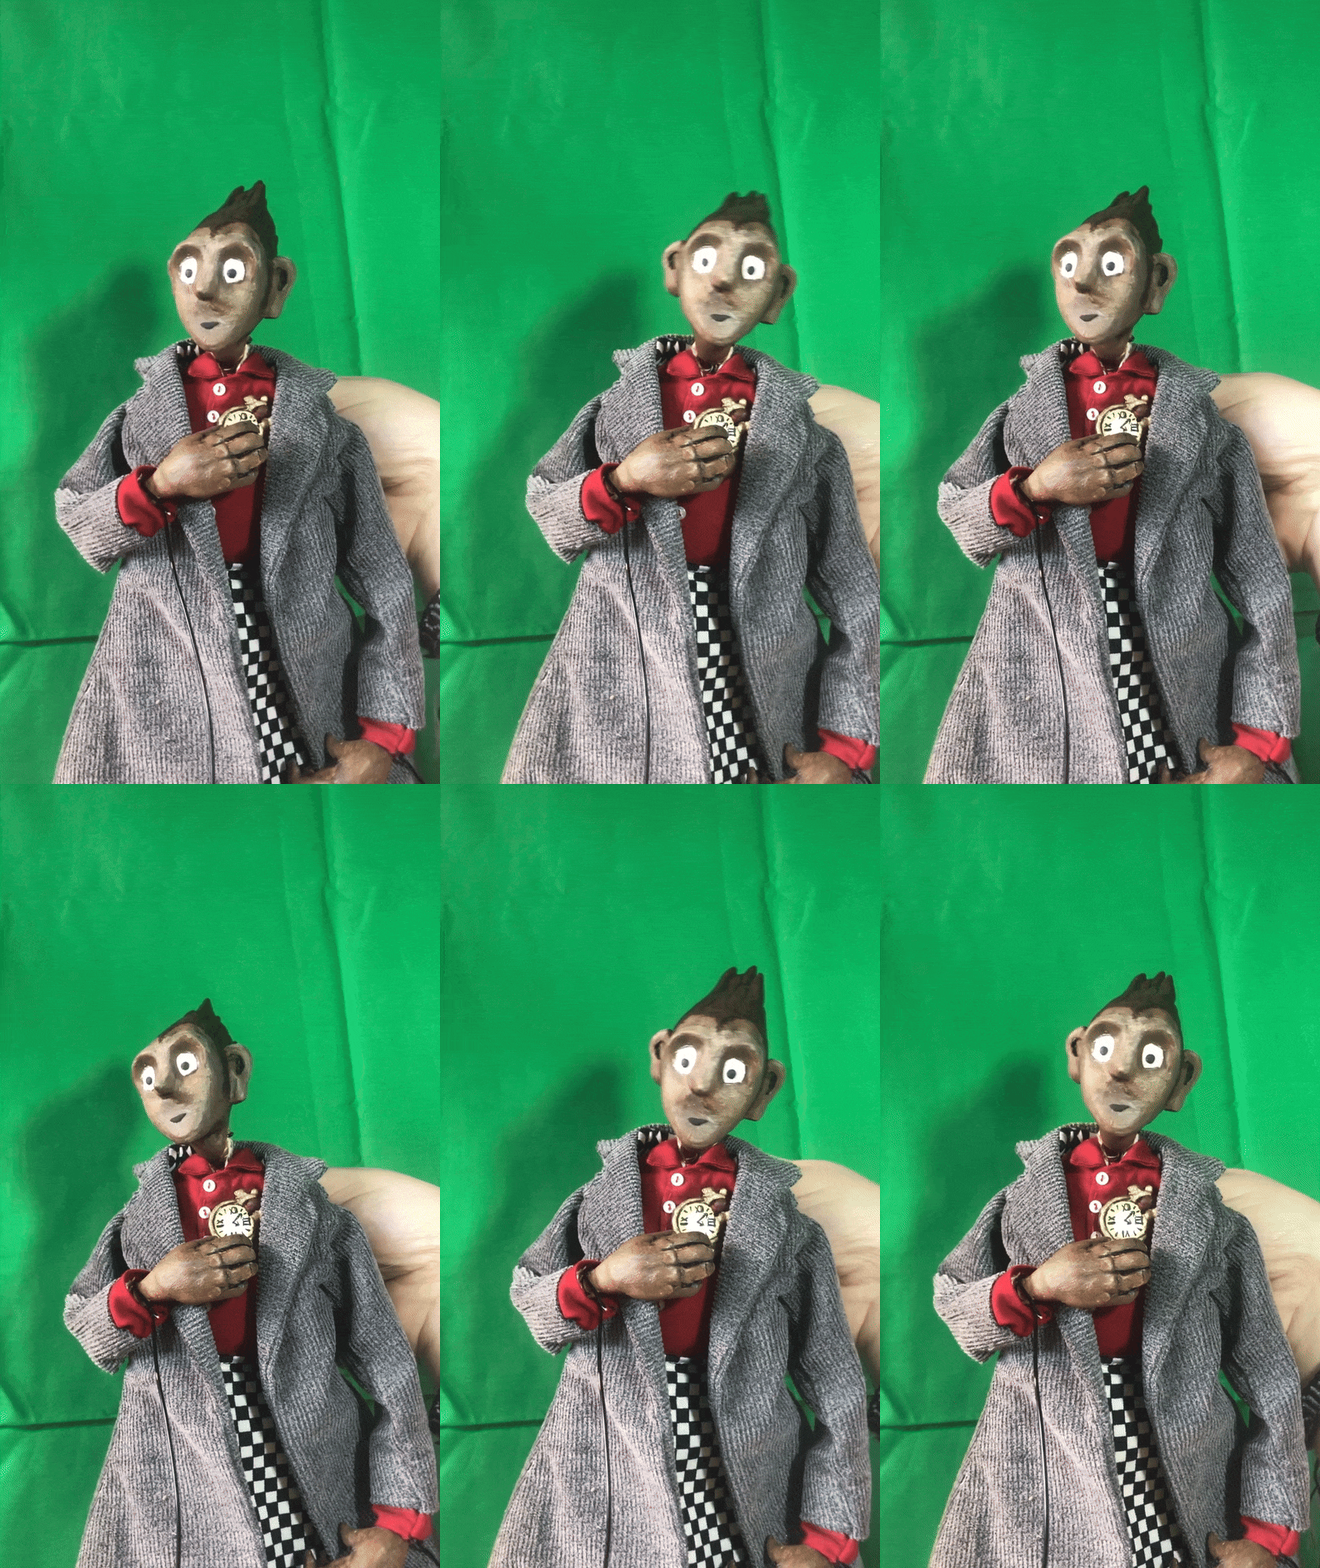
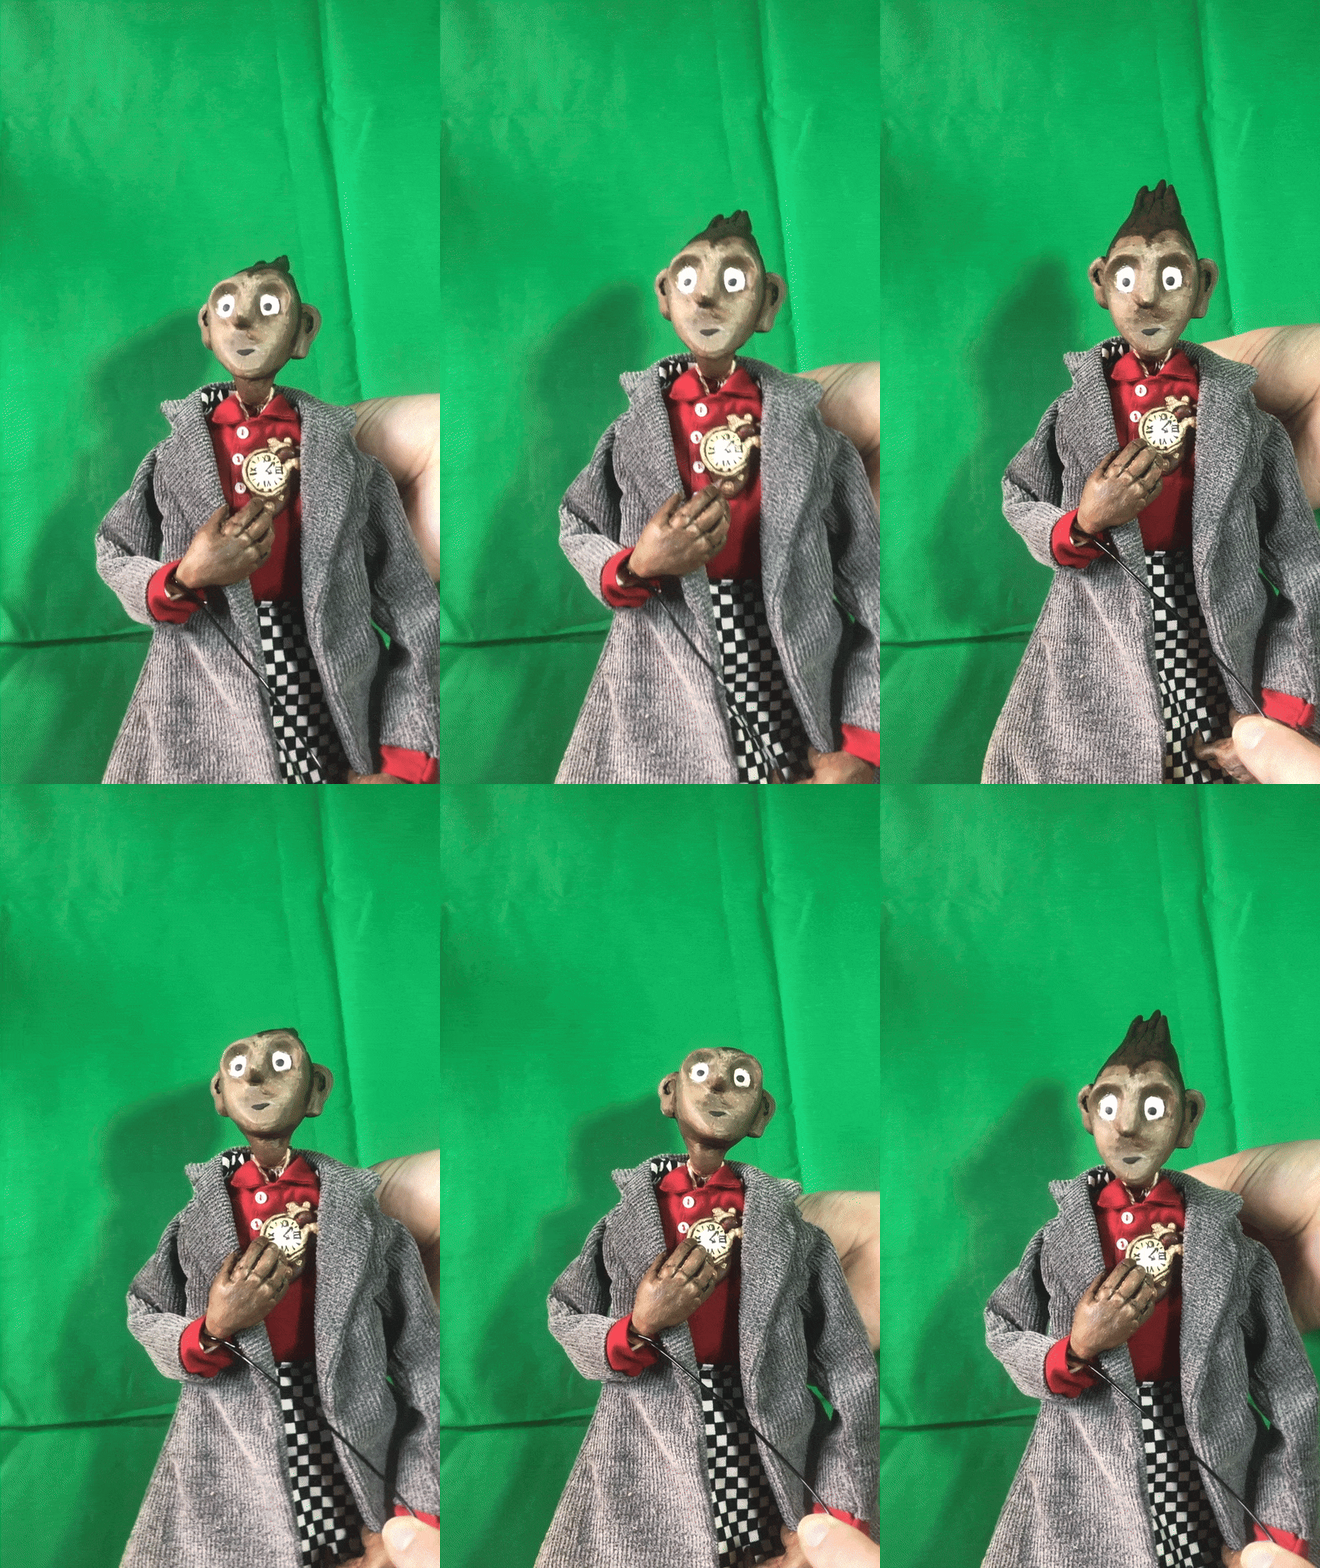
For the eyes and mouth, I'm planning on using a similar process to what they do on Fogtown, where the faces are blank and the expressions are stuck on with museum wax between shots. It's sort of a middle ground between live puppetry and stop-motion, I won't be able to change expressions or mouth shapes without starting a new shot. But it will greatly simplify the puppet-making process to not have any moving parts, and I get a little more freedom compared to a static face.
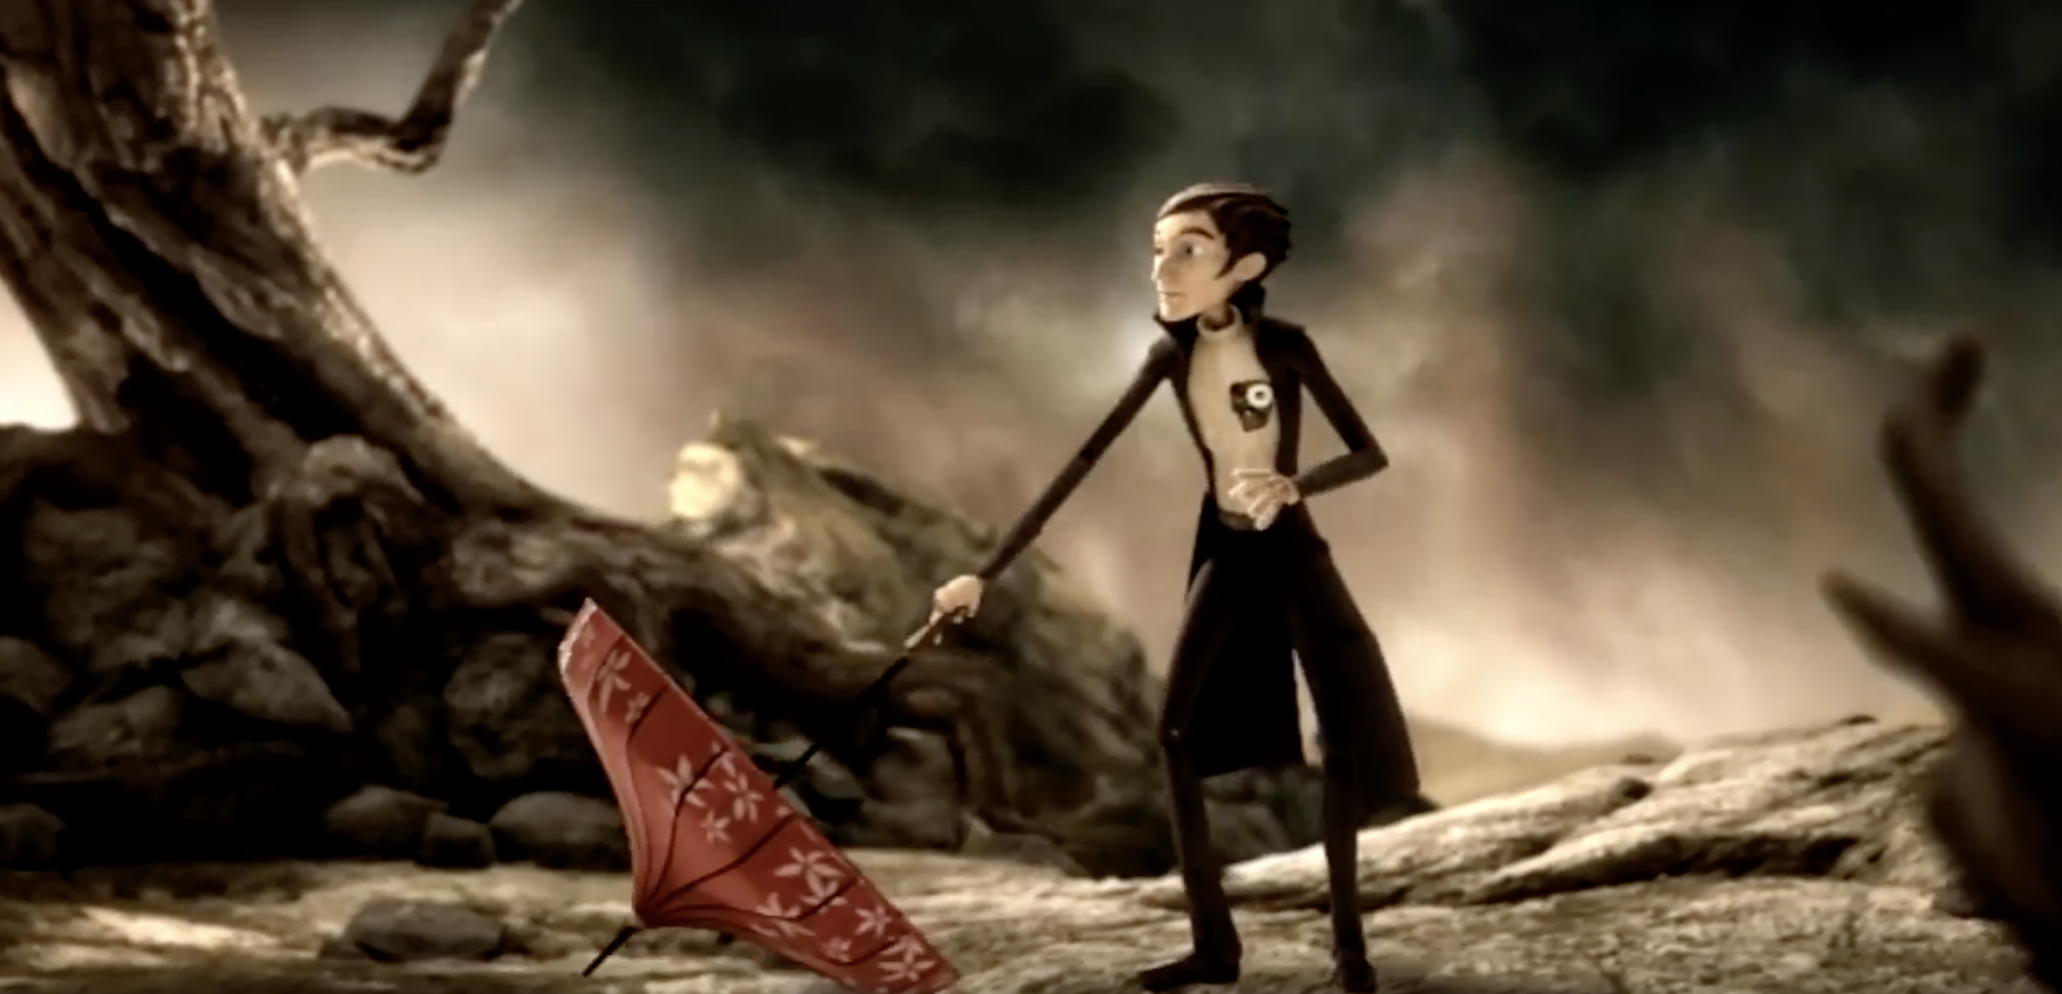
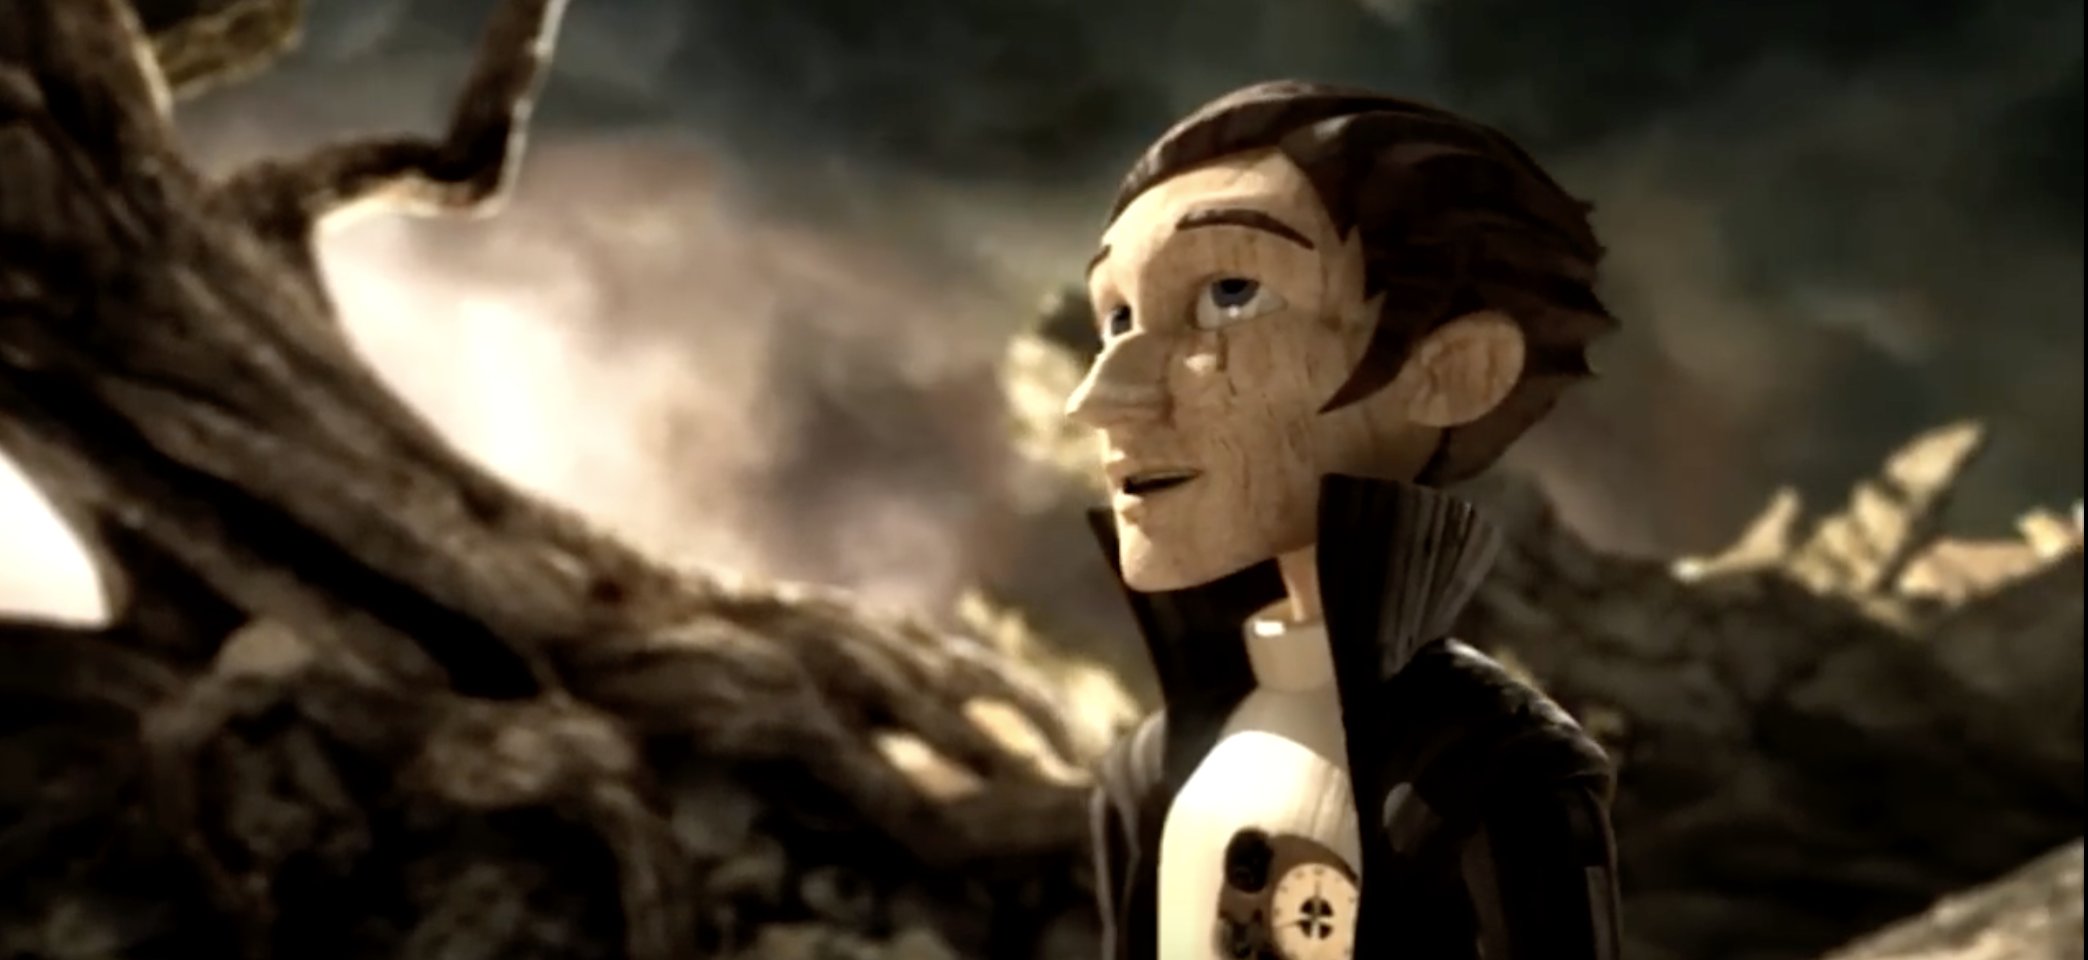
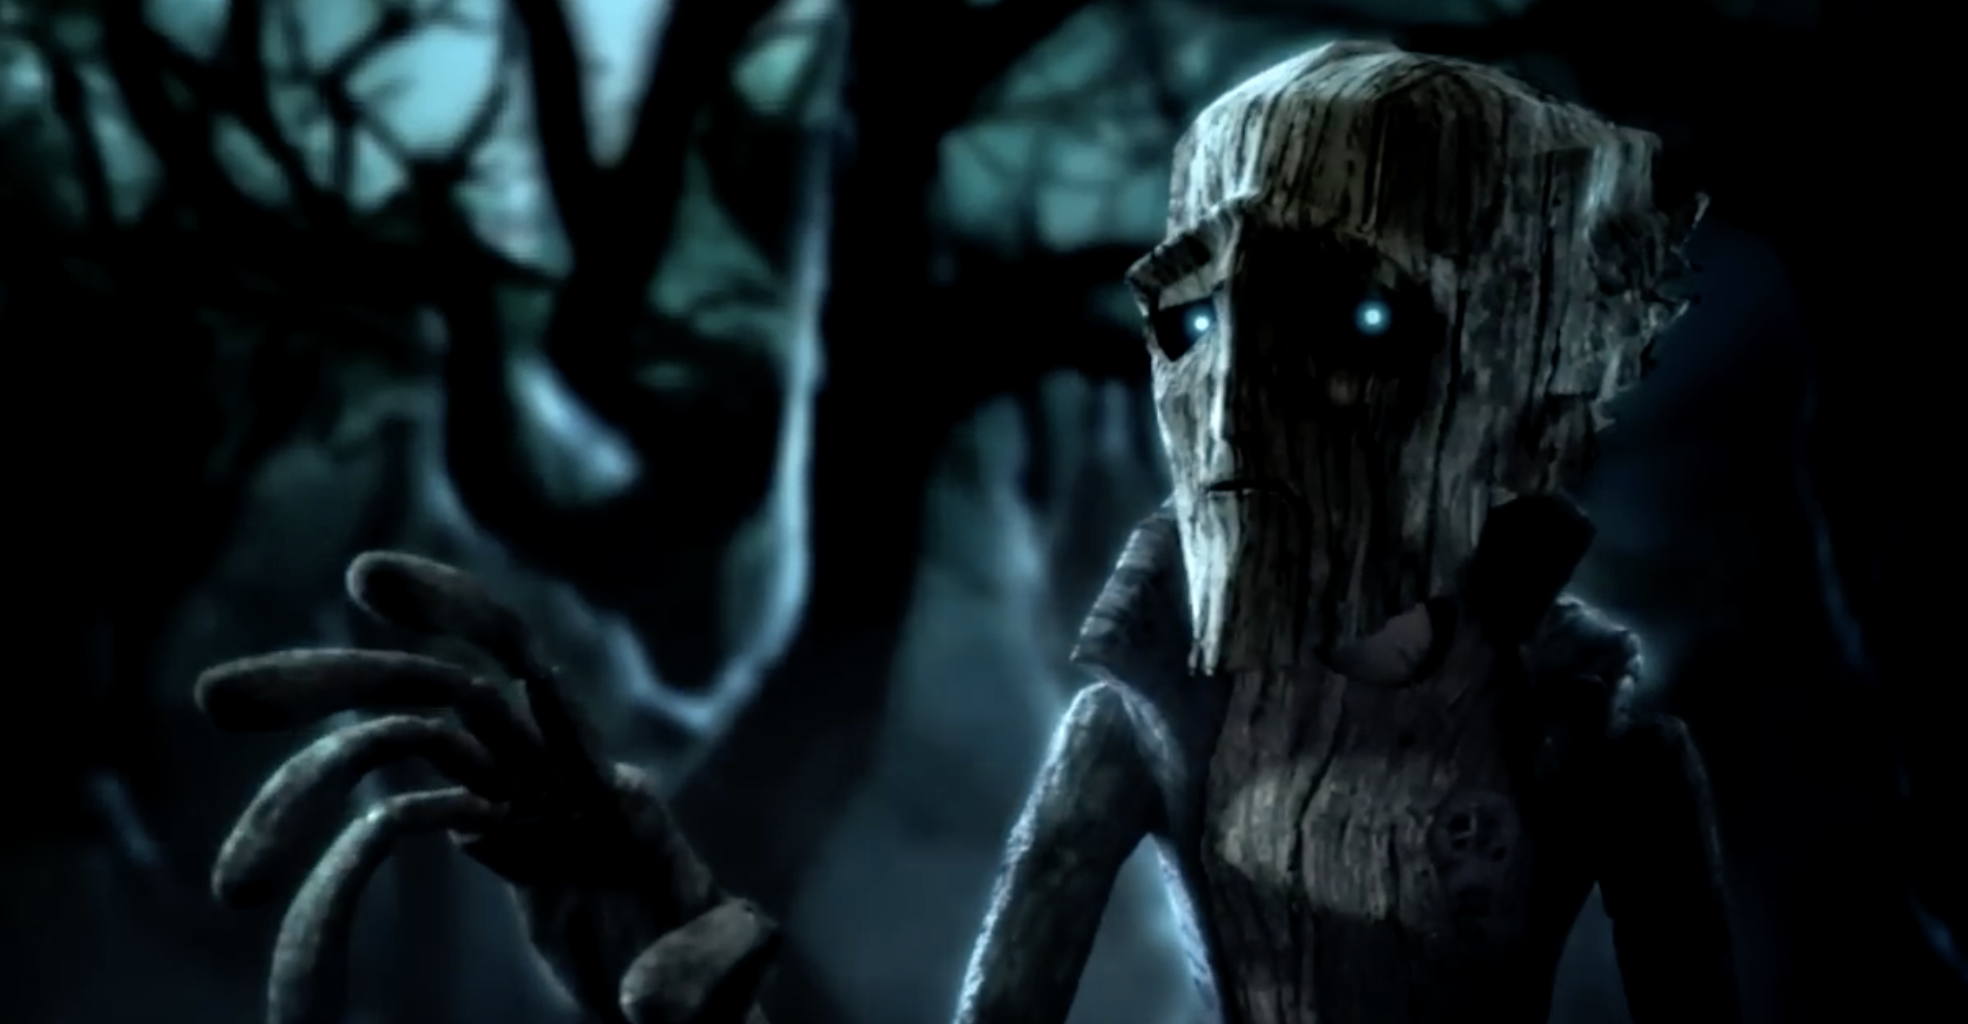
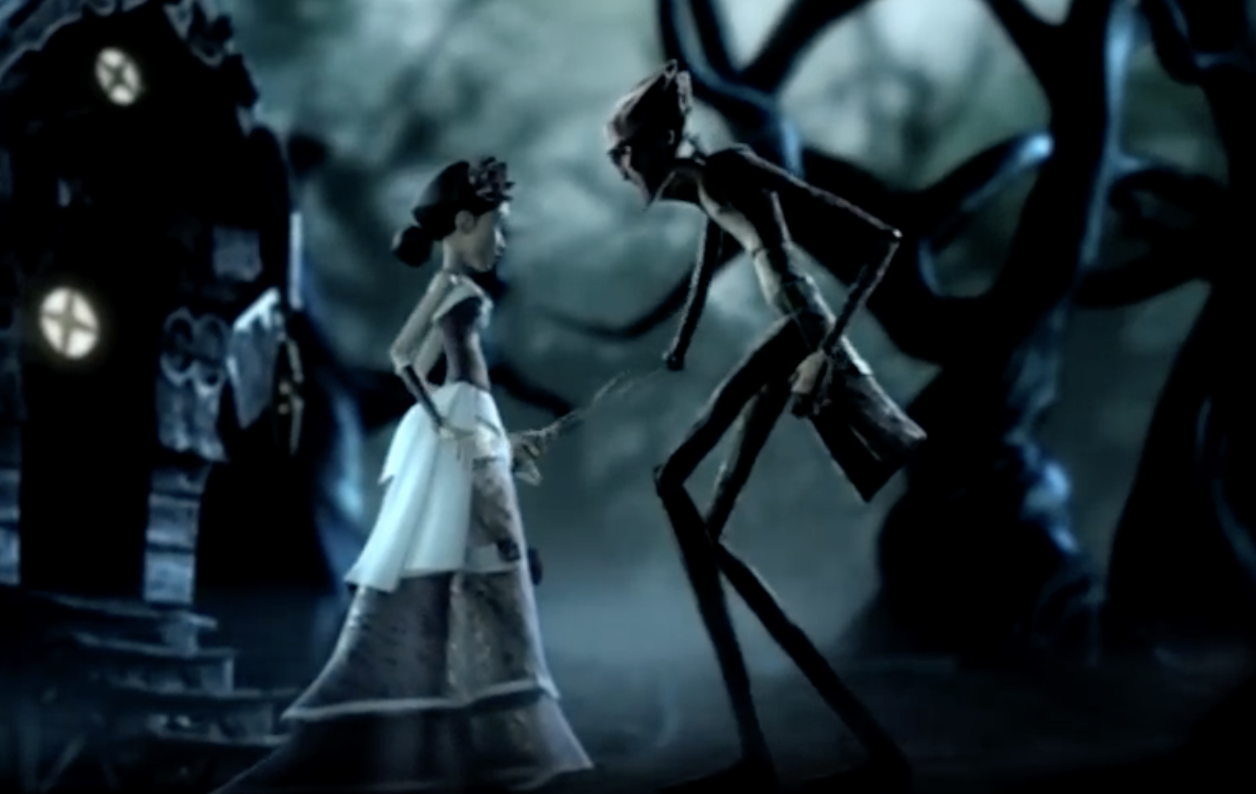
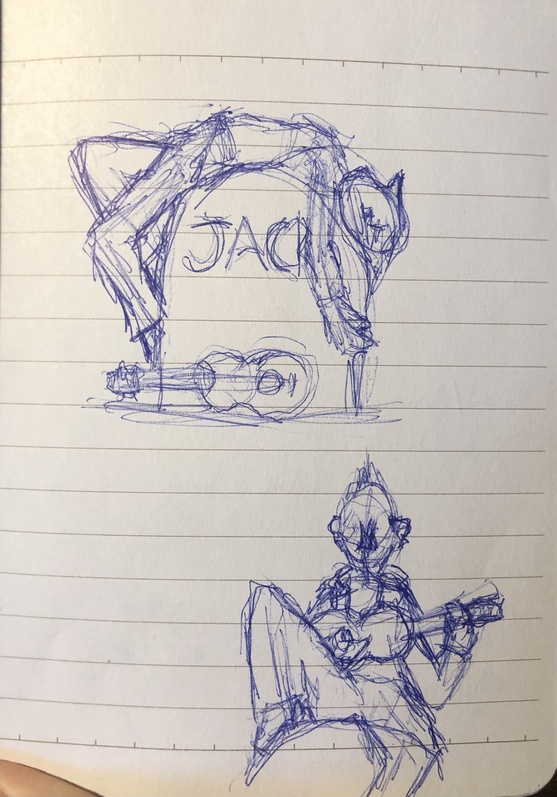
I love Dionysos' La Mécanique Du Coeur, and have made projects from it in the past. I've always wanted to either animate or puppeteer short segements of music videos to some of their songs, so I thought it would be a good project to get me excited to tinker with a new puppet style. Plus, the Jack in the music video has a really unique shape to him, and different interpretations of the character range from a normal human to something more fantastical, so there's a lot of freedom to play within my art style and not be so worried about matching it. I plan on either animating a section of Tais-toi Mon Coeur or Death Song, so I planned to have props and expressiona prepared for either. Once finished, he'll be holding a ukulele.
My main visual reference was Dionysos' Tais-toi mon coeur music video. I also referenced the book, La Mécanique Du Coeur, which was based on the album.
Body Process
Apr 27th
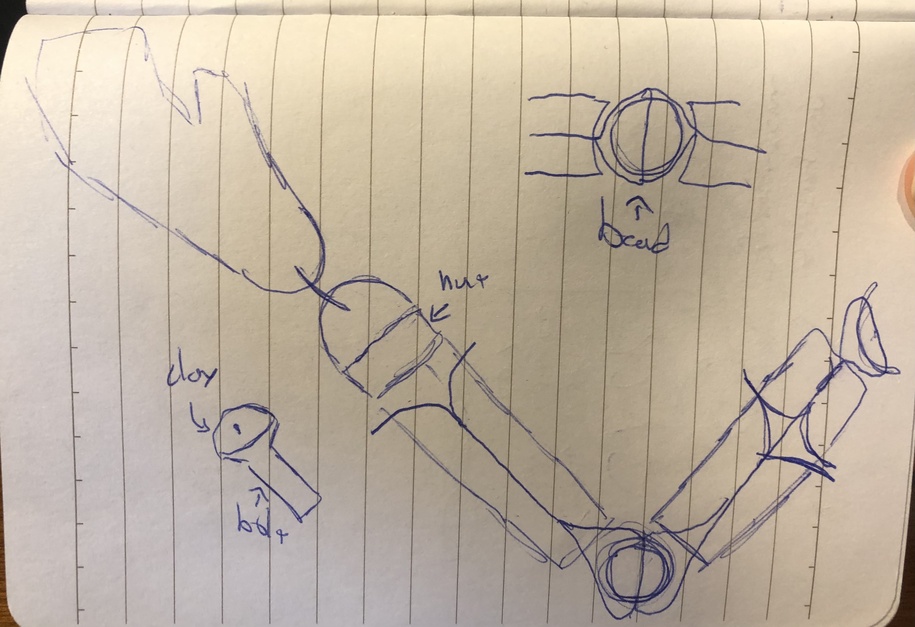
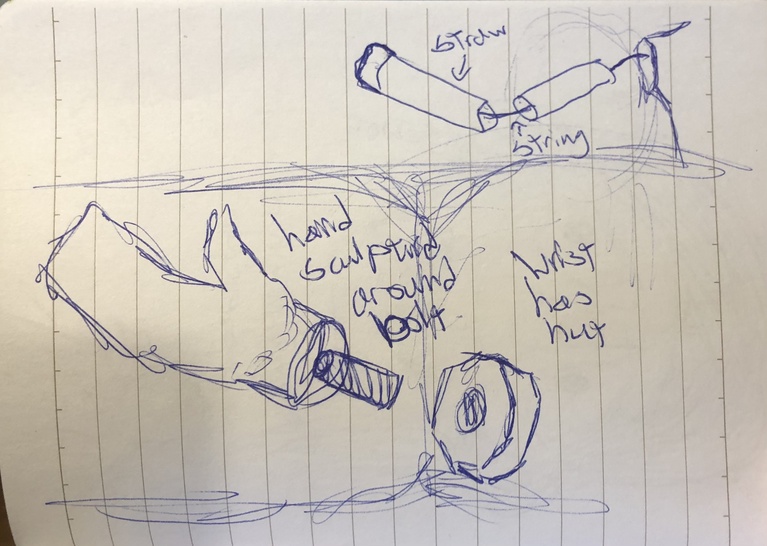
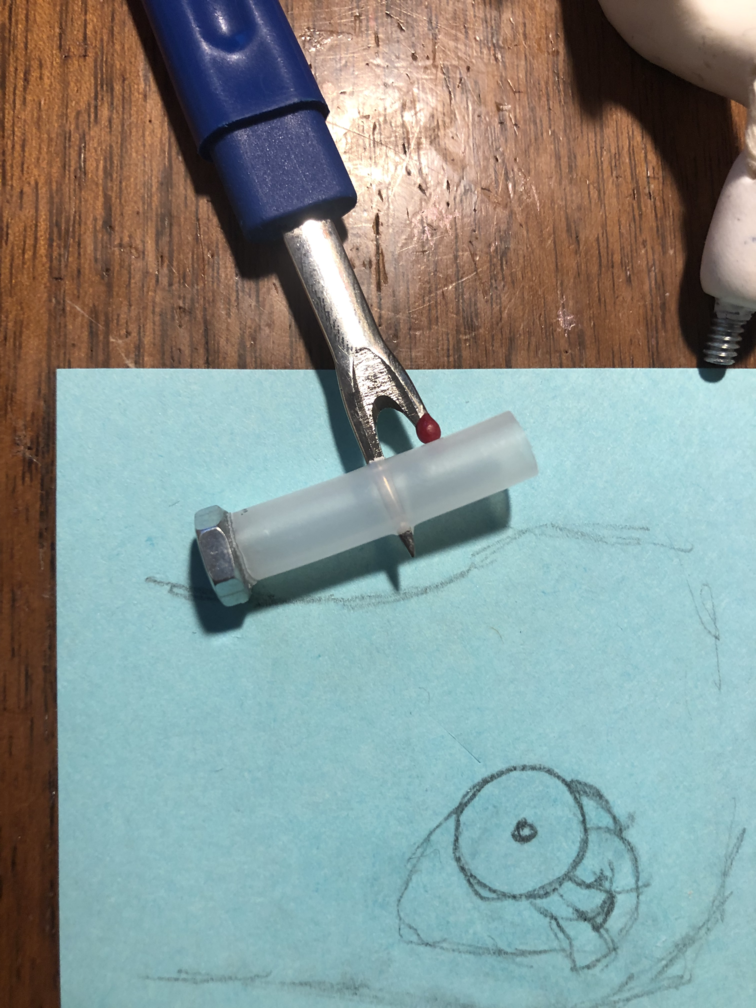
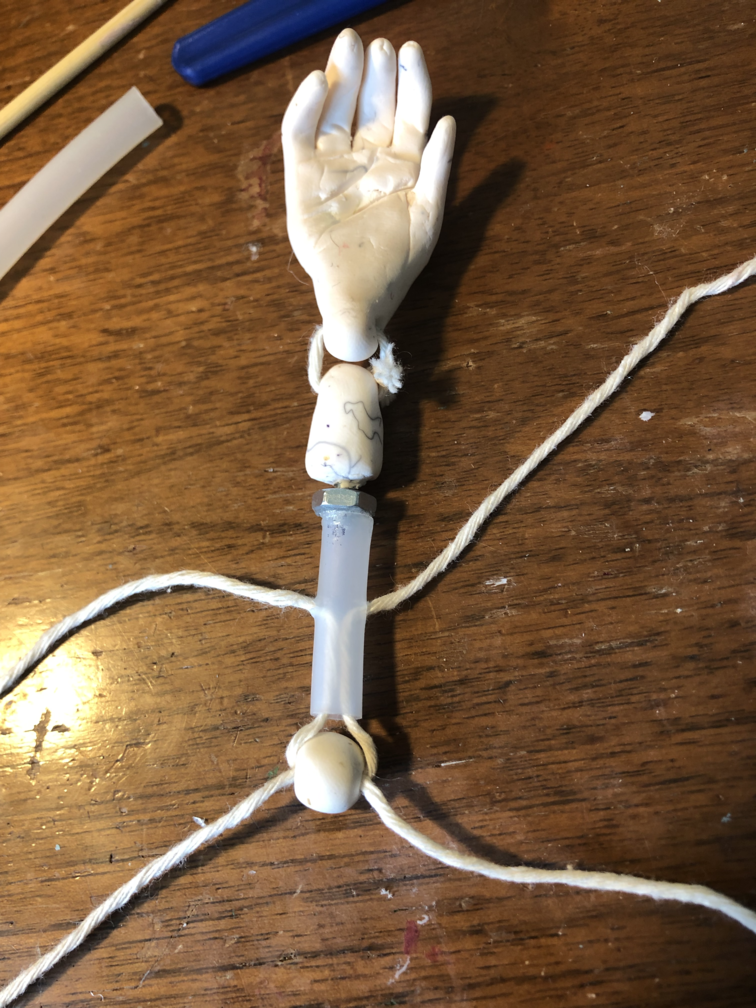
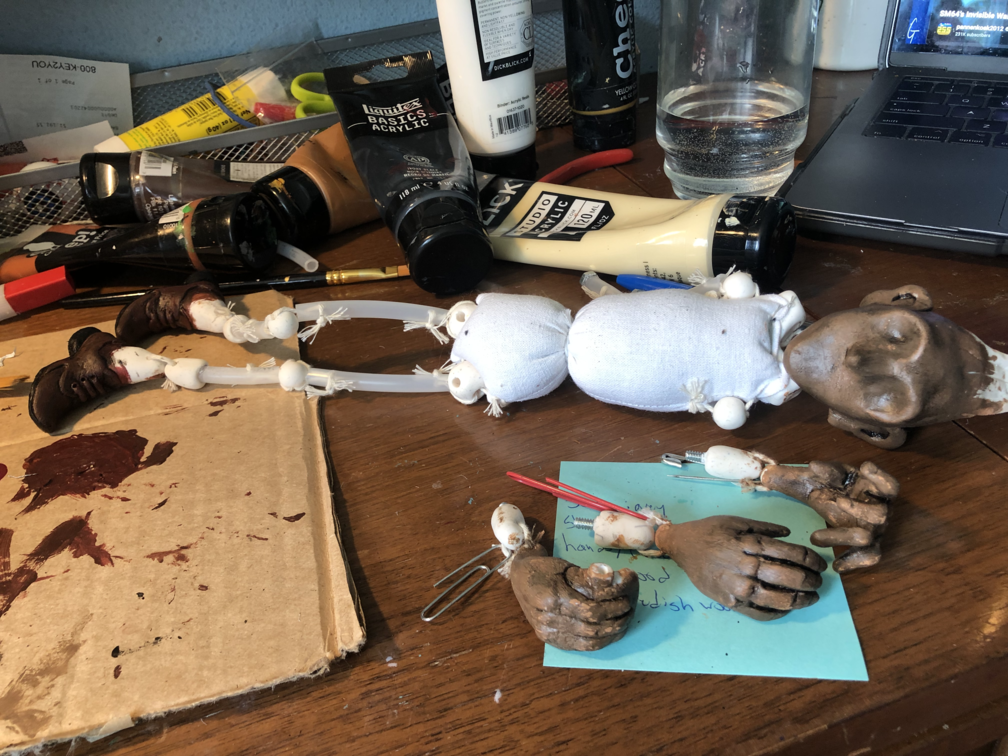
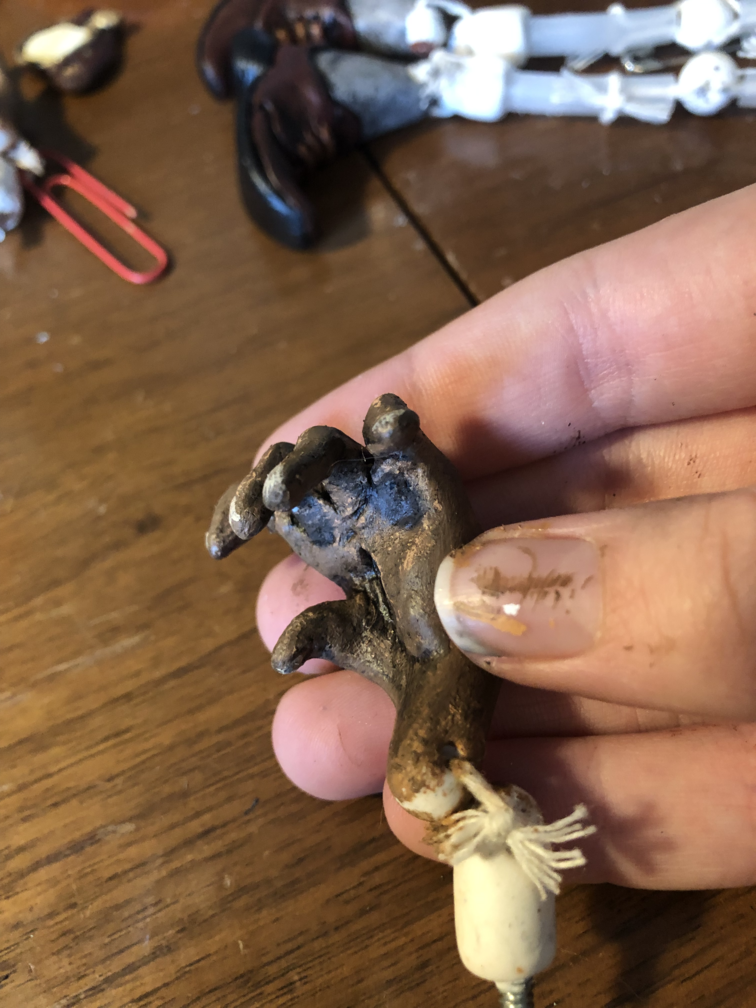
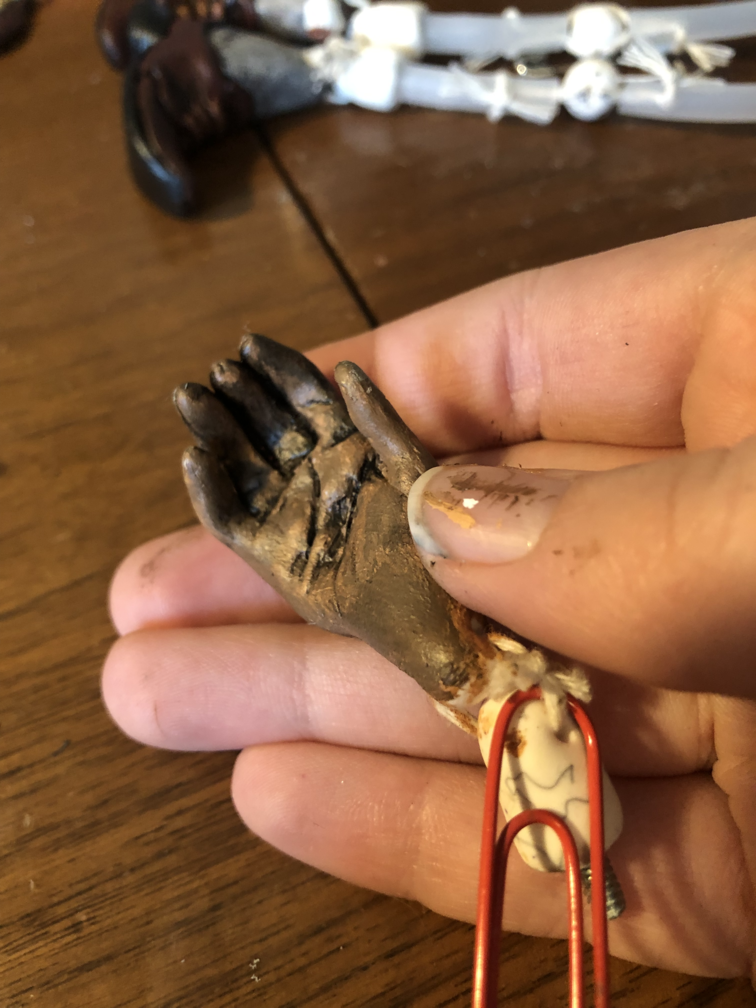
I'm going to sculpt many pieces of this puppet with holes to string wires through which losely connect each joint. I had an idea of replacing out hands, where I attach a bolt to the wrist and a nut to the forearm. So they can simply be unscrewed and replaced. I then realized that I want the wrist to be moveable, so I added an extra wrist joint that will be between the hand and the section that attaches to the bolt. I sketched out my plans in more detail, and took a trip to the hardware store to pick up a couple supplies. I used the smallest nuts and bolts I could find, along with some clear plastic tubing for the limbs that I could easily run twine through.
All the different sections I plan on sculpting:
- Head
- Some sort of neck rest for the neck joint
- Shoulder beads (right and left)
- Elbow beads (right and left)
- Hands:
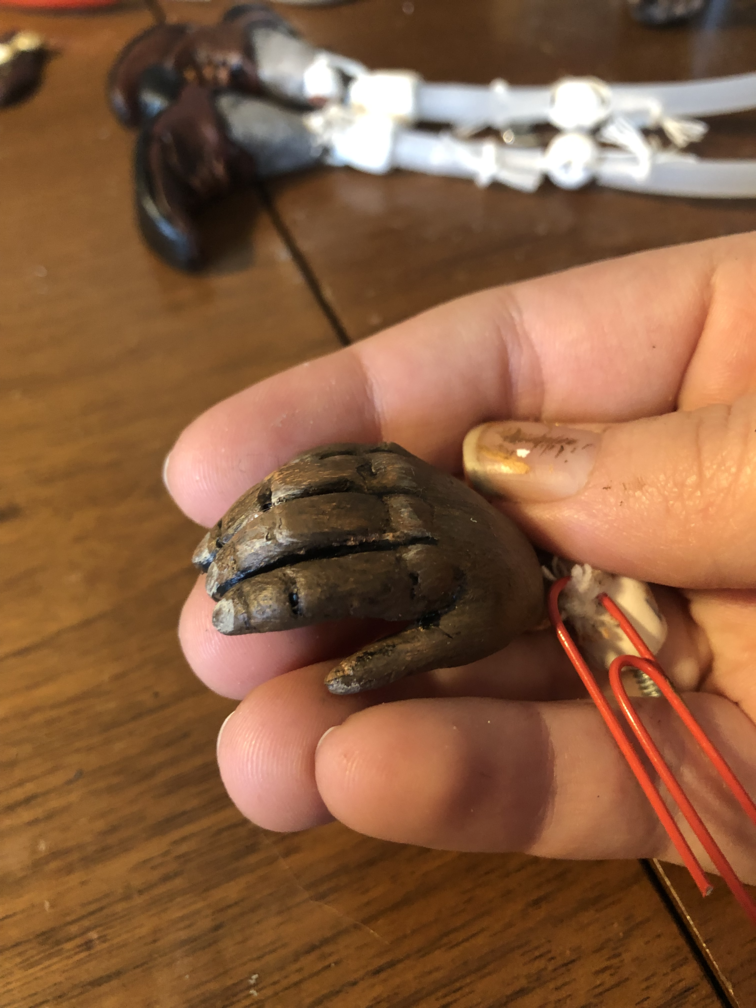
- Left hand holding ukulele fret
- Left hand palm open
- Right hand palm open (playing ukelele)
- Right hand with flask
- Hip beads (right and left)
- Knee beads (right and left)
- Ankle beads (right and left)
- Shoes (right and left)
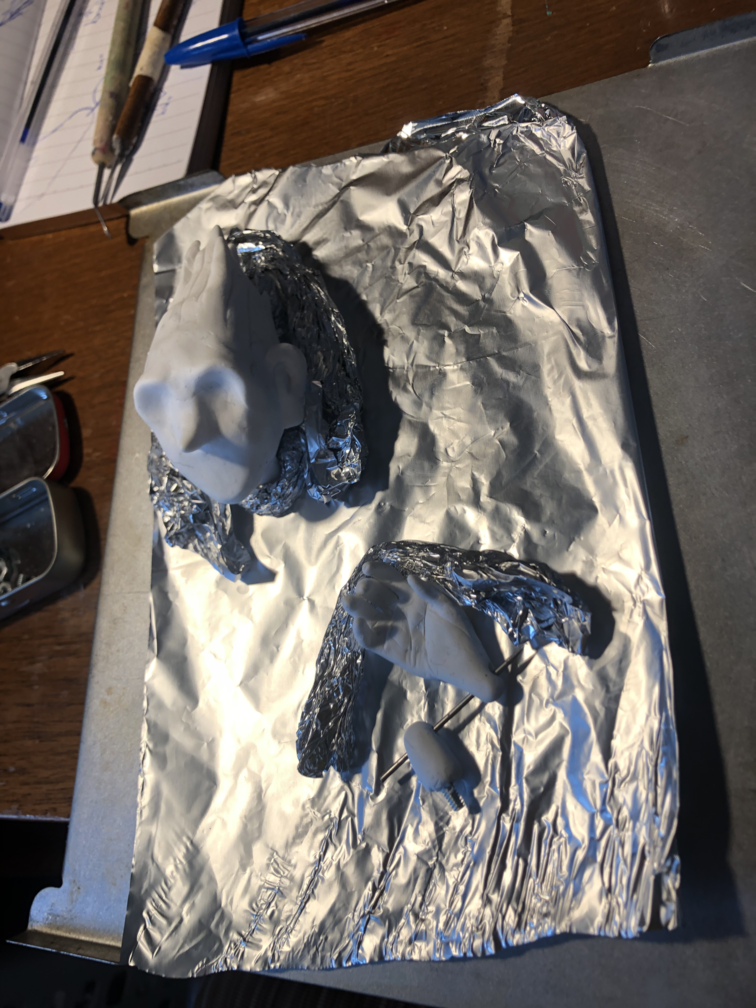
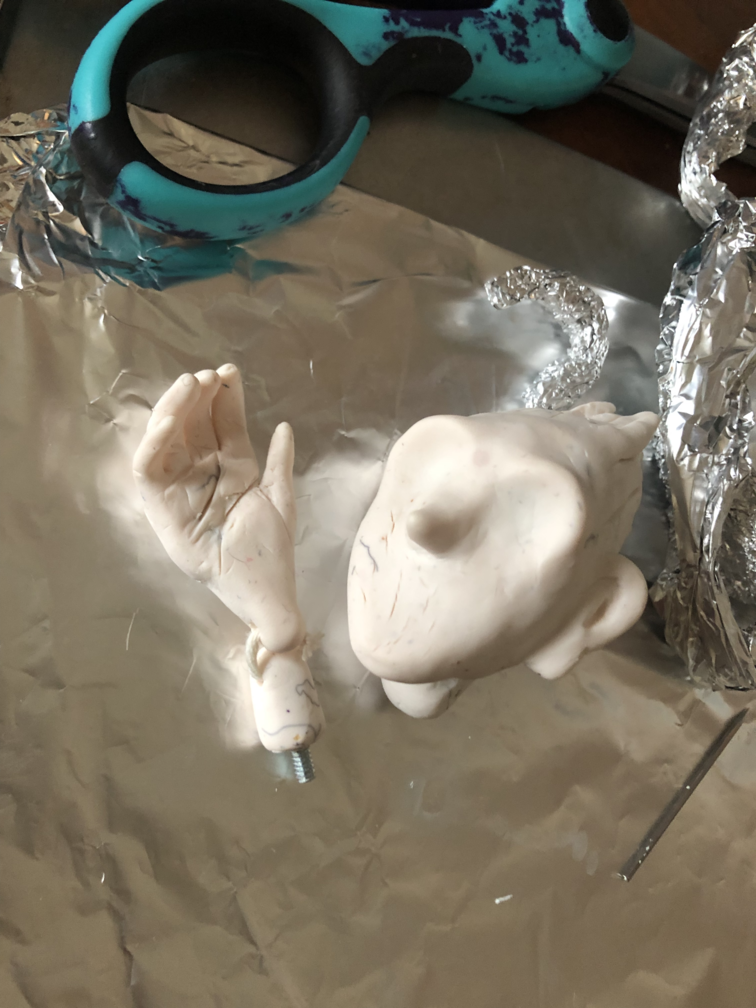
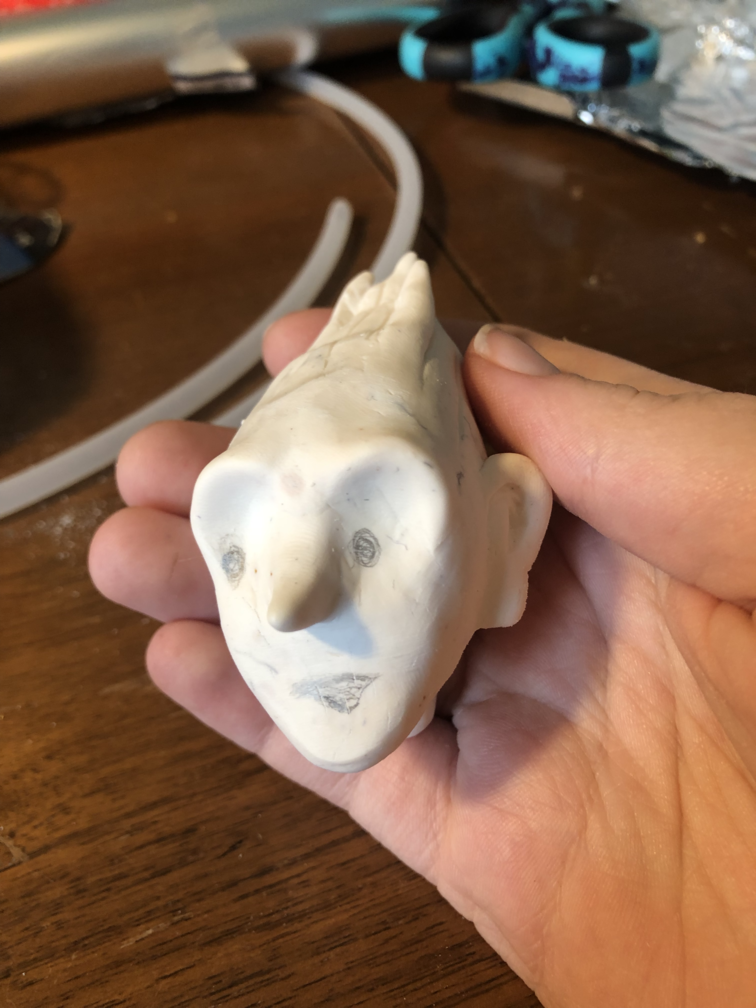
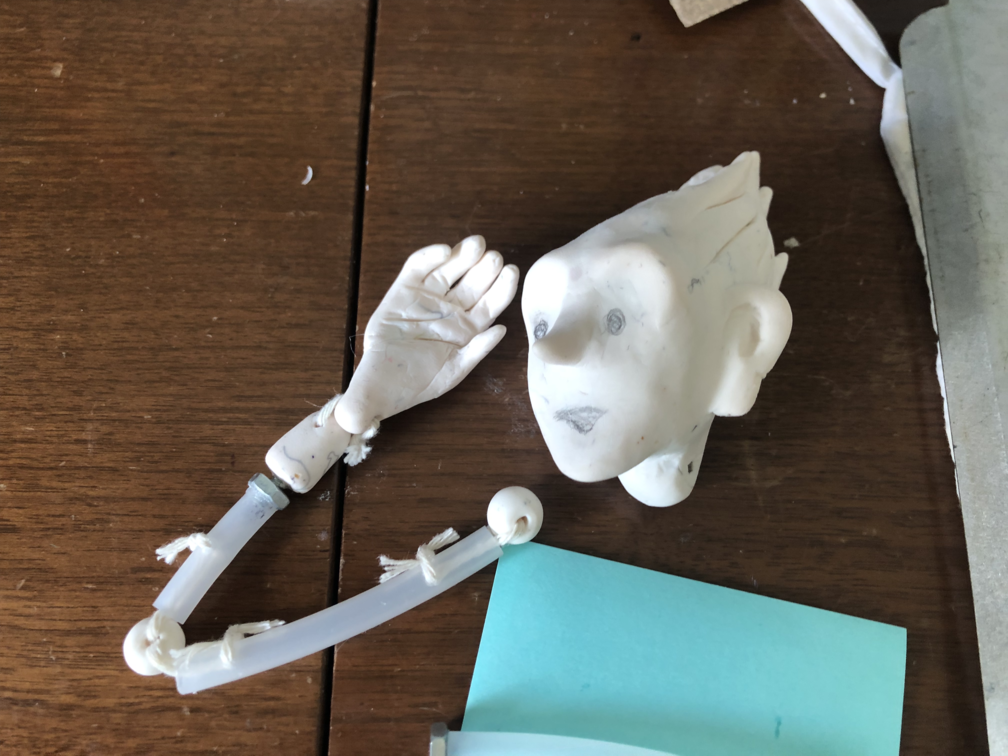
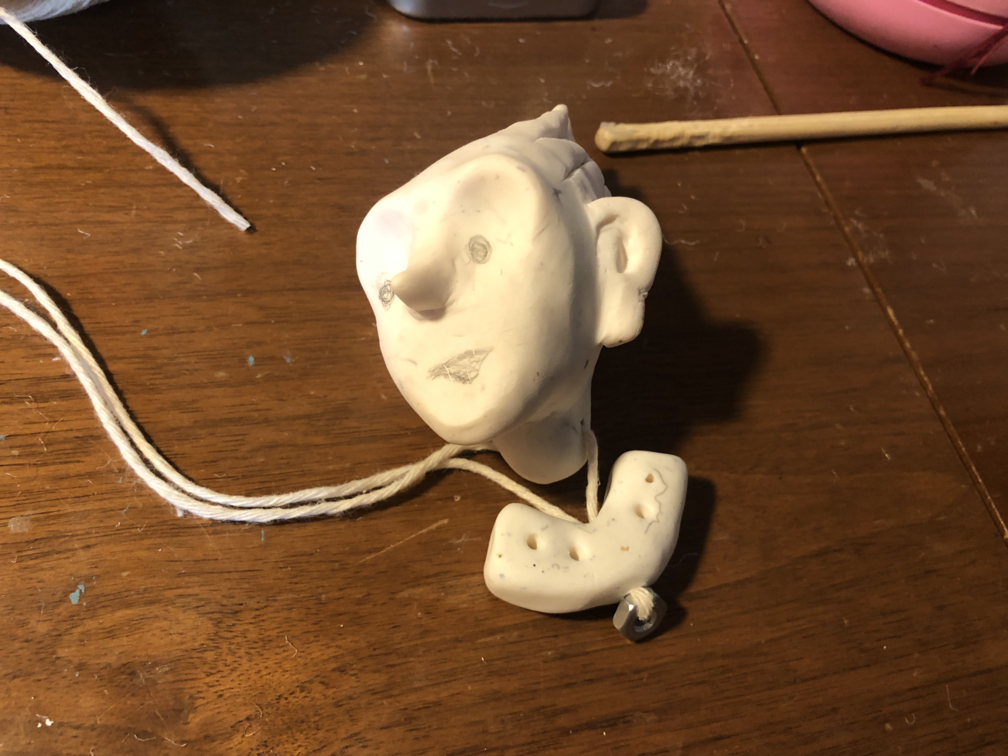
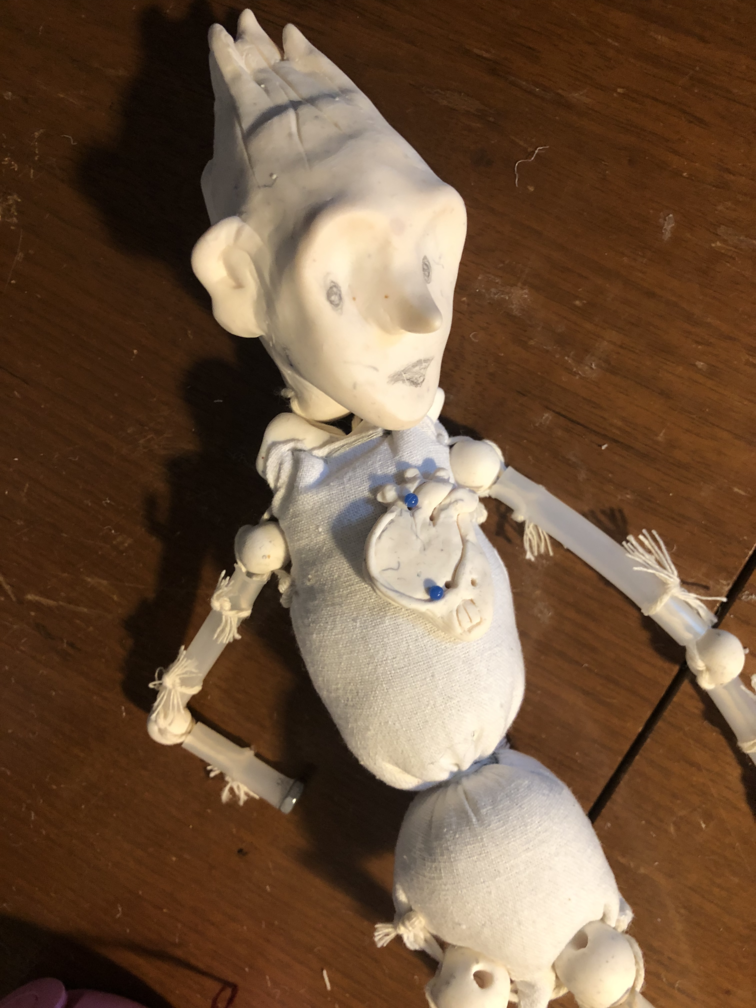
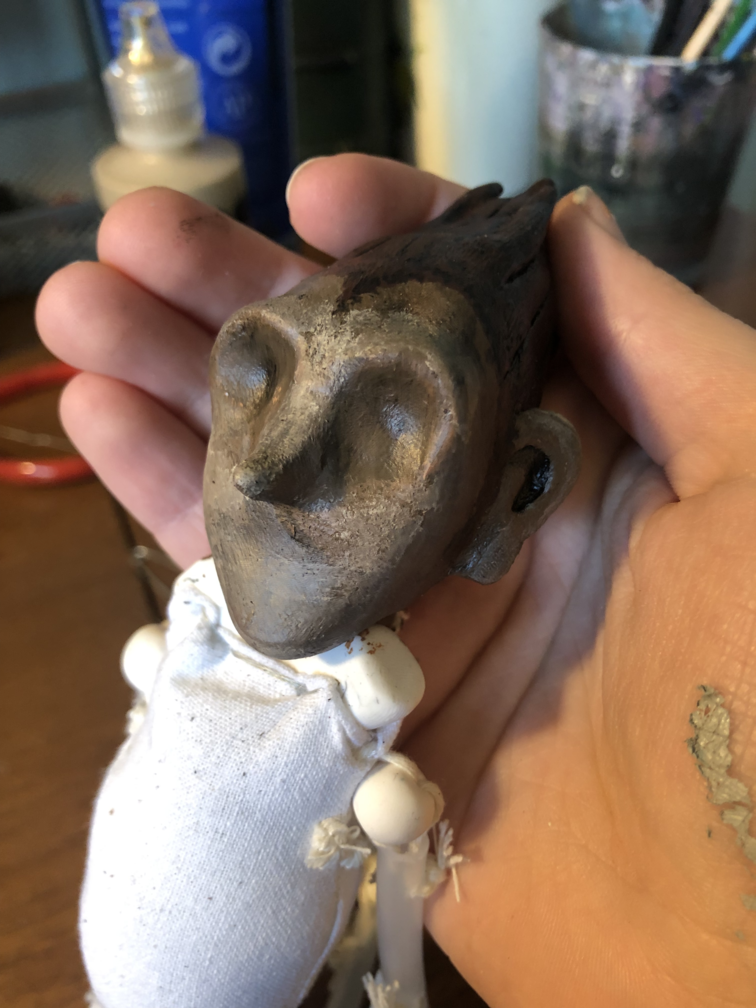
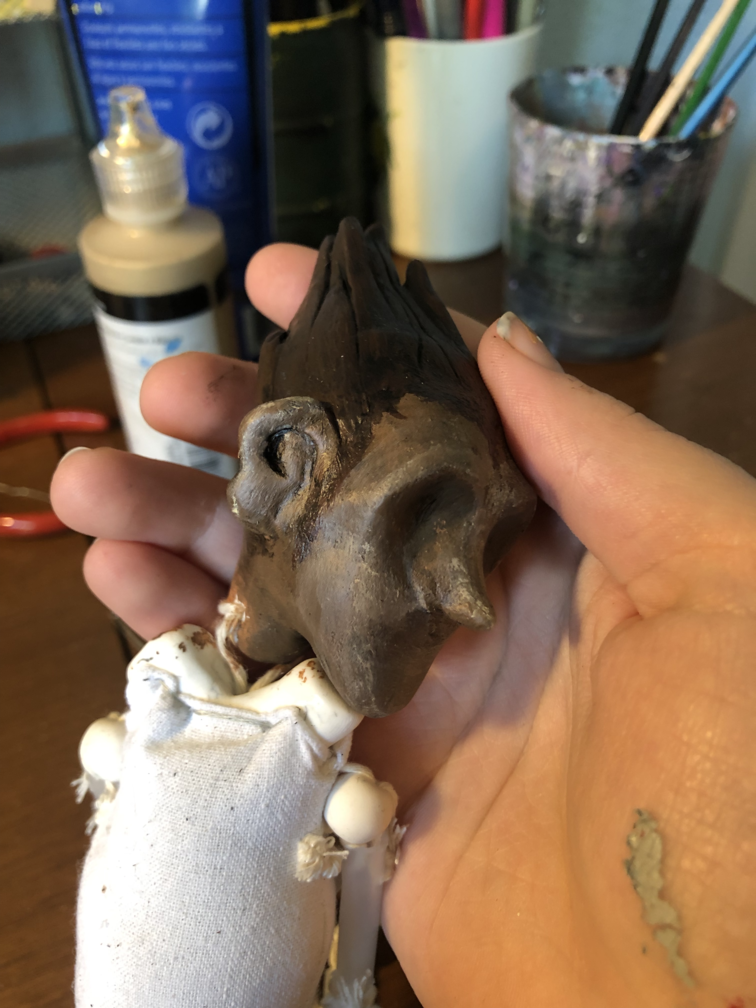
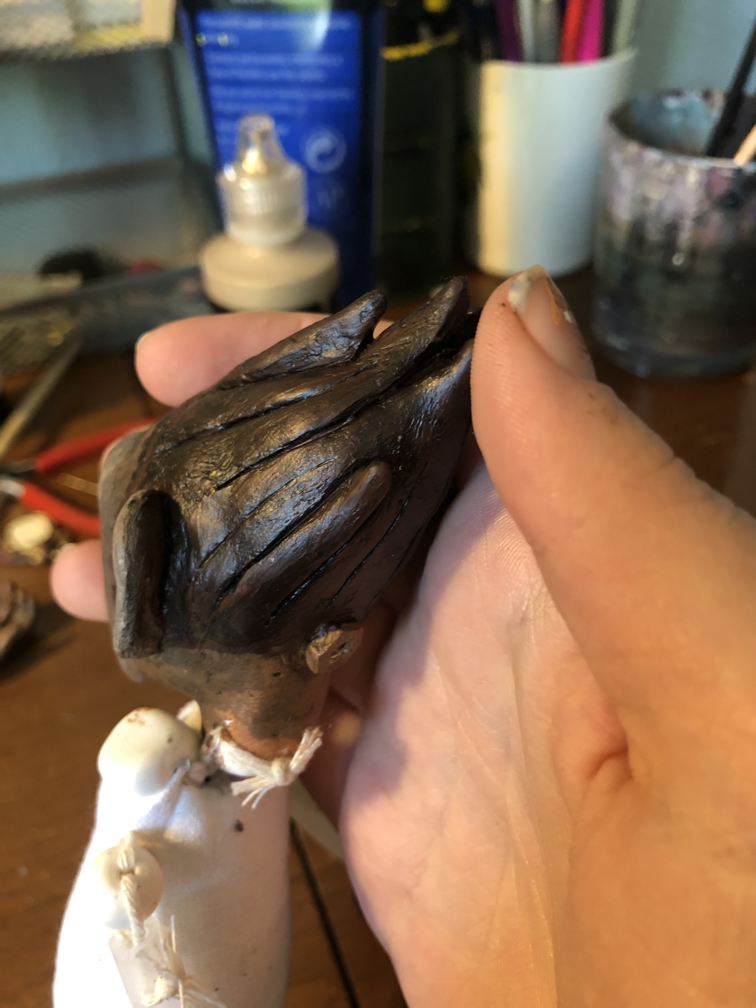
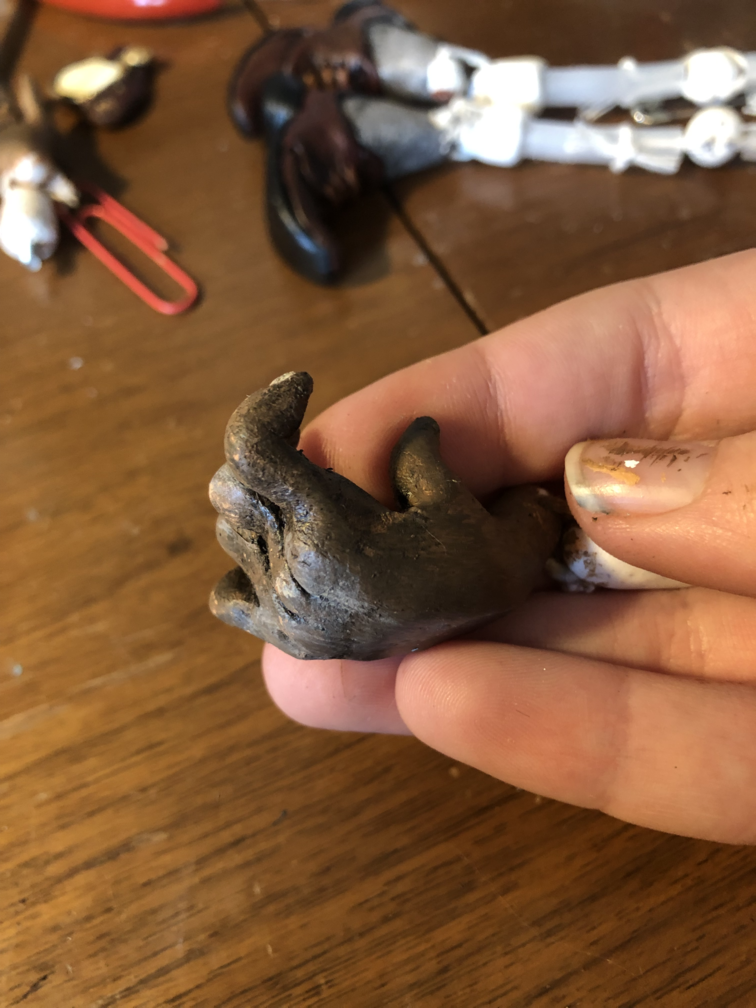
Today, I did the head and one hand. I sculpted his head with a big crest of hair like a bird, inspired by the movie design but made more dramatic here, and styled it to look a little like carved wood. I also sculpted the open right hand and the wrist section before I was done for the day, so I have enough to experiment with.
I also tried superglueing one of the nuts to the tubing, but it came off. I will rough up the sides with sandpaper next time, that should help.
Apr 28th
I started off by taking some sandpaper and scratching up one of the nuts and the end of the plastic tube, the superglue already seems to be holding better. Meanwhile, I sanded down any major blemishes on the head and hand, and gave them a rinse.
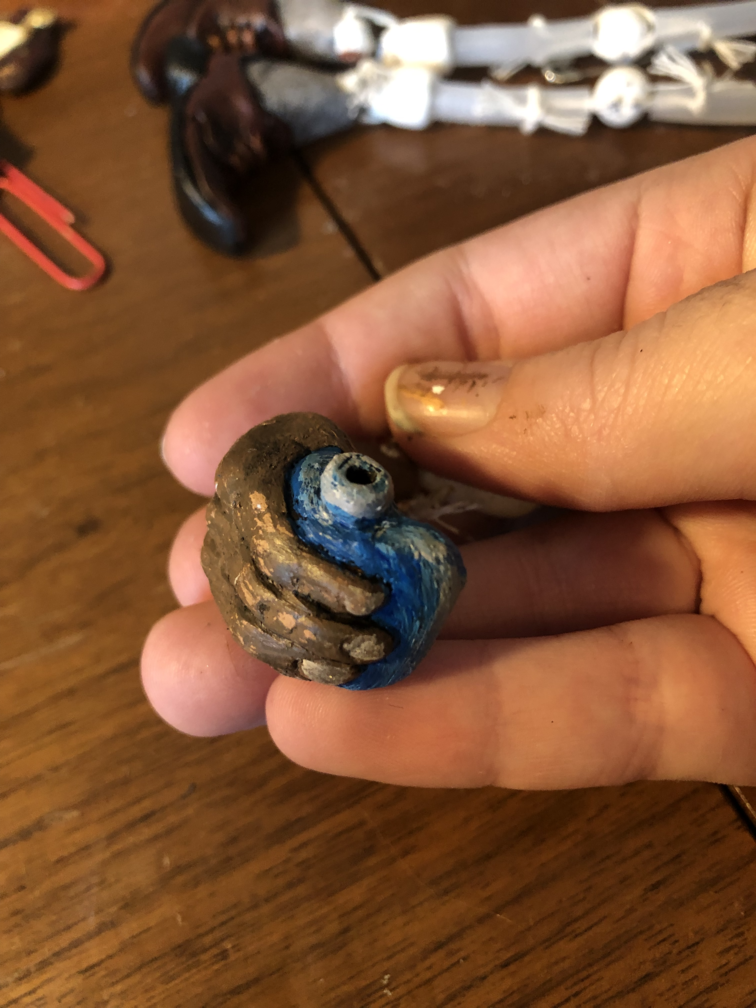
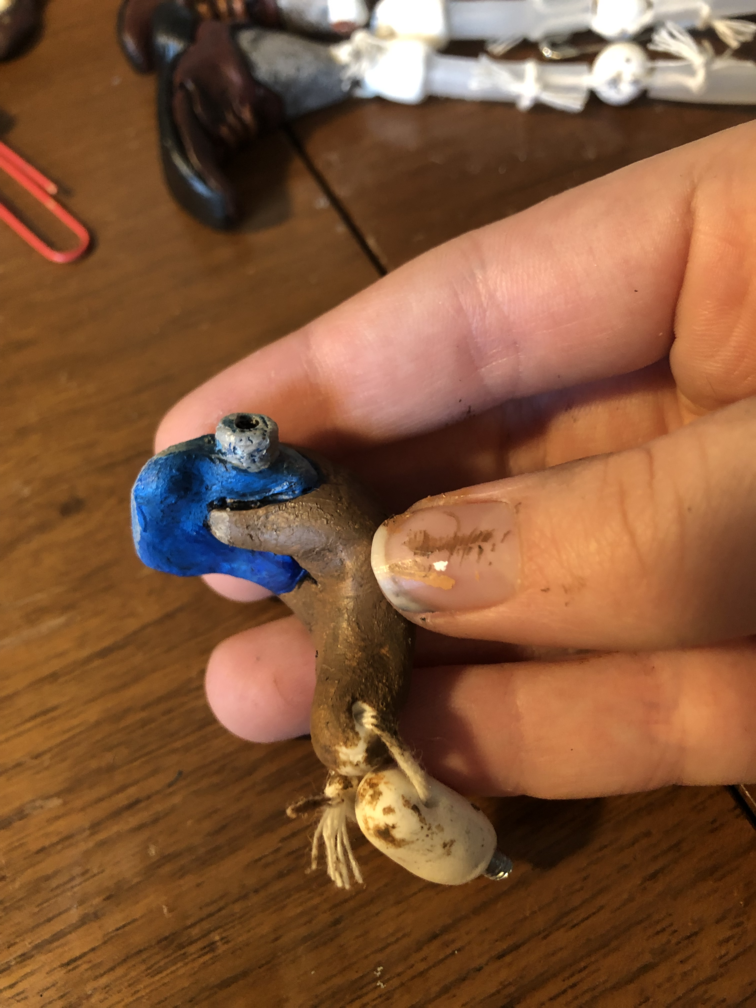
Then I got back into scuplting. I made six beads for the elbow, knee, and possibly shoulder joints. I'm not 100% sure that my plan is for the shoulders and hips, so I have a couple methods to experiment with. I also made three more wrist pieces with screws since he will have four hand options in total.
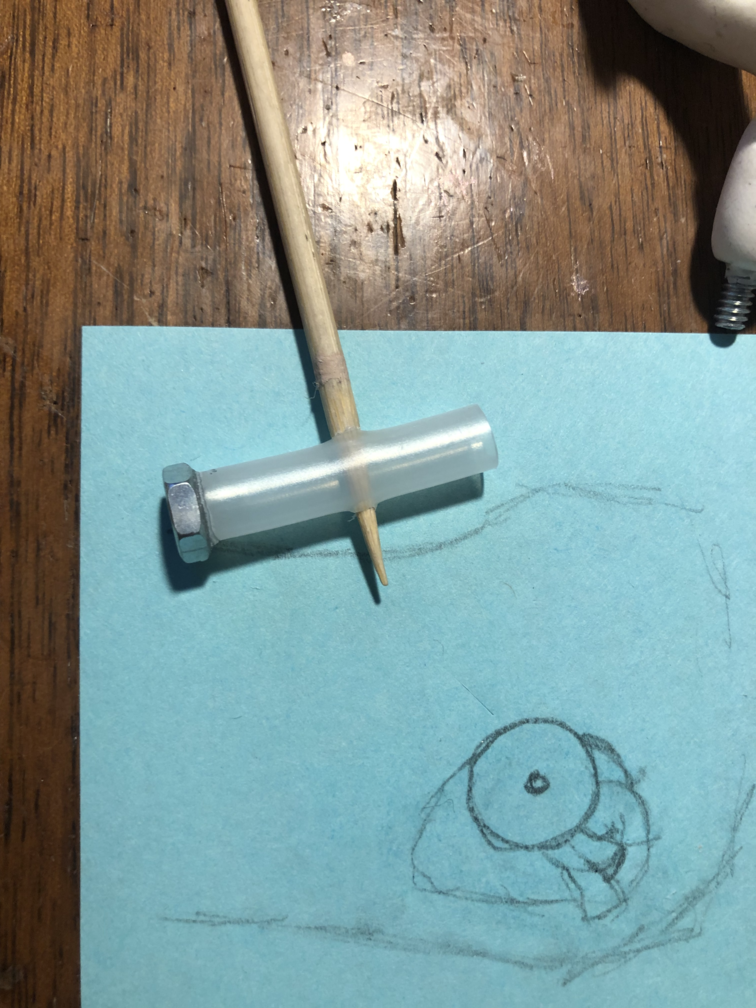
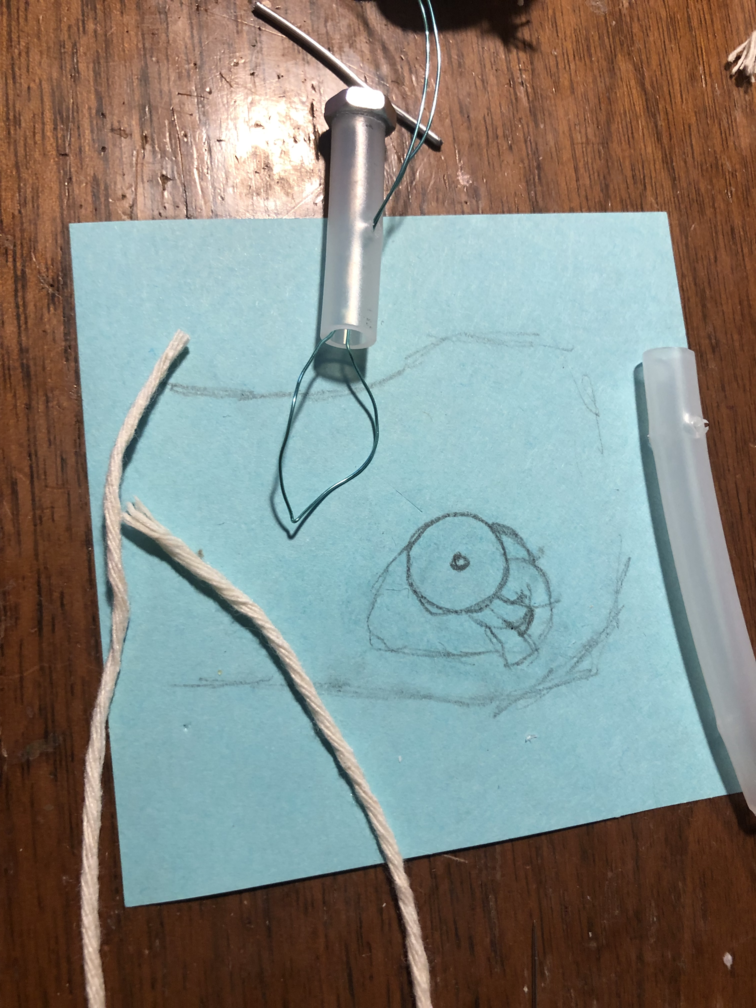
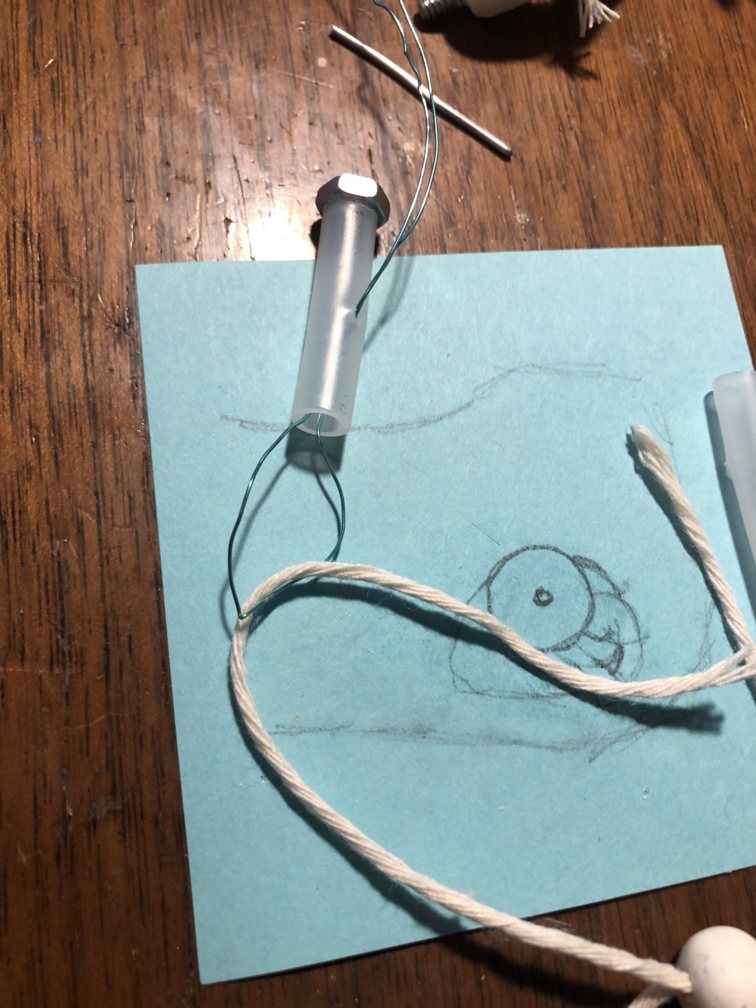
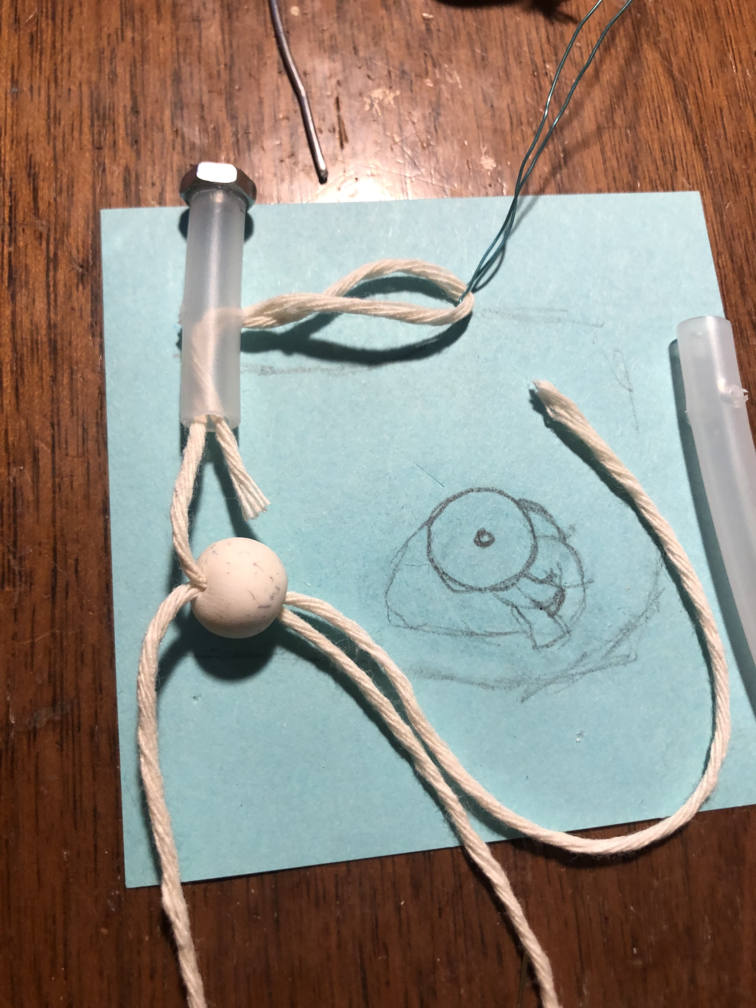
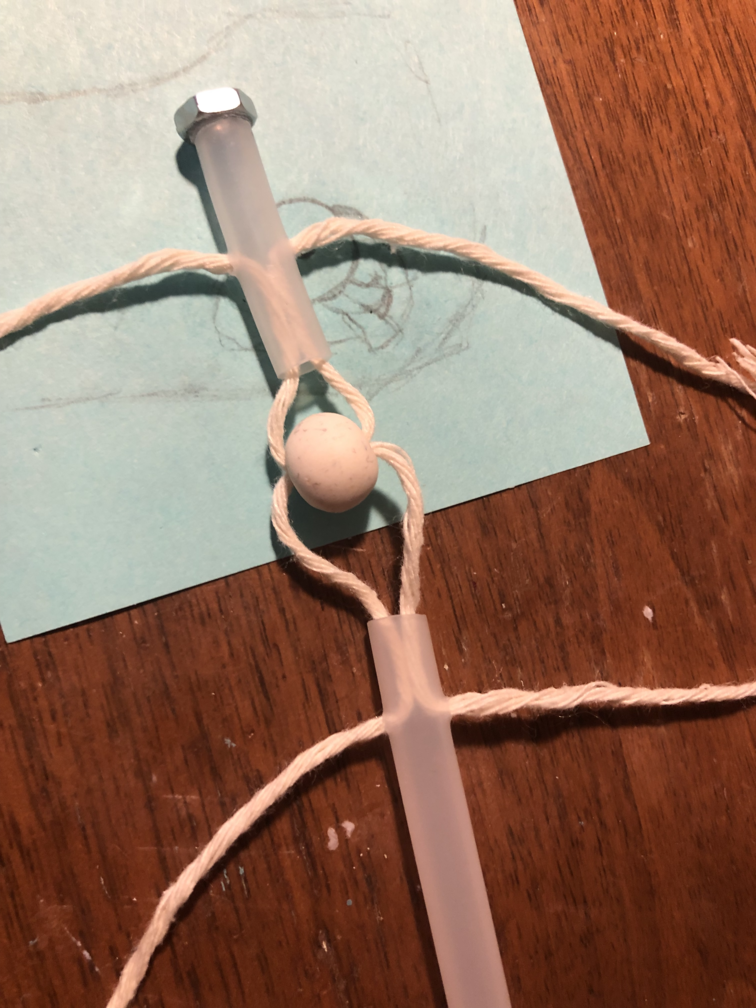
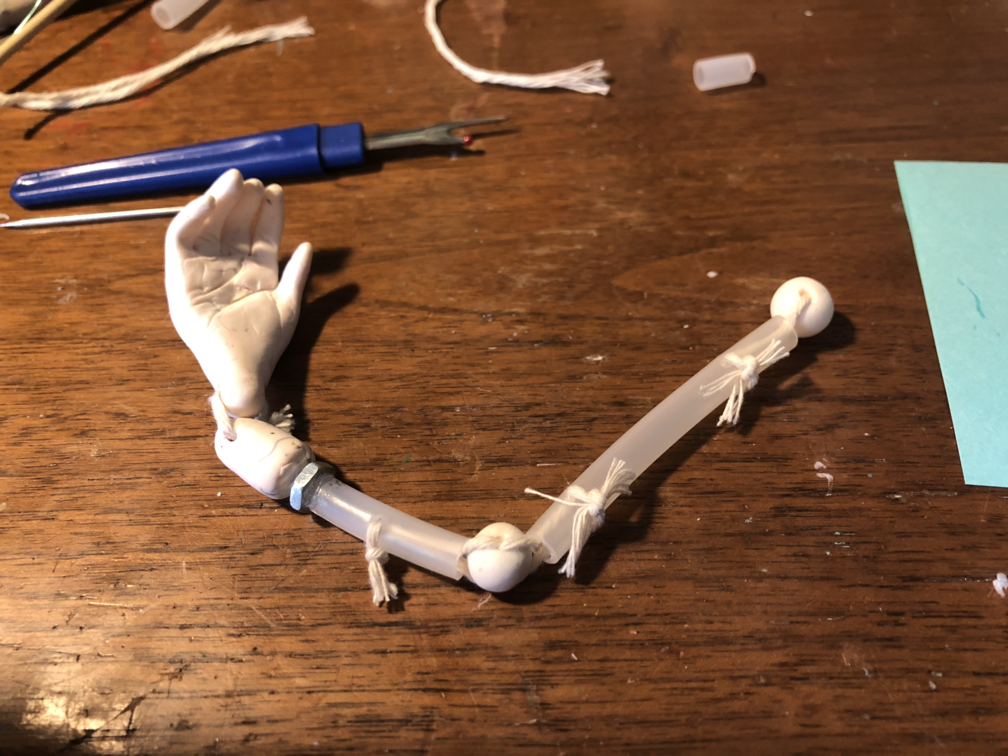
With the beads for the joints done, I could now string a test arm together. I threaded two pieces of twine through the bead and made sure to keep each continuous piece seperated on each side. With a seam ripper and a toothpick I carved two holes across each end of the tubes, about 1/2 inch from the end. I couldn't find my needle threader (and, to be fair, it probably would have been too weak regardless) so I used the smallest wire I have and bent it in half to create my own. For each end of the string, I used the wire to thread through the hole, place the sring through the loop, and pull it back through. It was tedious, but worked smoothly! I tightened both sides until they were close but still allowed some movement, and tied the twine together.
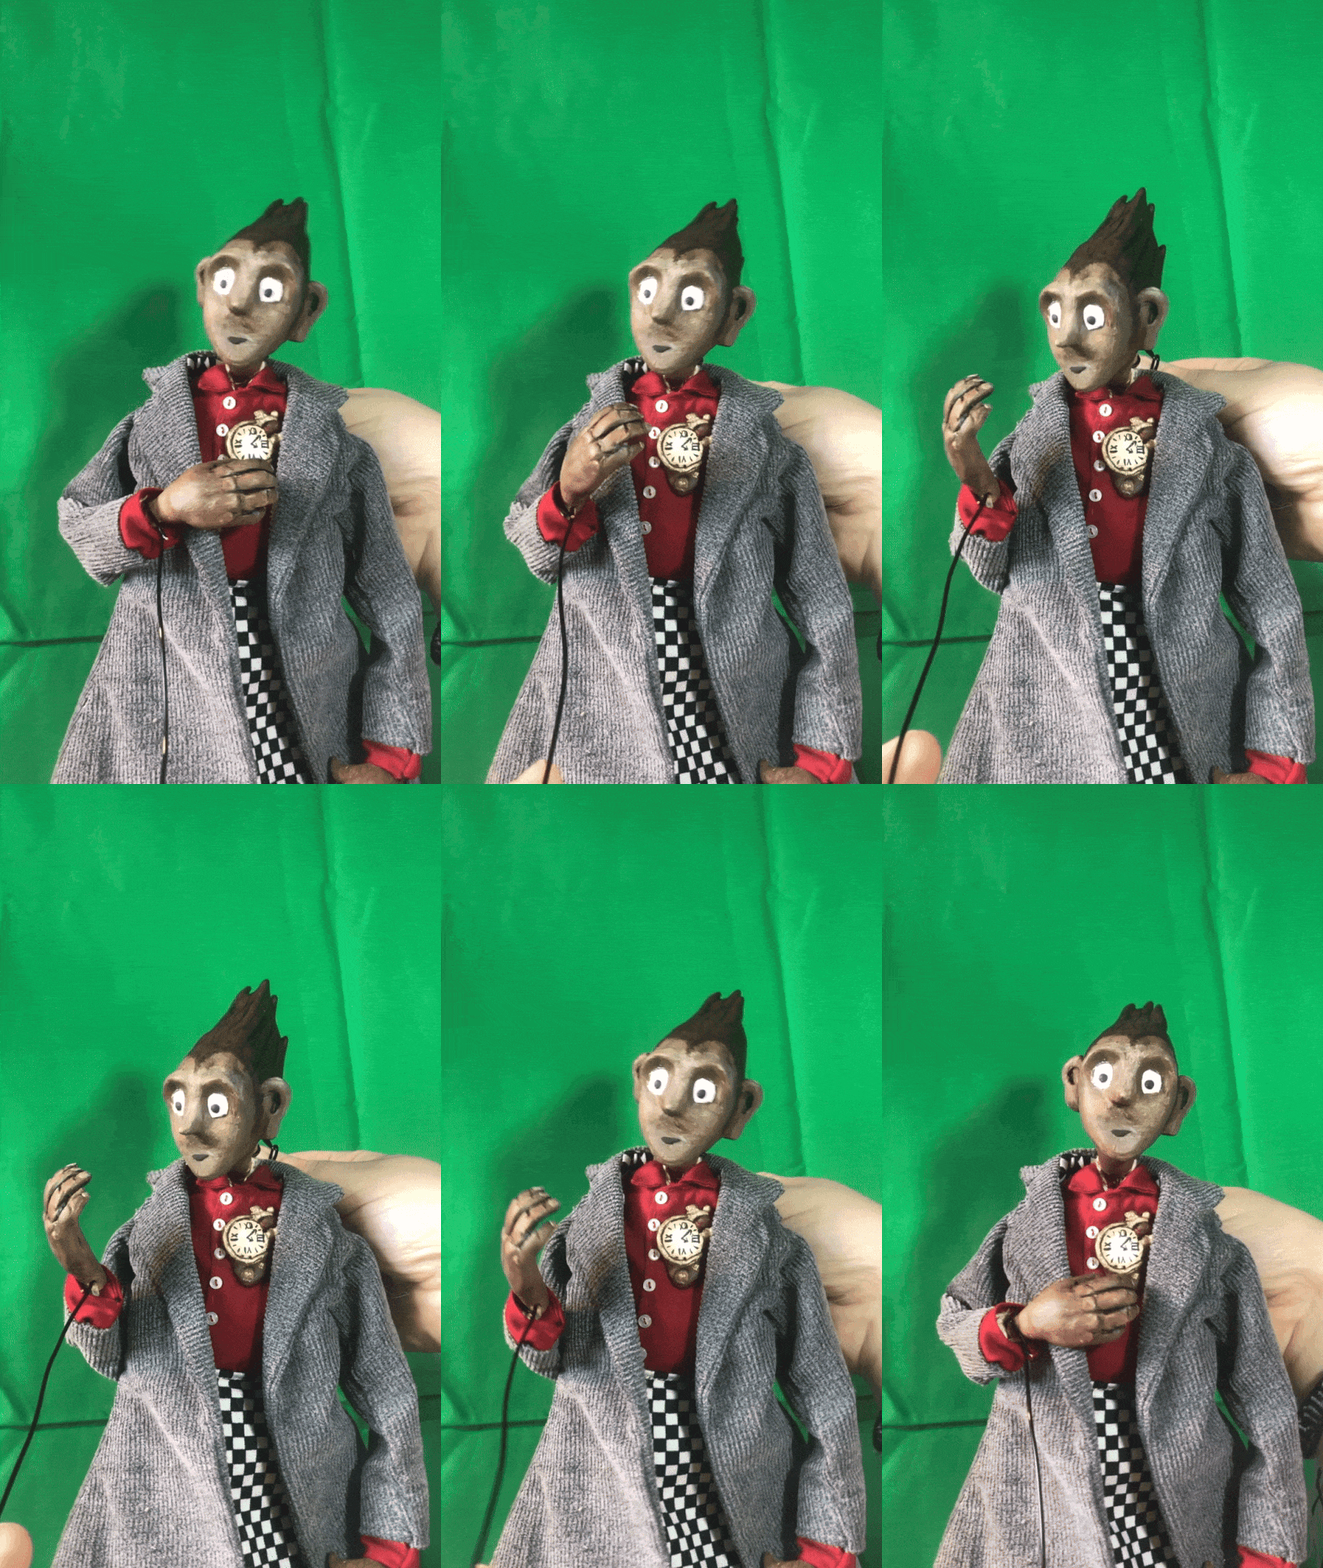
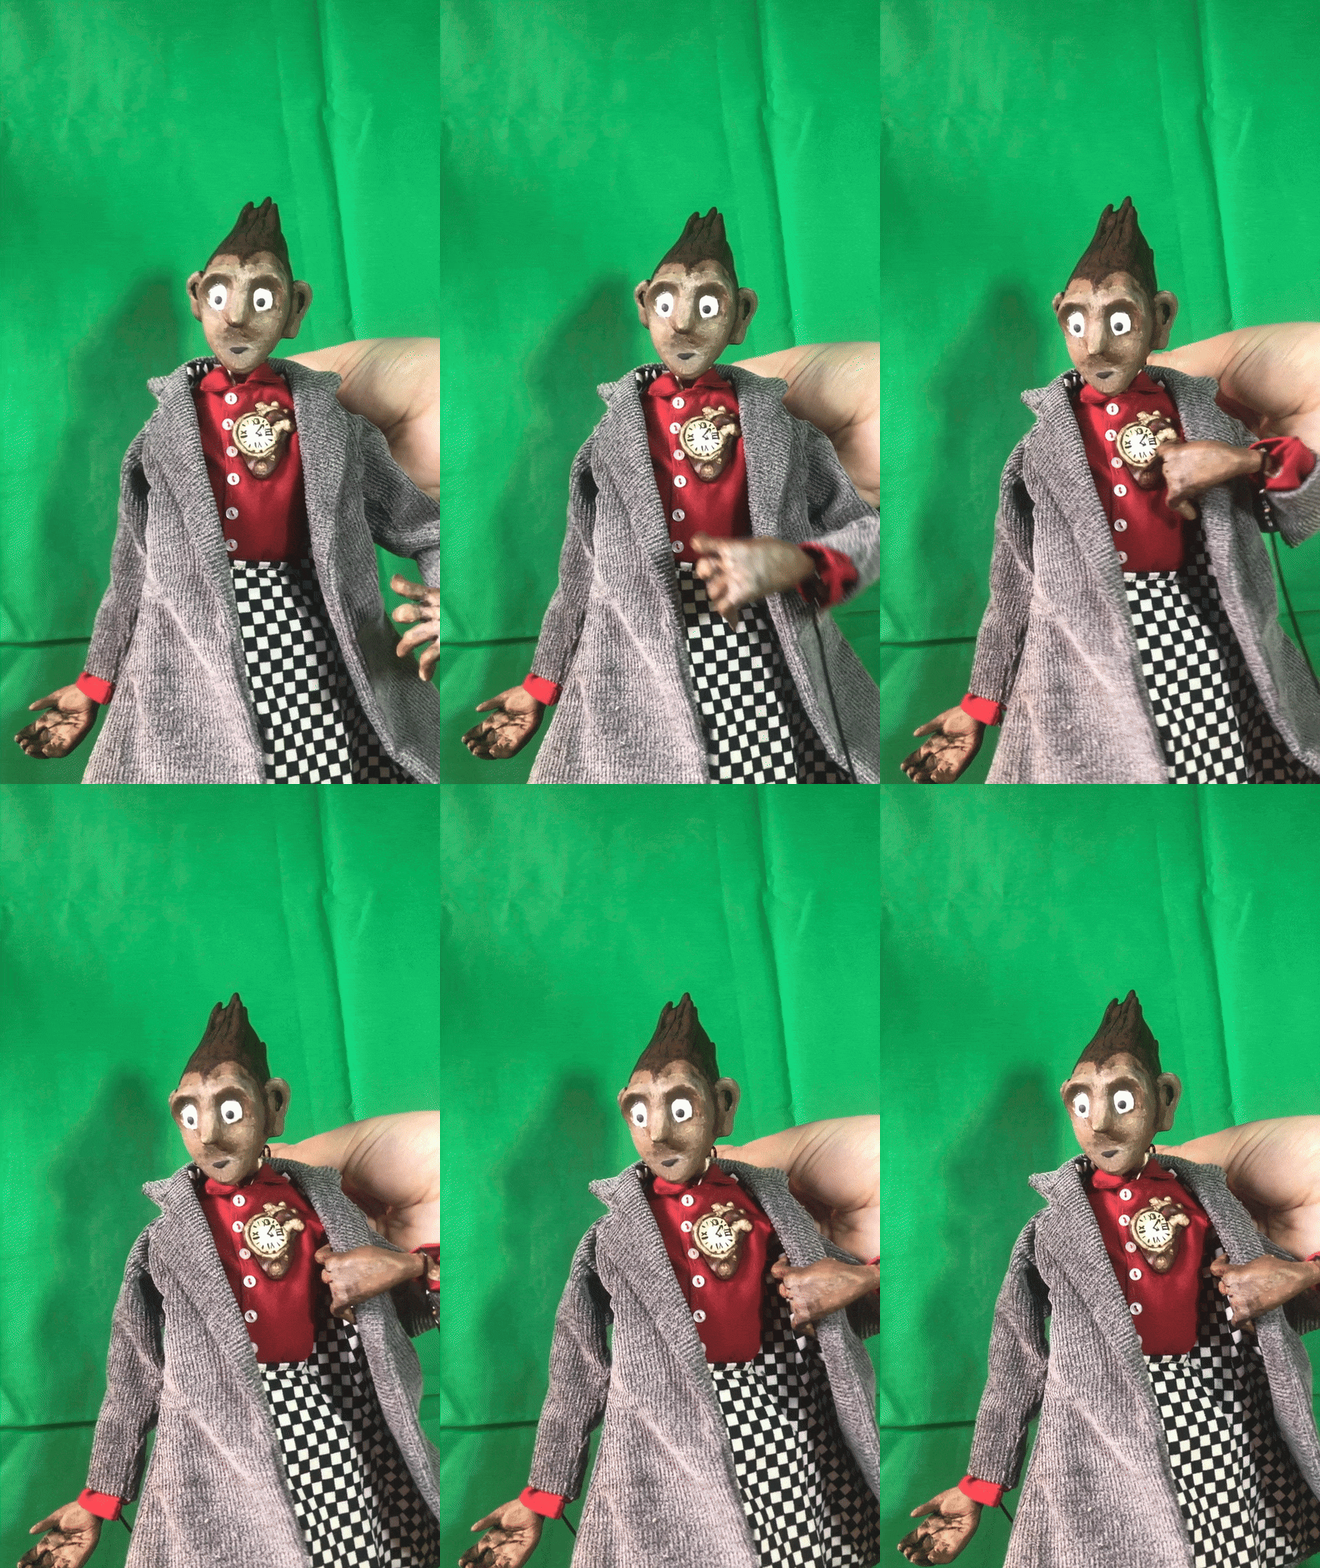
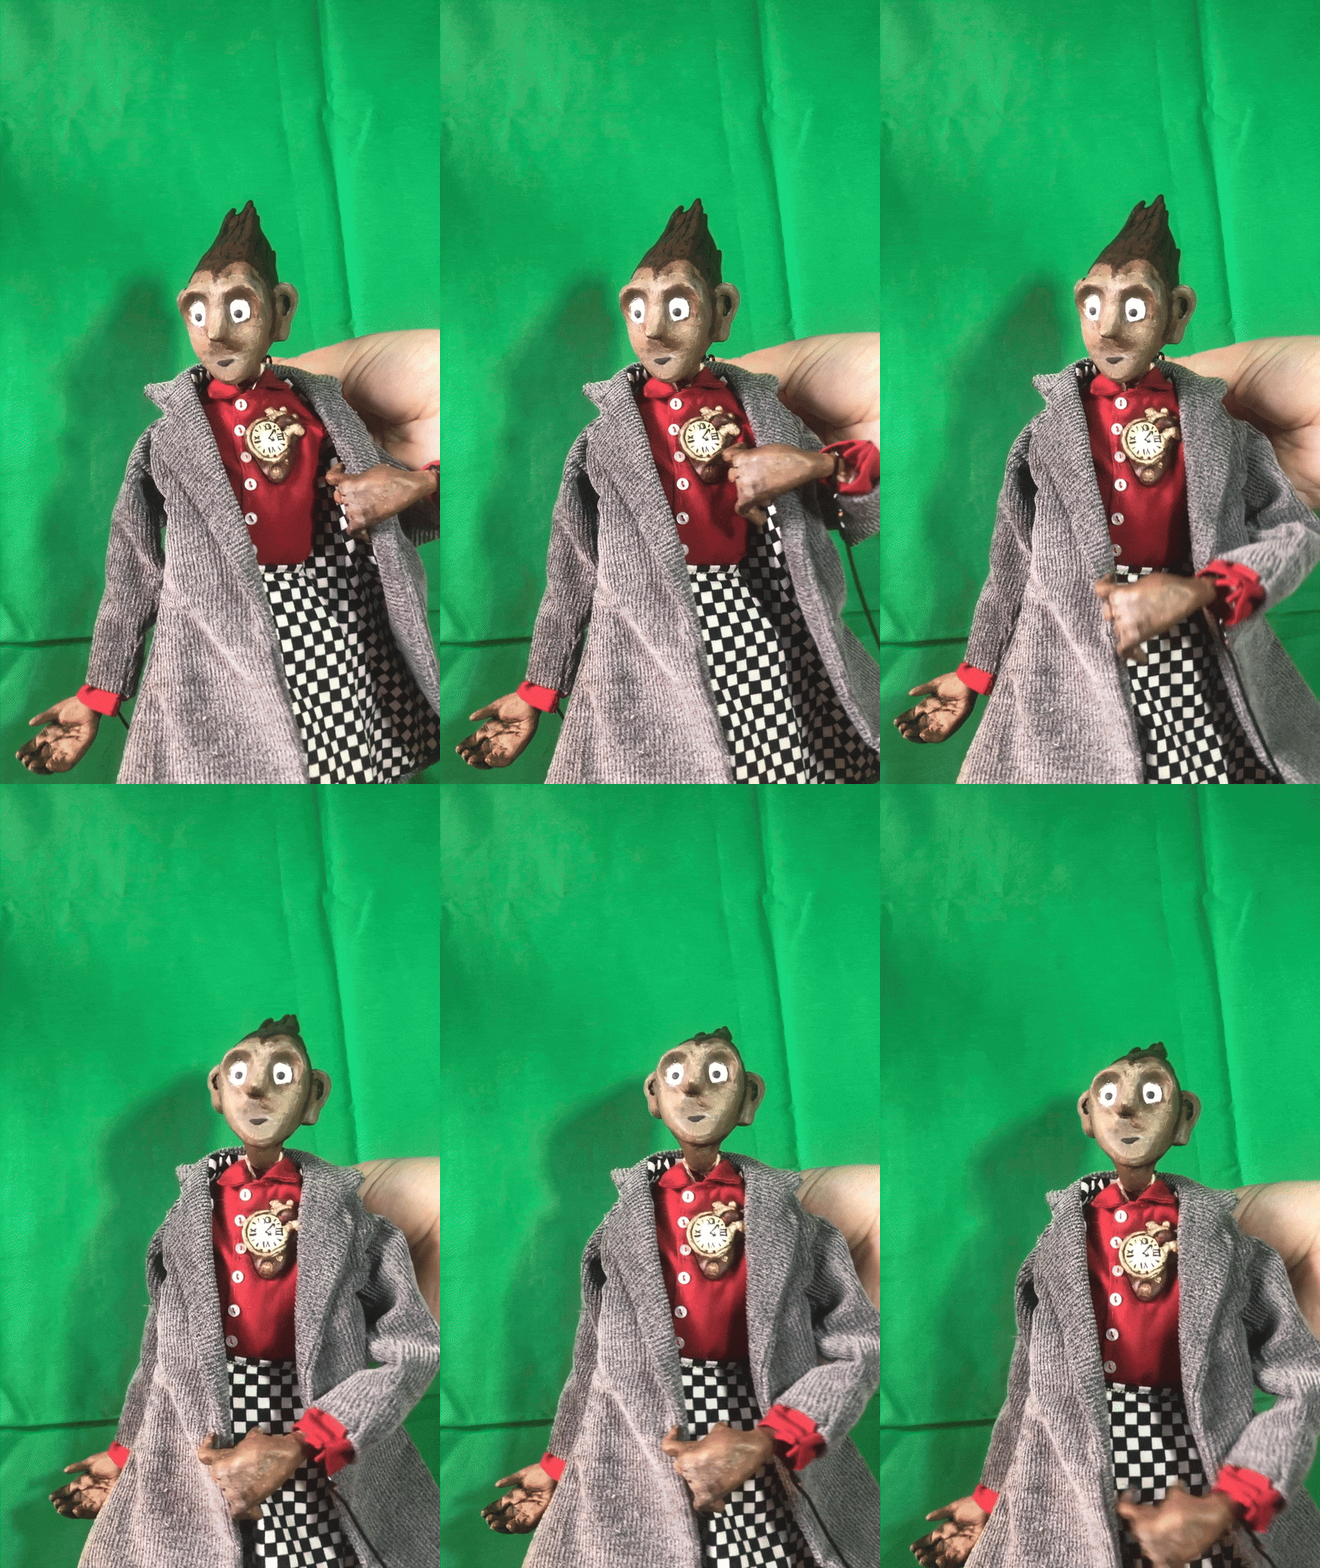
Here's some face and pose tests - and an arm that has been fully strung:
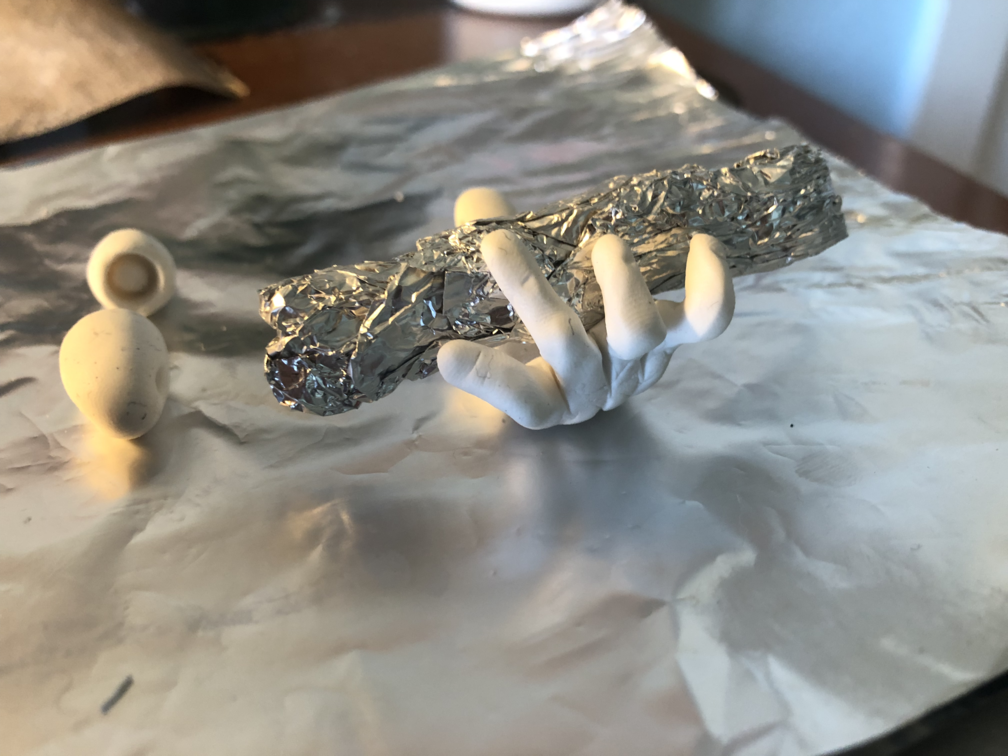
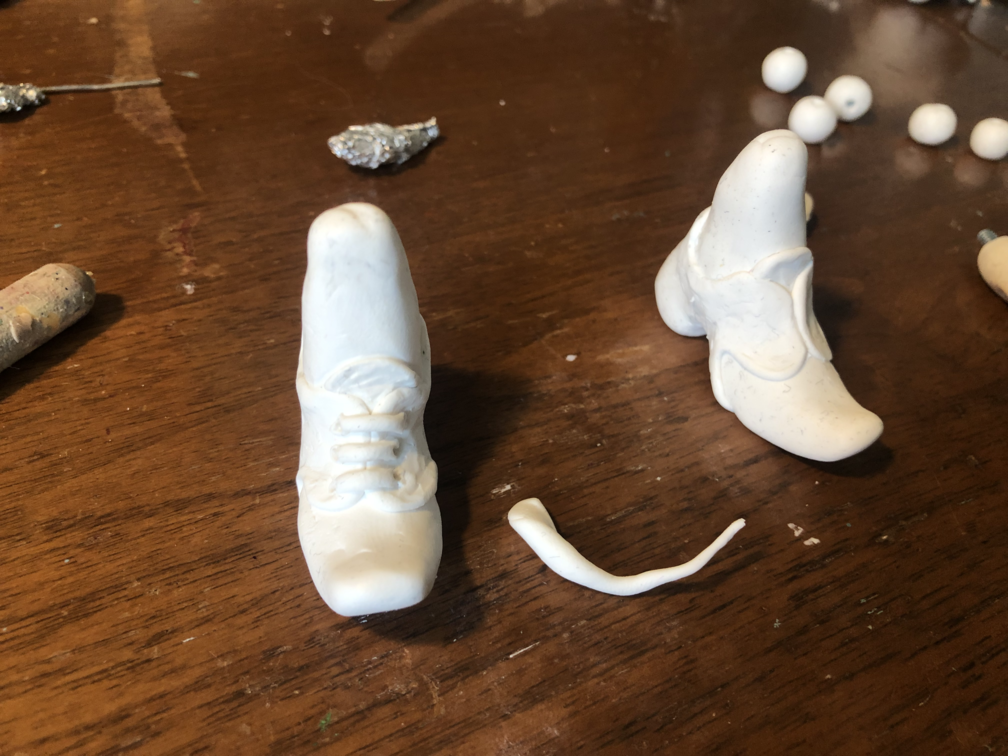
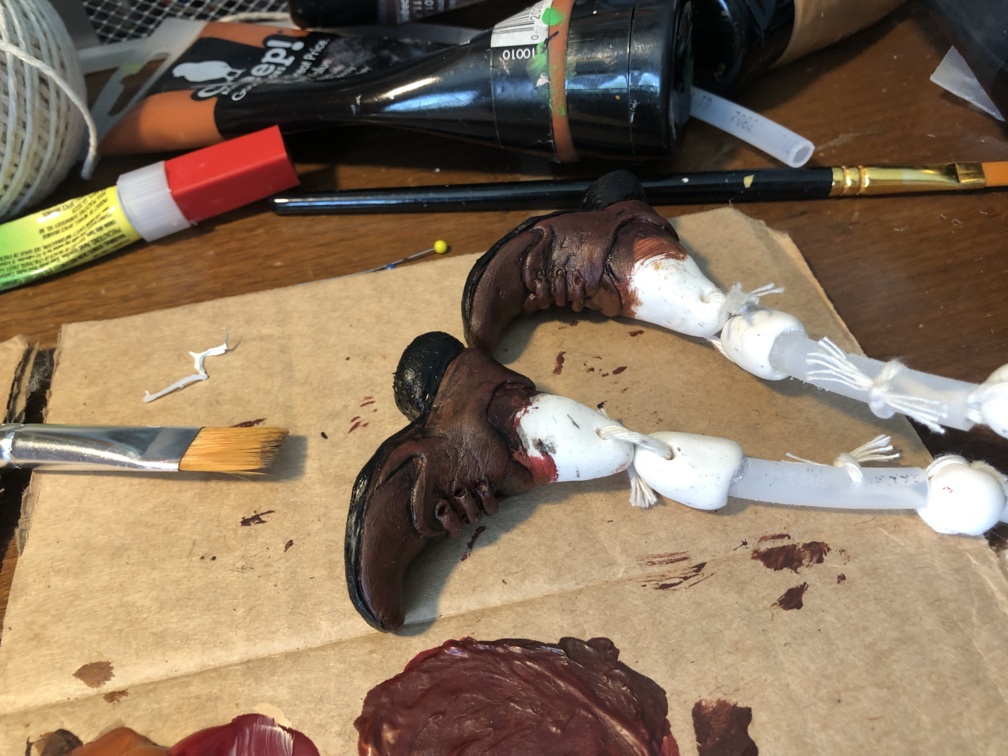
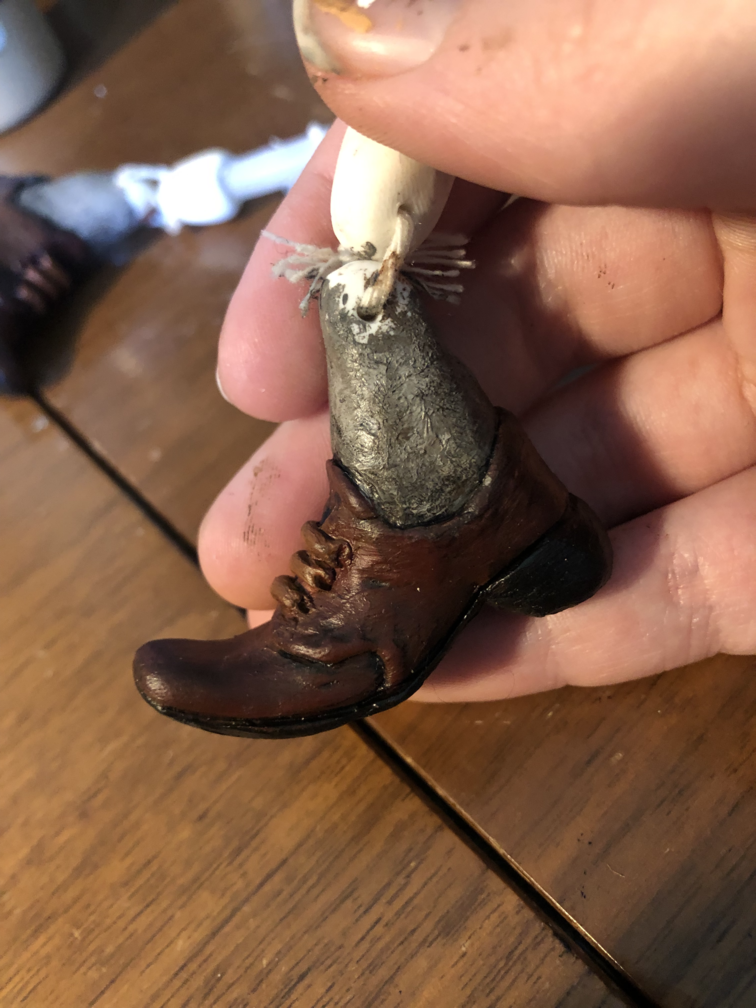
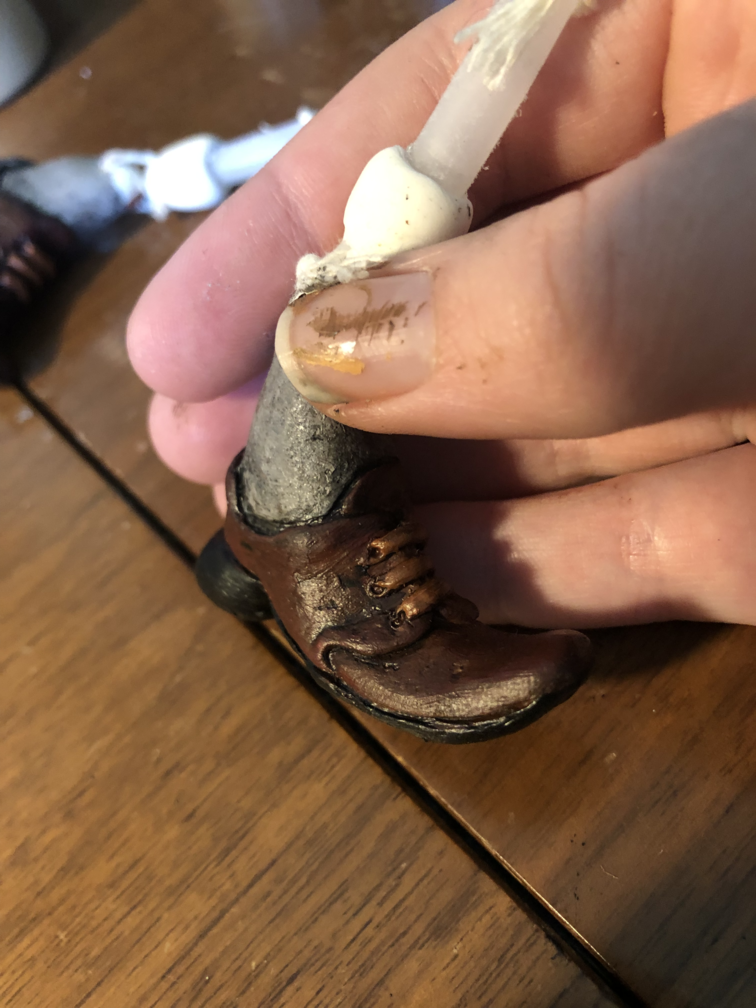
After that, I sculpted two more of the hands; the other right one with the flask and the left hand that holds the frets of the ukulele. I plan on sculpting a more neutral left hand at some point, but the hands are the most difficult to get right so I will come back to it. Then he got his shoes! Tiny little oxfords.
For the hip joint, I tested out using a larger bead with two holes going peperndicular, I plan on using one to attach to the body and the other to tie on the leg. I'm hoping I can make it slightly diagonal so the legs have a more natural movement.
I also made two clay ends for the ankles. Since I won't be replacing the feet, I don't need to include nuts and bolts on this side. And I don't want to put a bead here because the ankle should only have one axis of rotation.
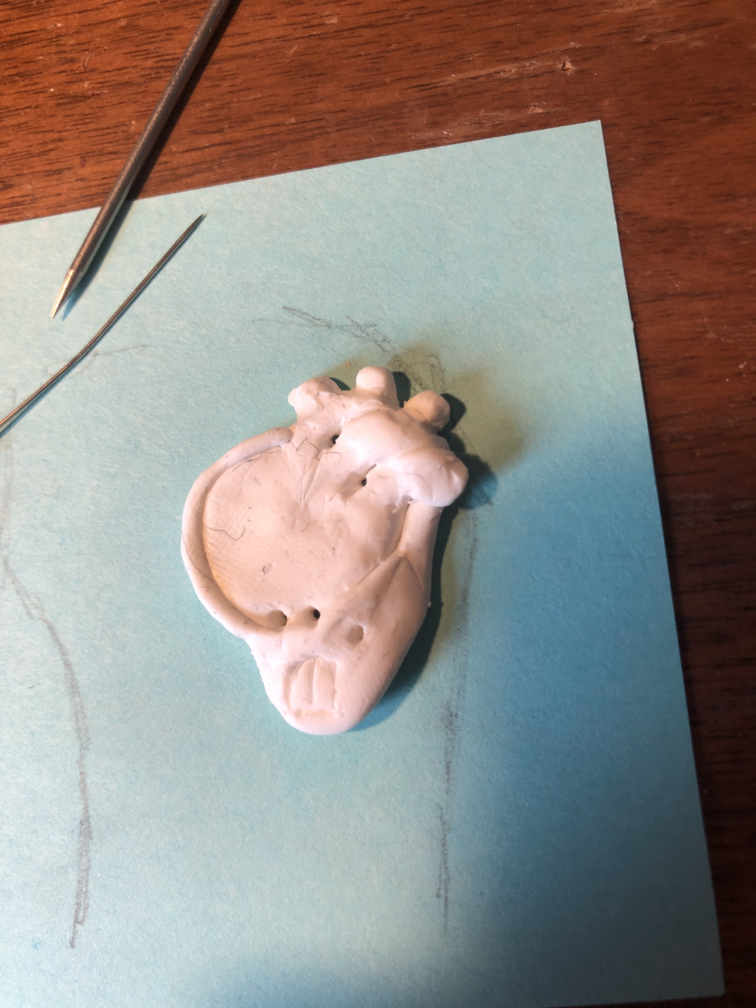
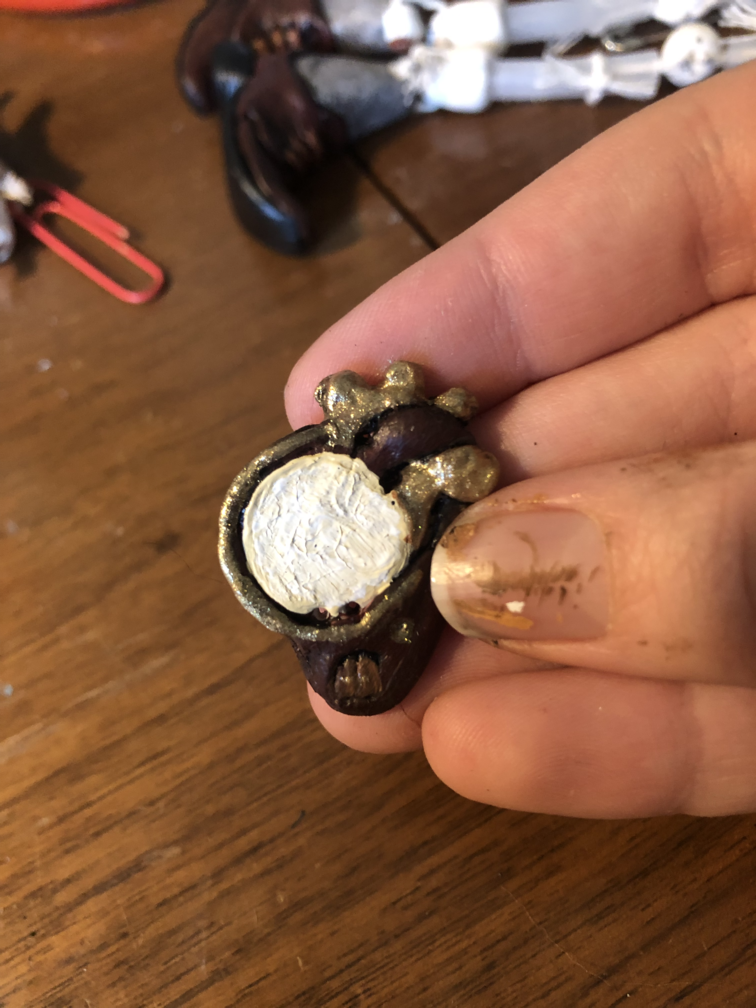
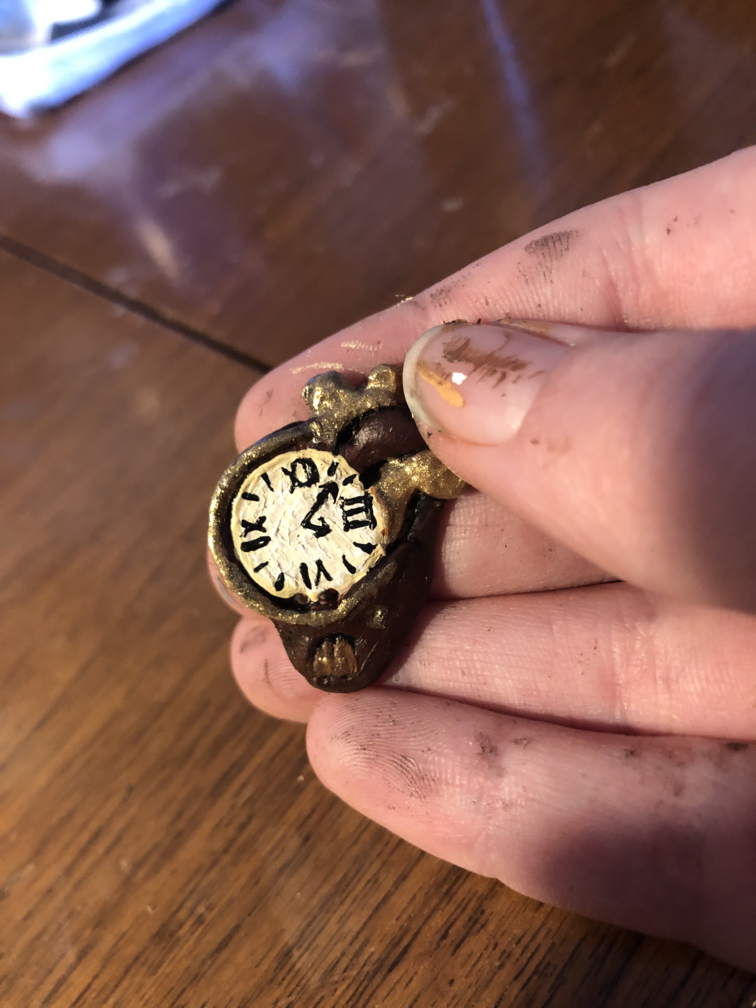
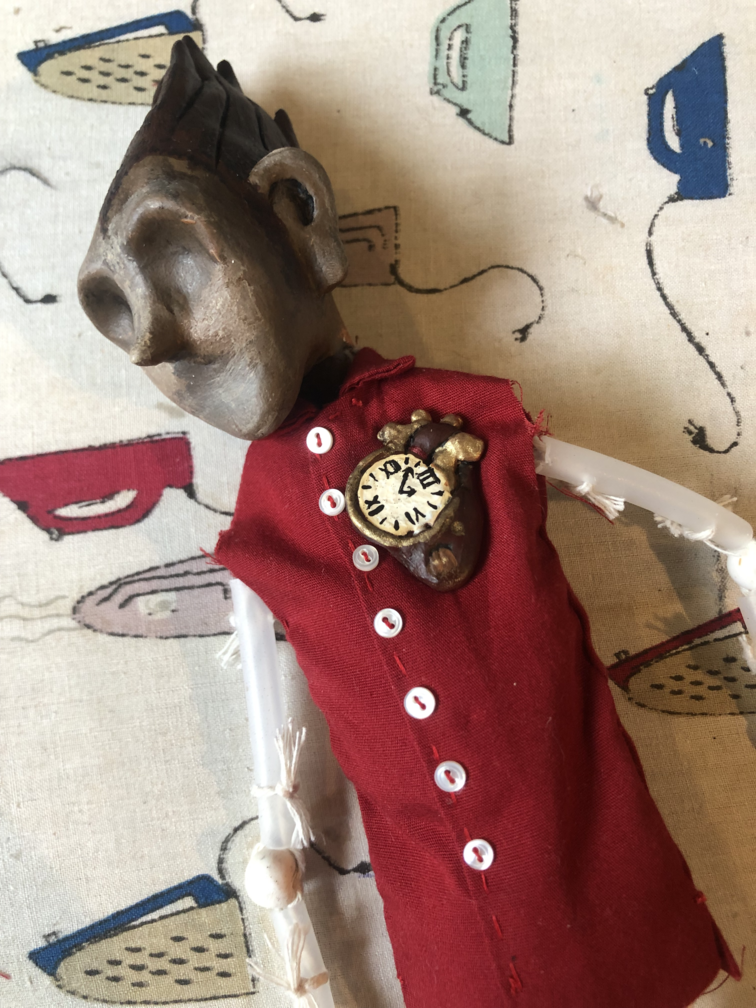
Before I put everything in the oven again, I sculpted his heart. I decided to go with my own design for his clock heart, something more heart-shaped. I then added four small holes, so that the piece can be sewn to his chest like a button and I don't have to worry about more glue.
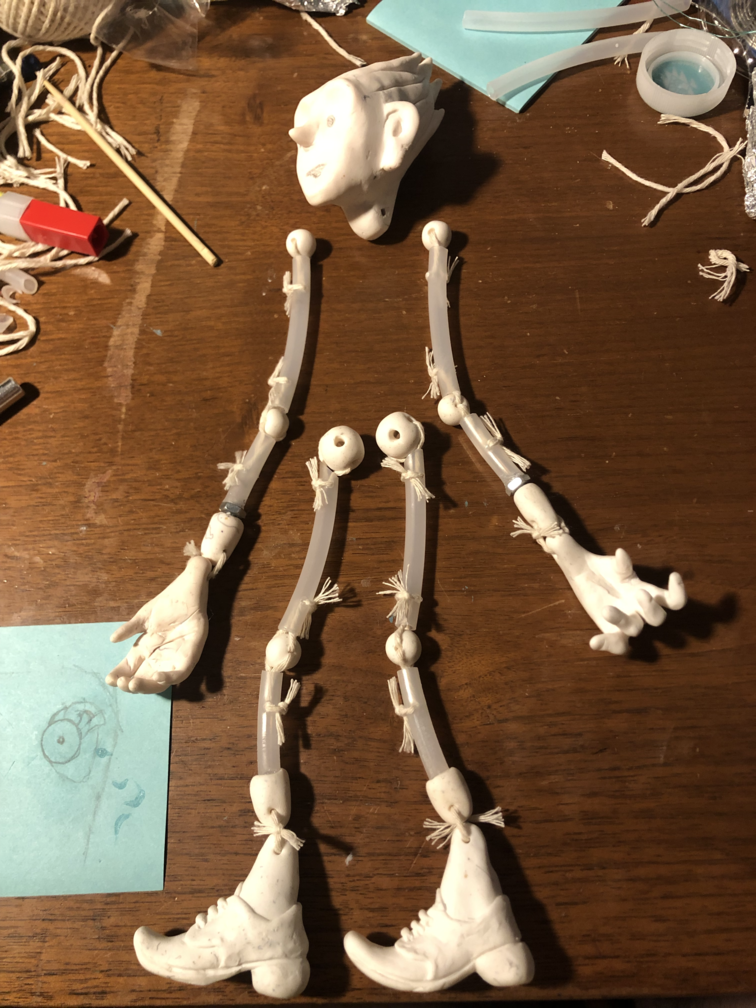
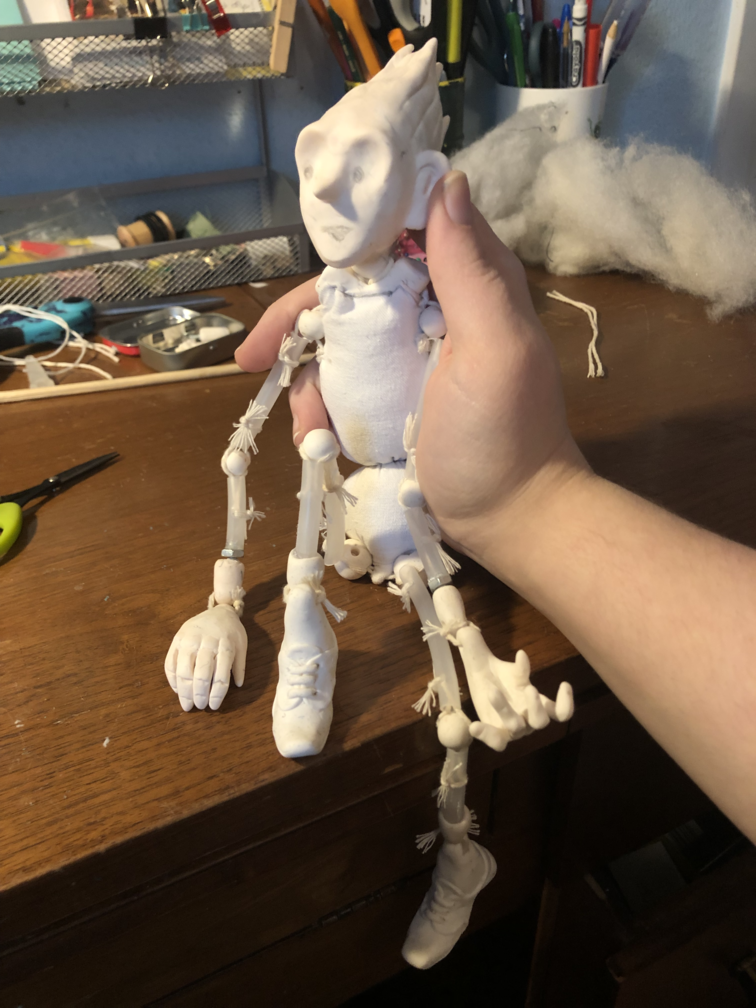
Another session of baking, and I strung together all his limbs!
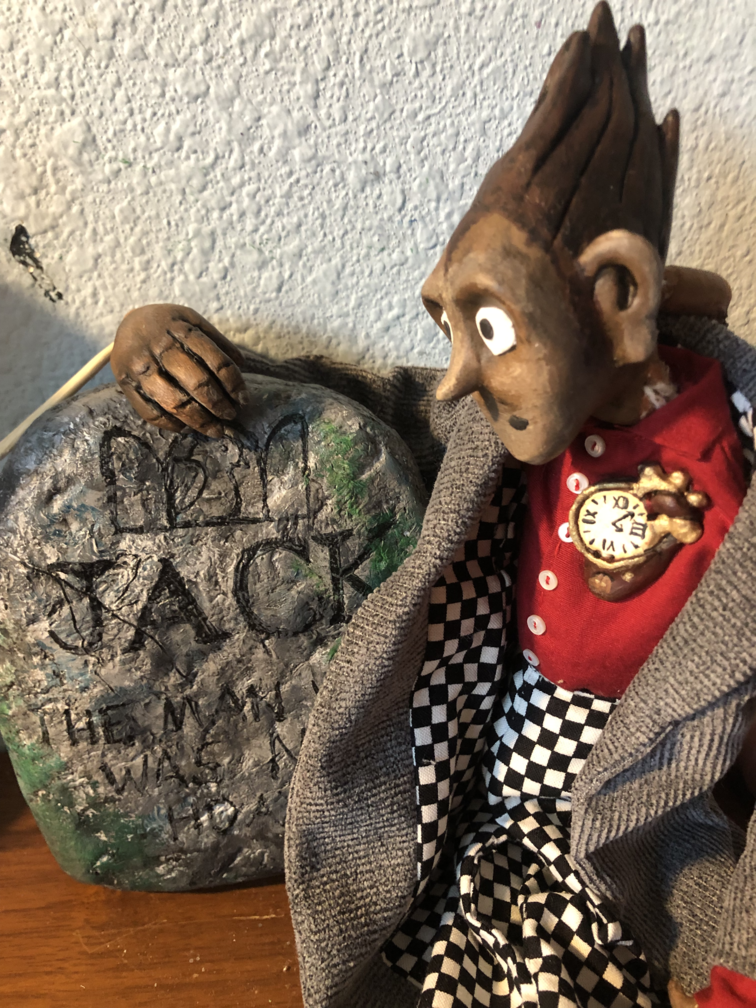
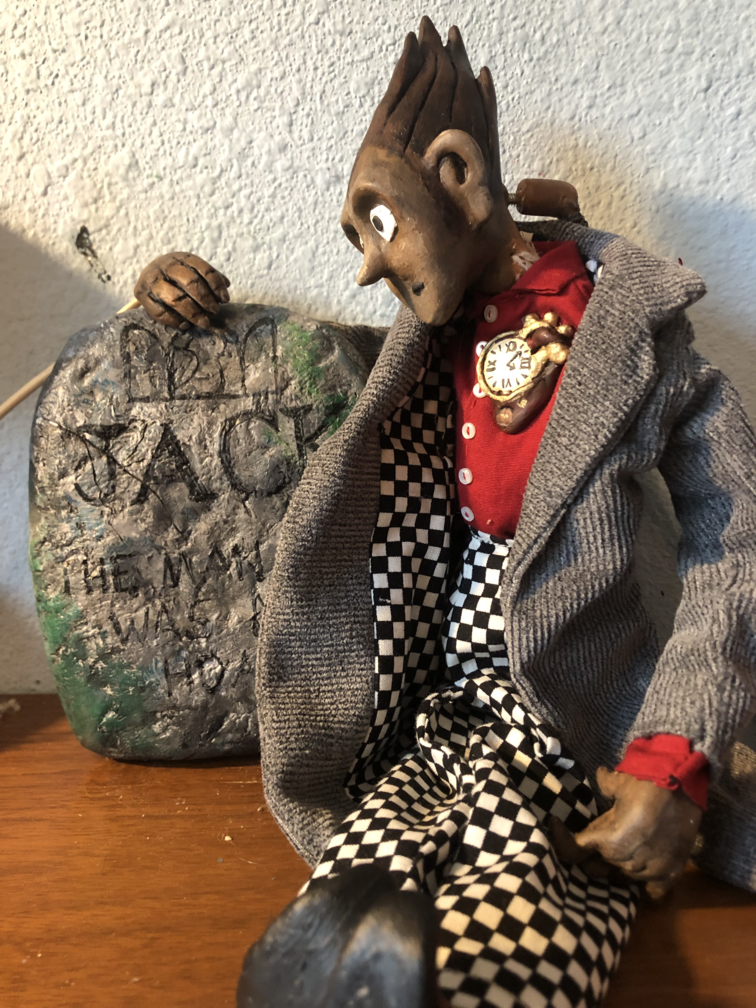
I made the neck section that he head will sit into. It has a hole down the middle to attach the strong for the neck, and some smaller holes along the sides to sew it to the body. I made him a gravestone to sit on, too. While these were baking, I drilled a hole in the back of his head and glued an extra nut over it. I had meant to drill a hole for a neck rod beforehand, but with the nut in place I can remove or swap out control rods, so it turned out in my favor.
Apr 29th.
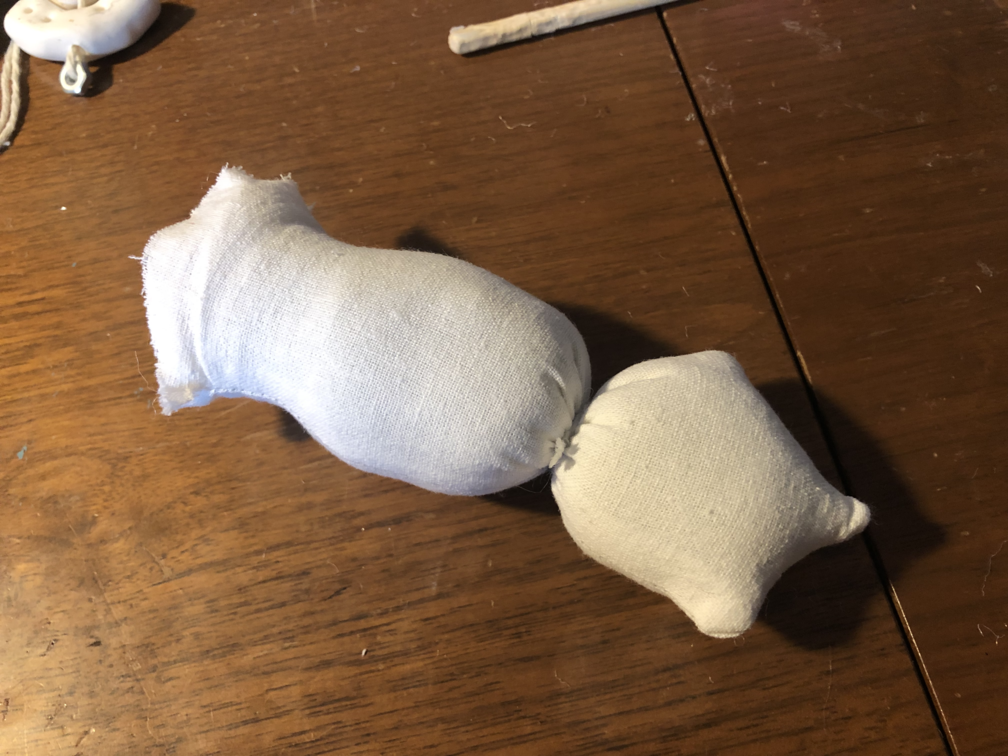
With all the clay pieces done, I could sew the body! I used the same body pattern that I used for Brúni, since they are very close in size. I cut off the limbs of the pattern and replaced them with convex curves where I planned on sewing in the beads. I realized halfway through stuffing it that it dodn't really allow the center of the body to move very well, so I wrapped some twine around the center to hopefully make a waist with some flexibility.
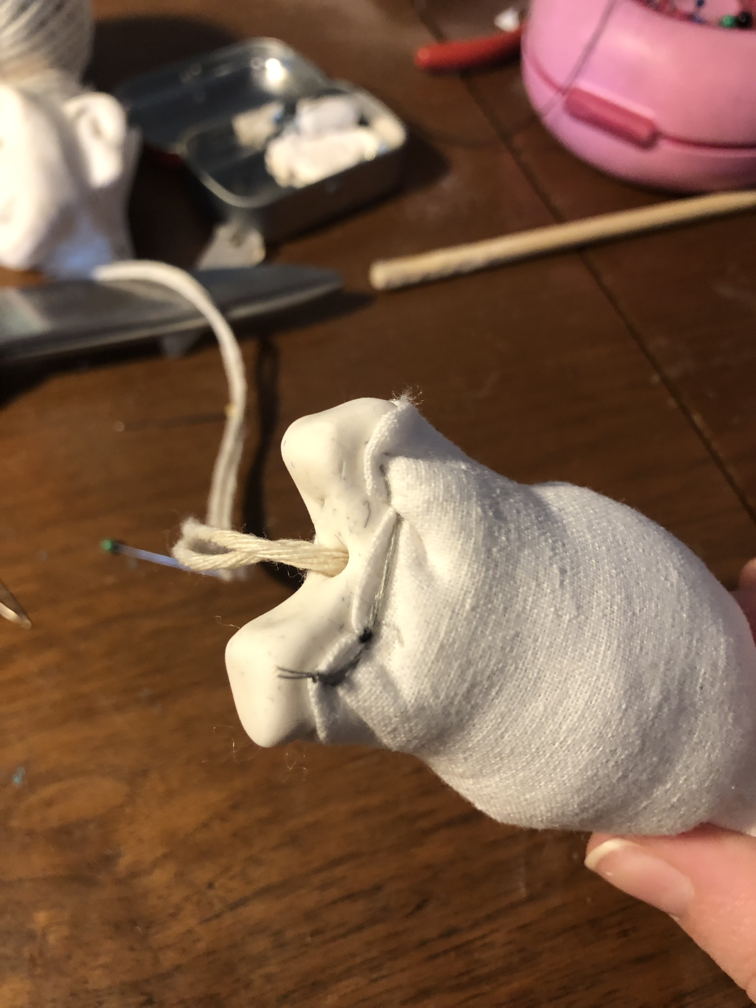
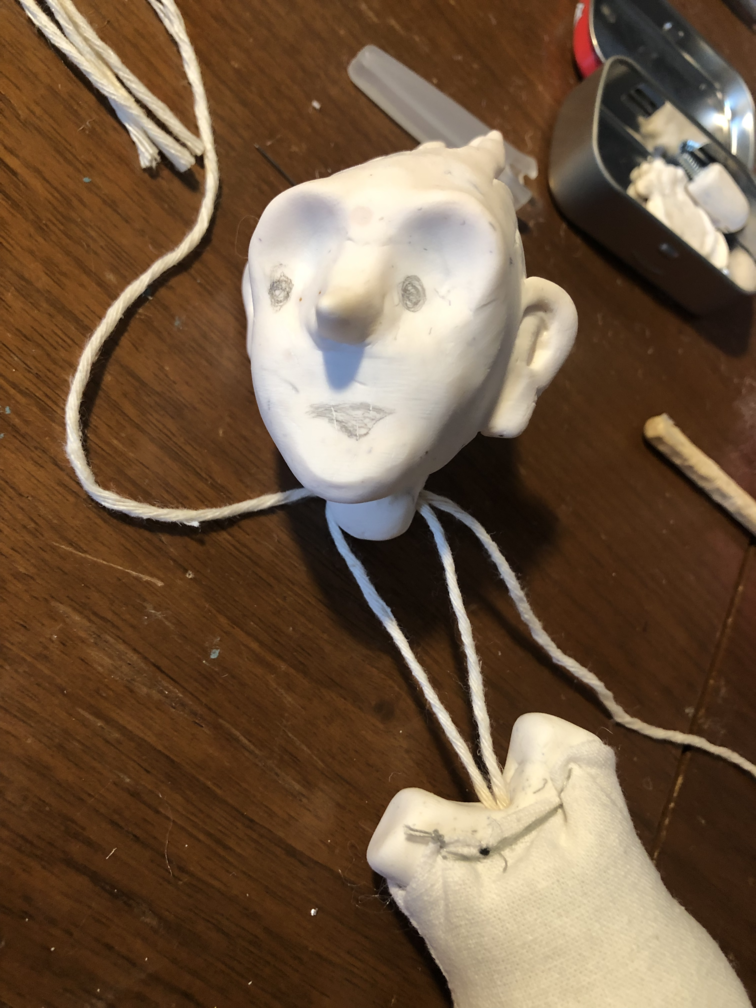
Once I had stuffed it to the top, I could sew on the shoulder plate. First, however, I had to string through the twine that would later attach to the head, since the other side would be unreachable once sewn up. I used an extra nut (I had gotten too much superglue on it) to hold the end of the string in place. Now I could fold over the rough edge of the body fabric, and sew it through the smaller holes I had made.
Next was attaching the shoulder beads. This is the one thing I plan on changing in later versions, the shape of the body was too tight around the neck plate, and the placement of the shoulder beads had to be lower in order to have something to attach to. I'm not sure if in the future I'll be making the body fabric longer, or if I'll sculpt the neck plate to include holes for the shoulder beads to attach to. But either way, the issue isn't bad enough for me to re-do major sections of this doll, just something to change next time.
I also got to painting today! I did many layers of different browns and skin tones on the hands and face to get a weathred wood effect. His heart is a reddish mahogany so I did the shoes to match. Another tip for myself for the future, I plan on painting the pieces before I string them together.
After many layers and I was satisfied with the color, it was time for a black detail wash. This sinks into all the crevices of the sculpting to make the detail pop.
I got everything painted today! Tomorrow I plan on spraying everything with sealant, and starting to work on the clothes. Since he's so close in size to Brúni, I will hopefully be able to use all the same patterns with minor adjustments.
May 1st
Had to wait for the rain to give us a break, but I was finally able to spray on a coat of clear matte sealant. Now he's ready to get some clothes.
May 5th
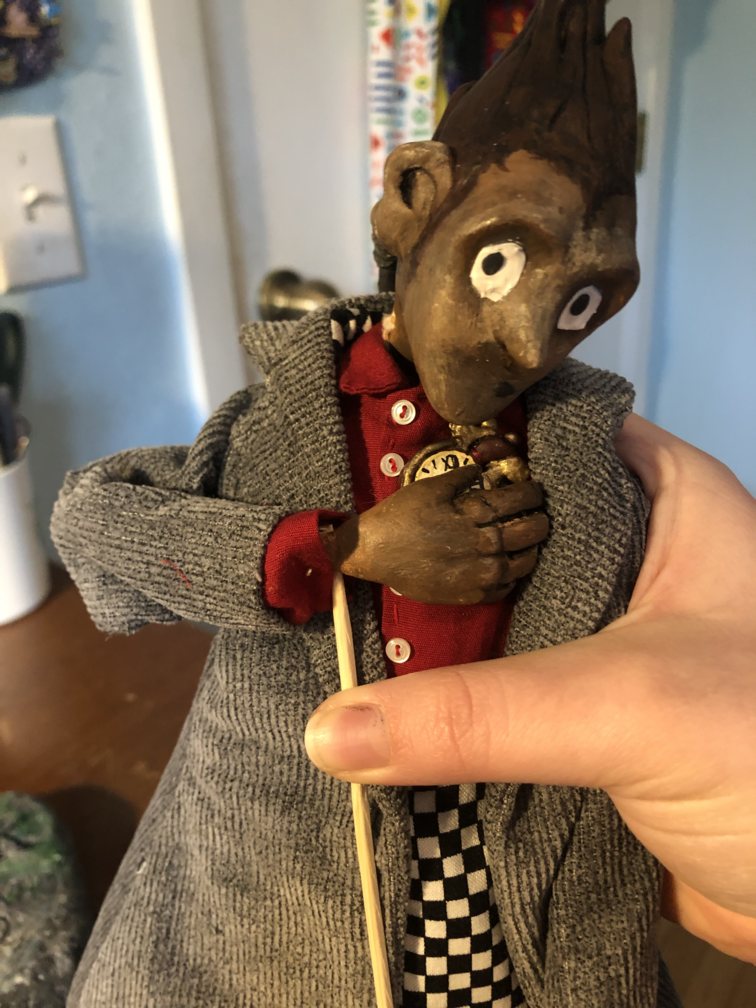
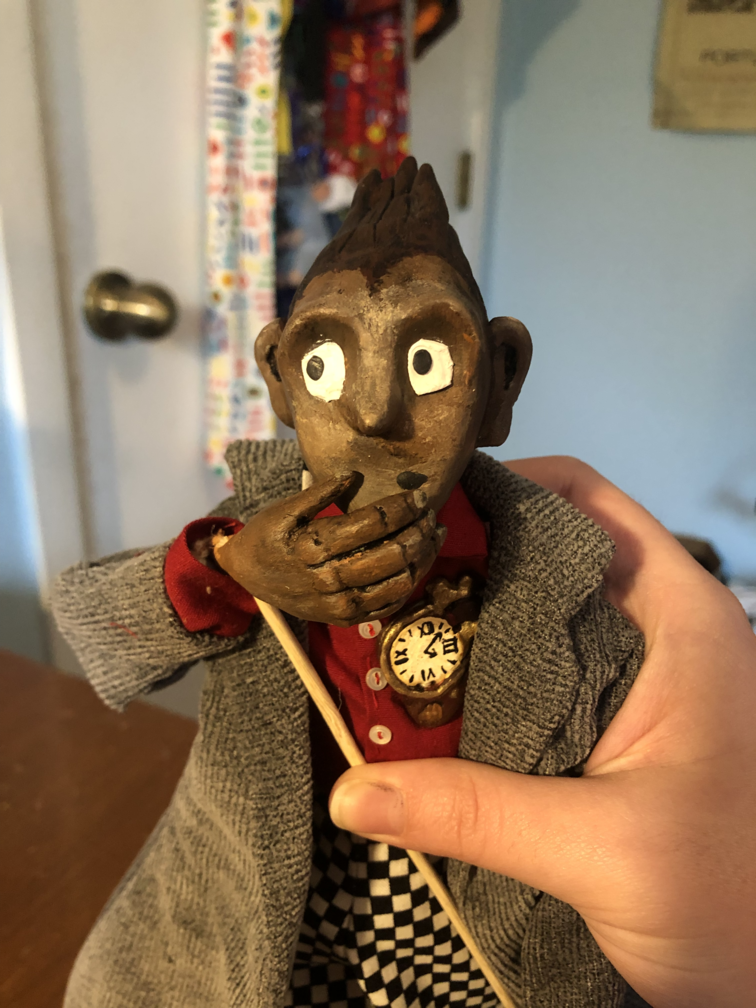
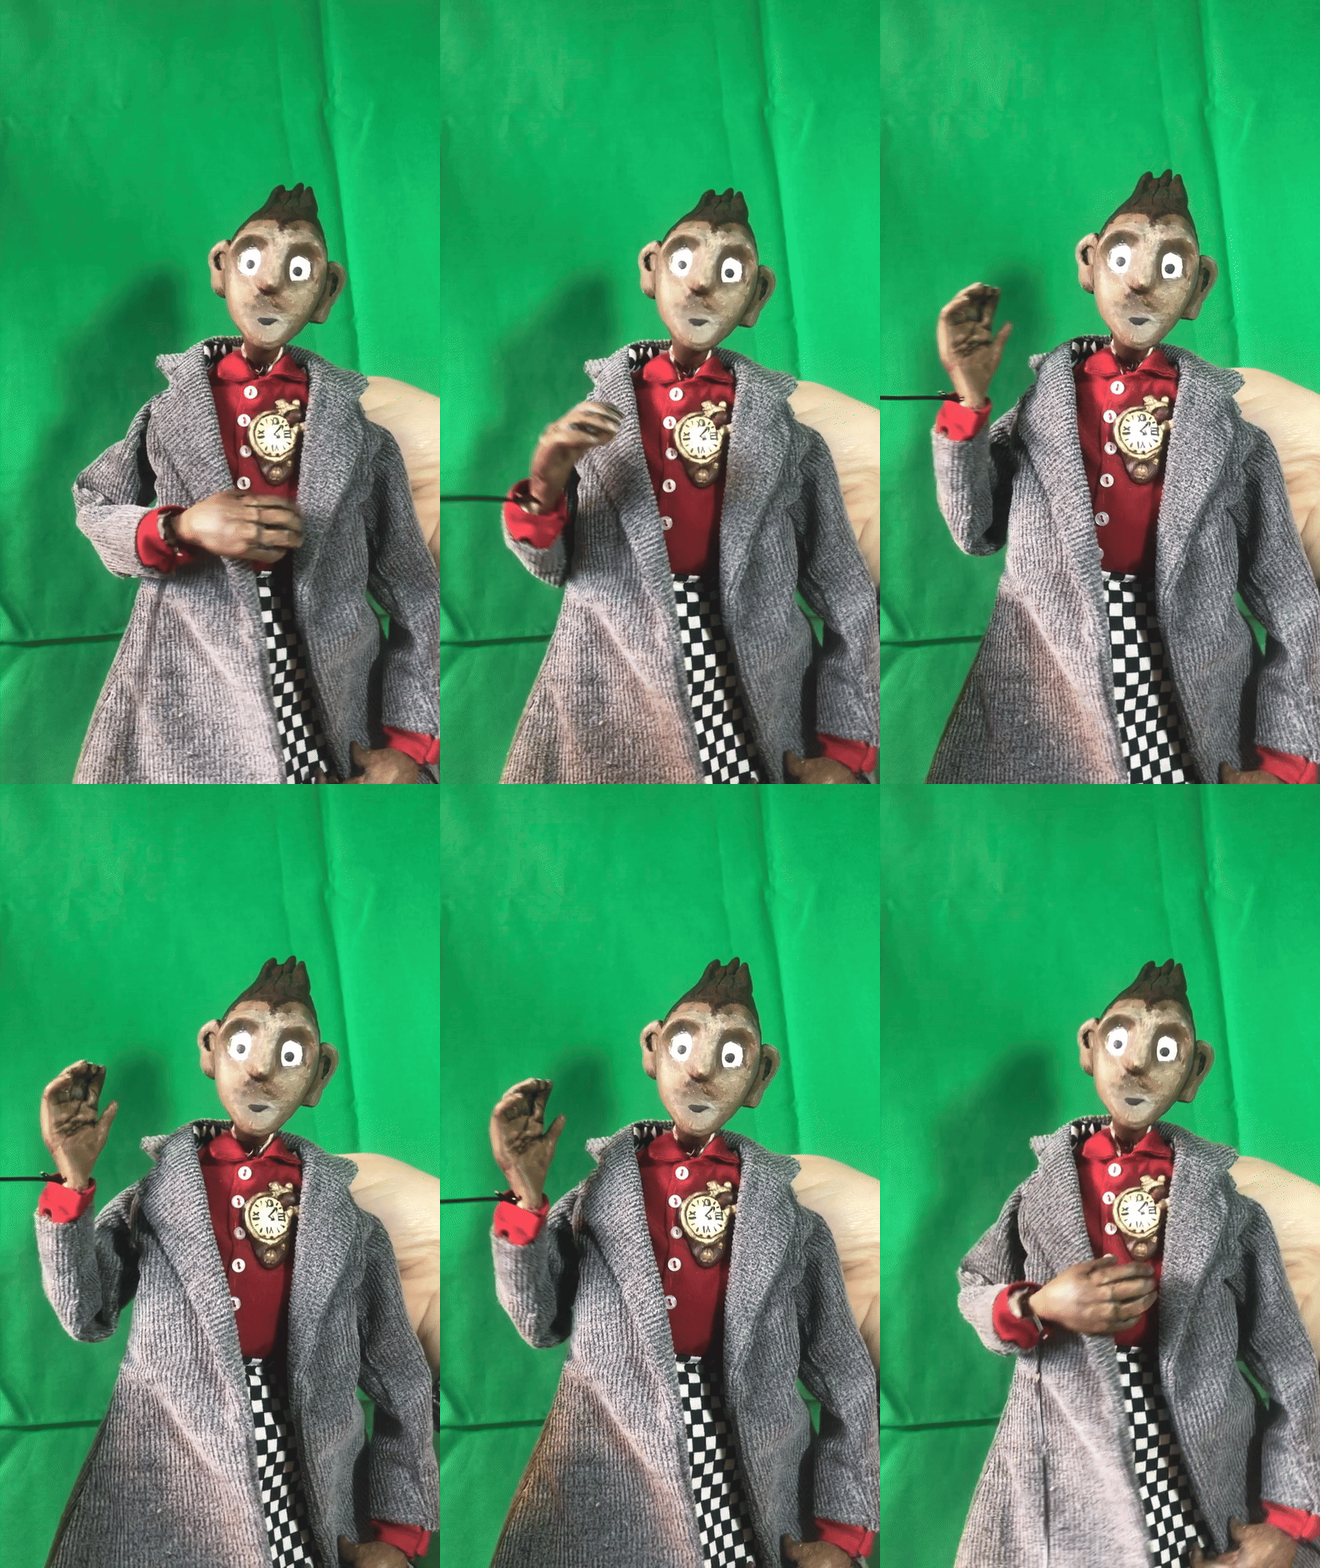
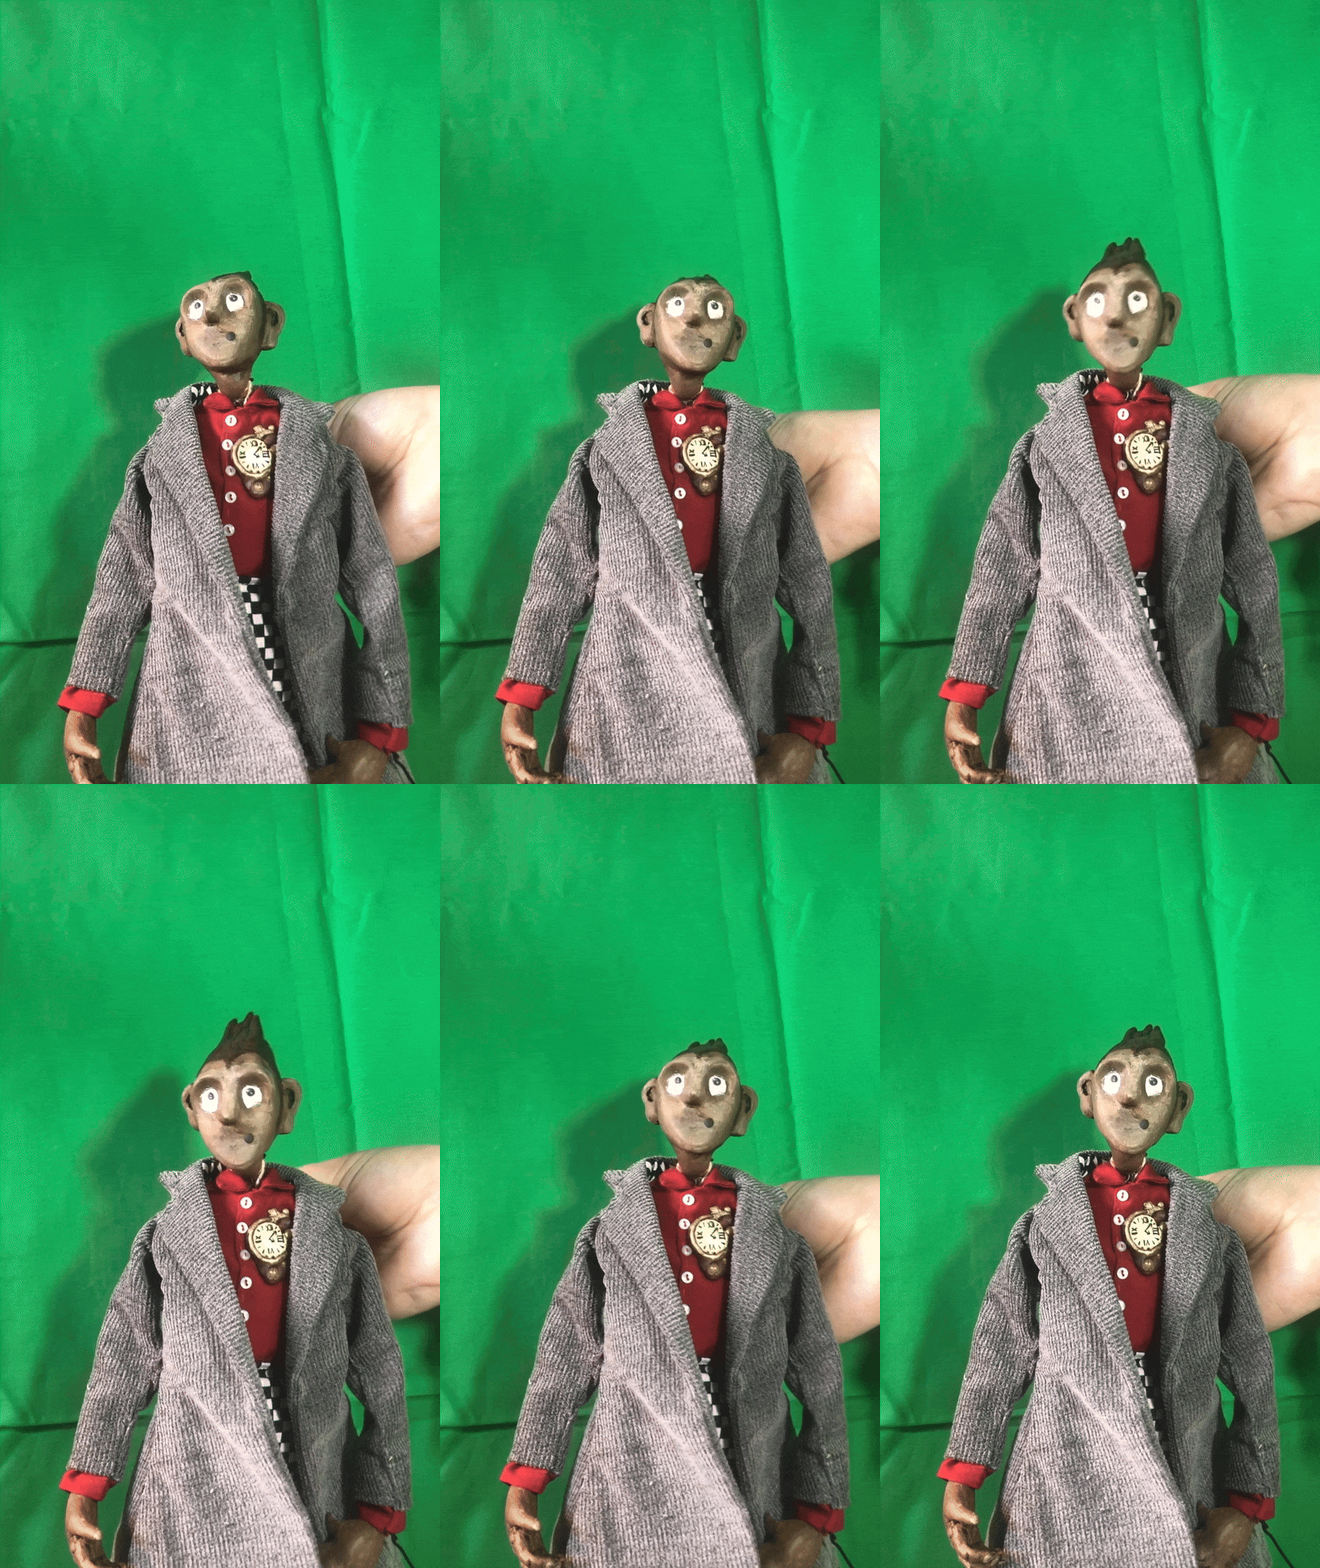
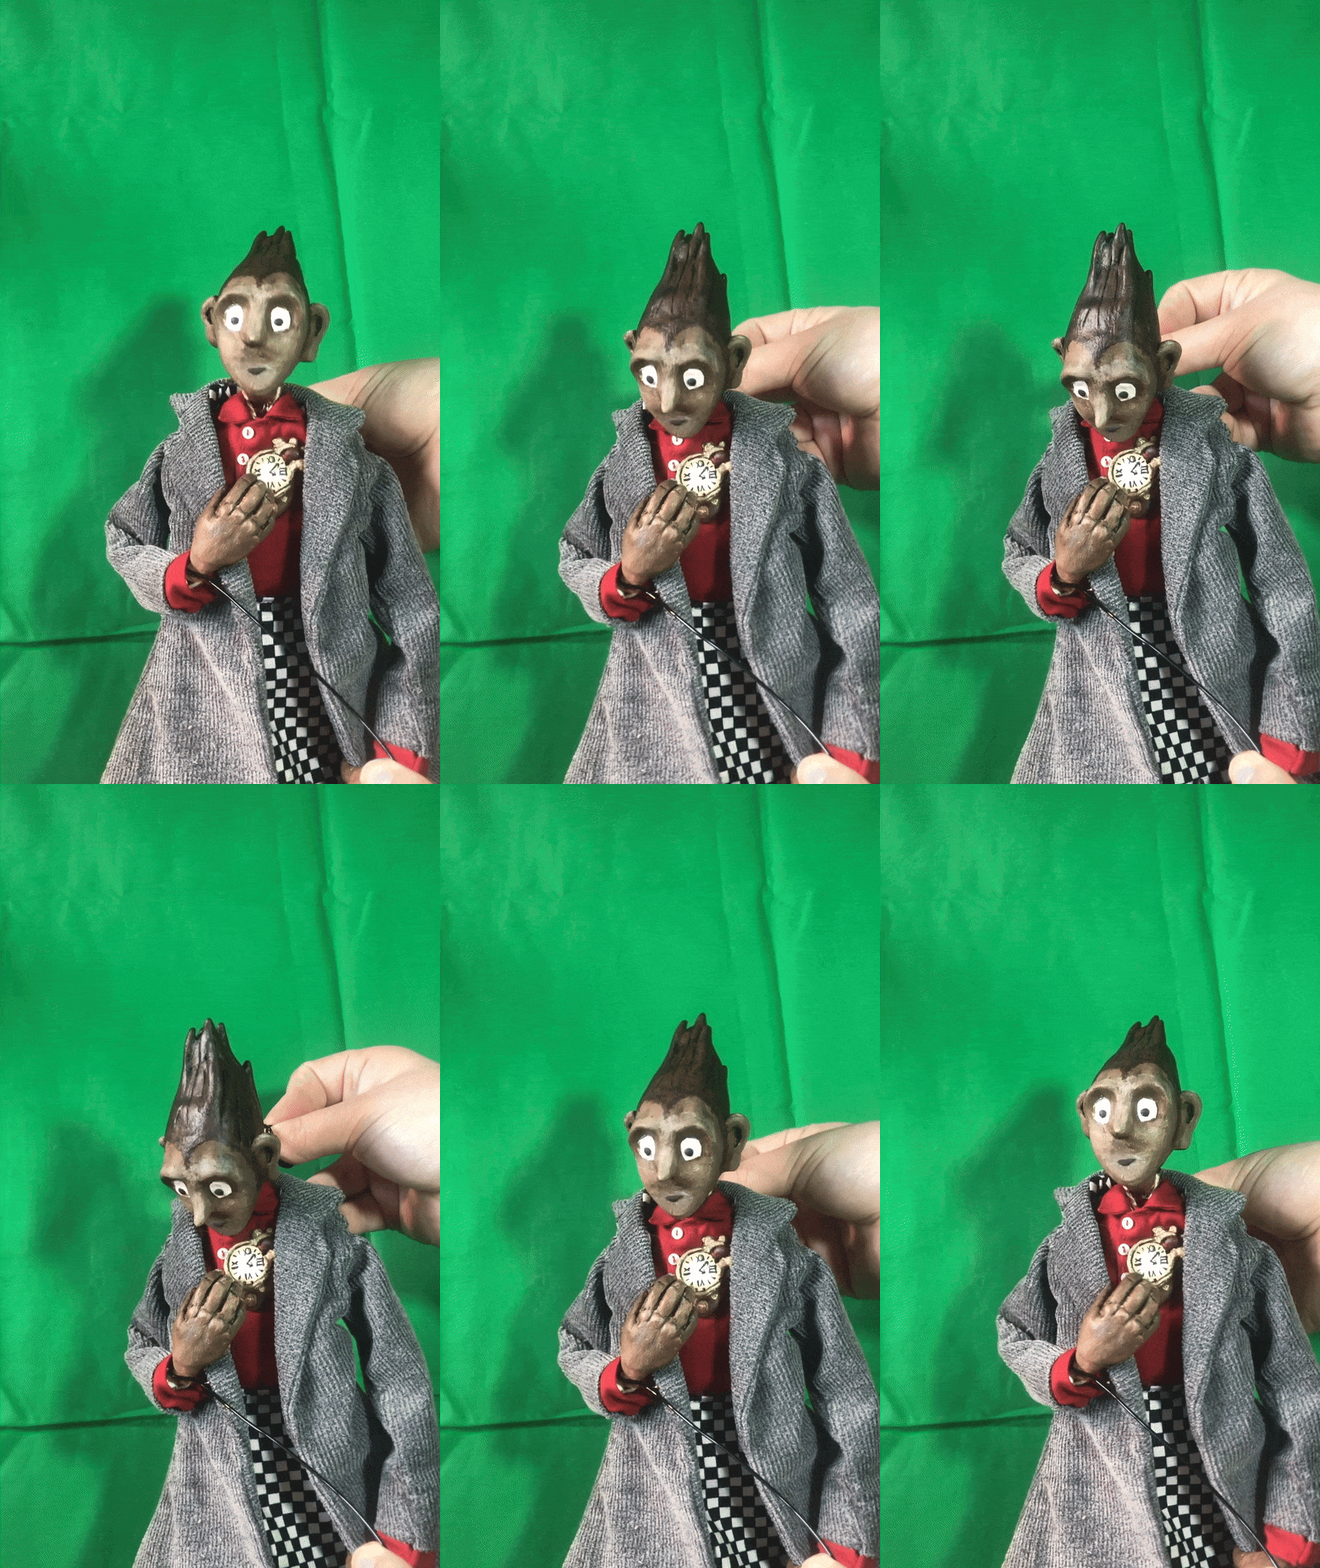
After I had made his clothes, I returned to the body to add his face. I used polymer clay to create his eyes and mouth. Since the clay underneath has been sealed, the new clay doesn't stick and can be easily shifted around and wiped off. I don't plan on doing full-on stop-motion with him, but it's good to have the ability to change his expressions between shots.
Clothes Process
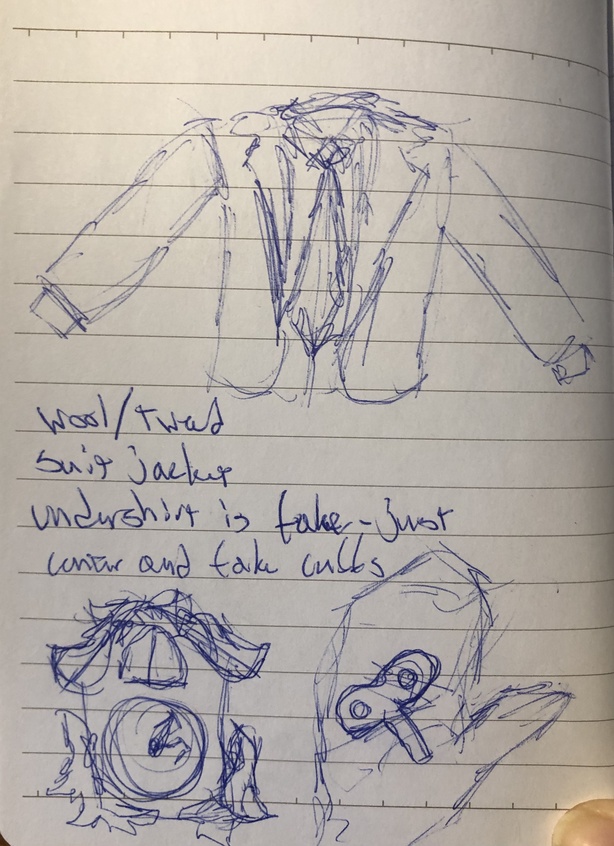
My plan for his clothes is to put him in a simple collared shirt, long coat, and trousers, since that's what he's seen wearing. Since his hands and feet are large and hard clay, I'll have to leave the side seams of his clothes open and sew them closed around his body. While I usually like to make all the clothes on my dolls removable, this is unavoidavle here. It does mean I can save myself some time in other ways, such as not making an entire collared shirt since his jacket will always be hiding it. I plan on making the torso and collar of the shirt, and then sewing some fake cuffs to the ends of the jacket sleeves to make it appear as if there's a full shirt underneath.
I have yet to dig through my fabric collection, maybe creativity will strike me while picking out his clothes.
May 3rd
While picking out fabric and designing his outfit in my head, I decided to refer back to the book for any specifics that might describe what he wears. I am vaguely basing my puppet on who he is after he dies and comes back, since it's the most interesting section to me and the subject of the original music video. I discovered that since he's grown up so much, he has to wear Méliès' old clothes. This was perfect, since I have a checkered black and white fabric that looks exactly like the pants Meliez wears in the movie, and designing the sort of clothes he would wear is much more fun.
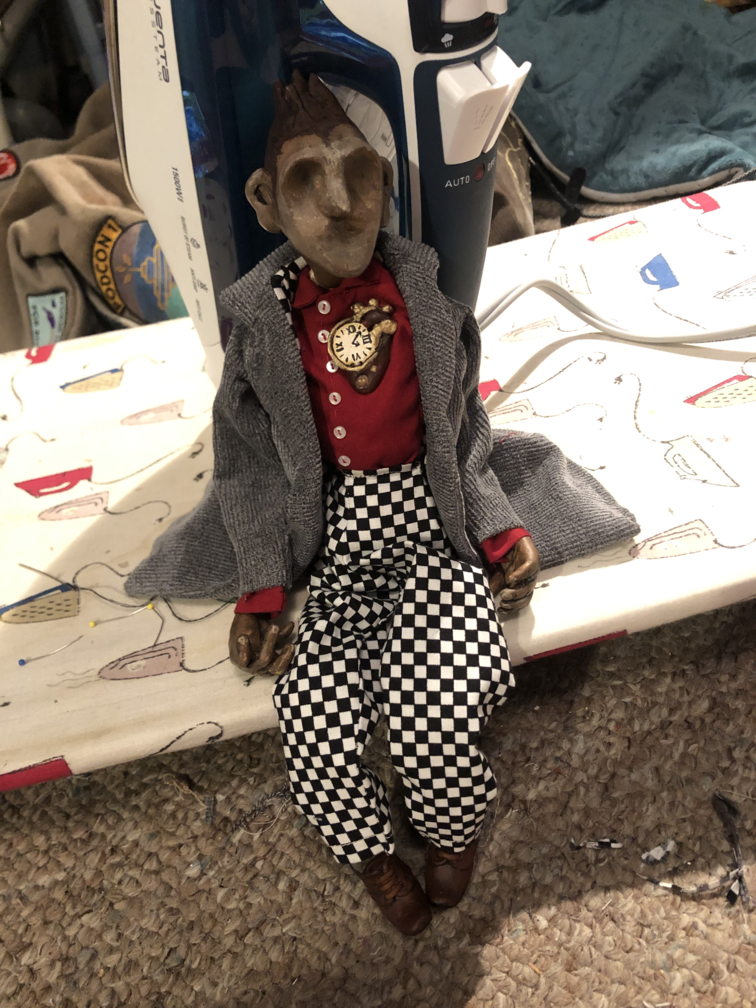
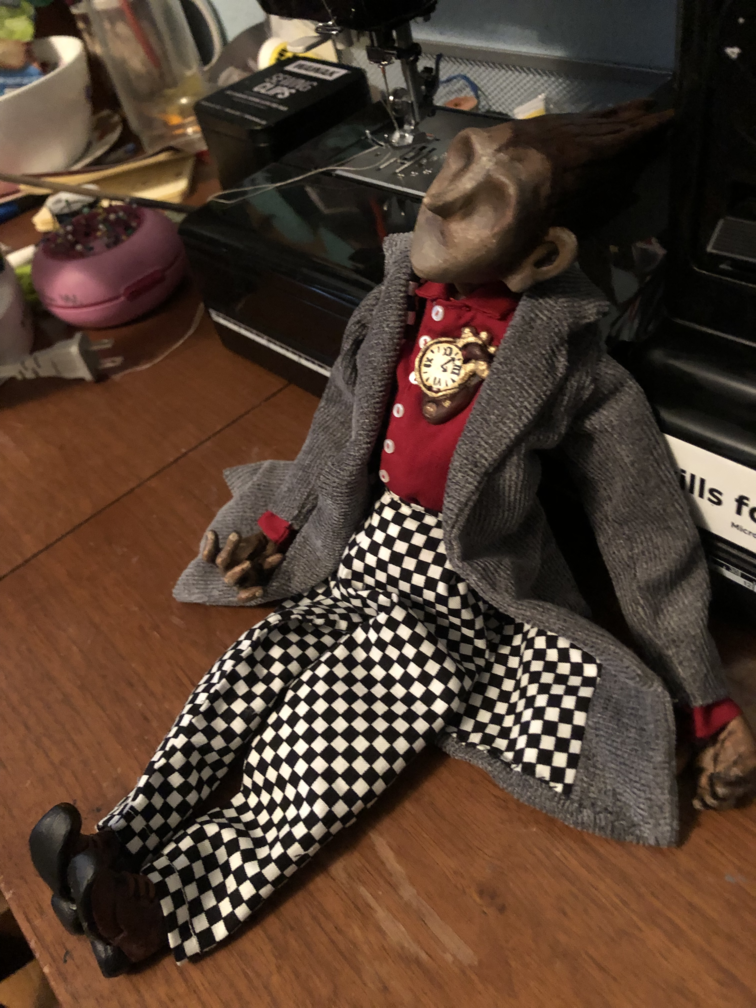
I locked in my design; a red collared shirt for contrast, checkered pants, and a grey trenchcoat with checkered lining to match. Semi-formal men's wear like this seems to be the most common outfit I make for my dolls, so I knew I already had patterns and a general sense of how it would go together.
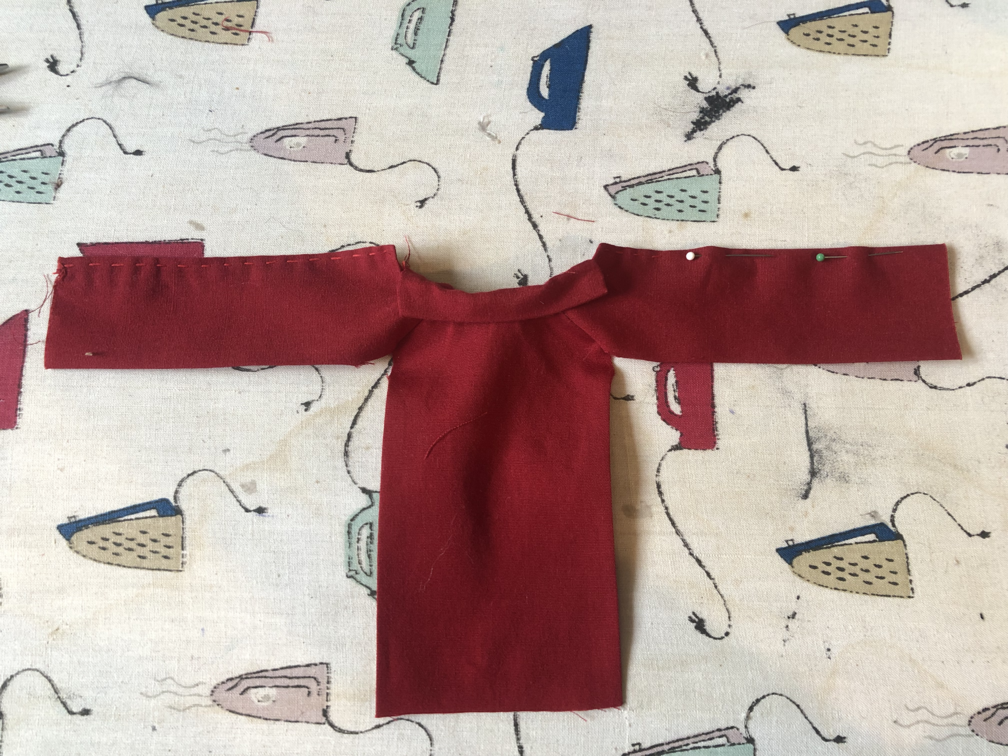
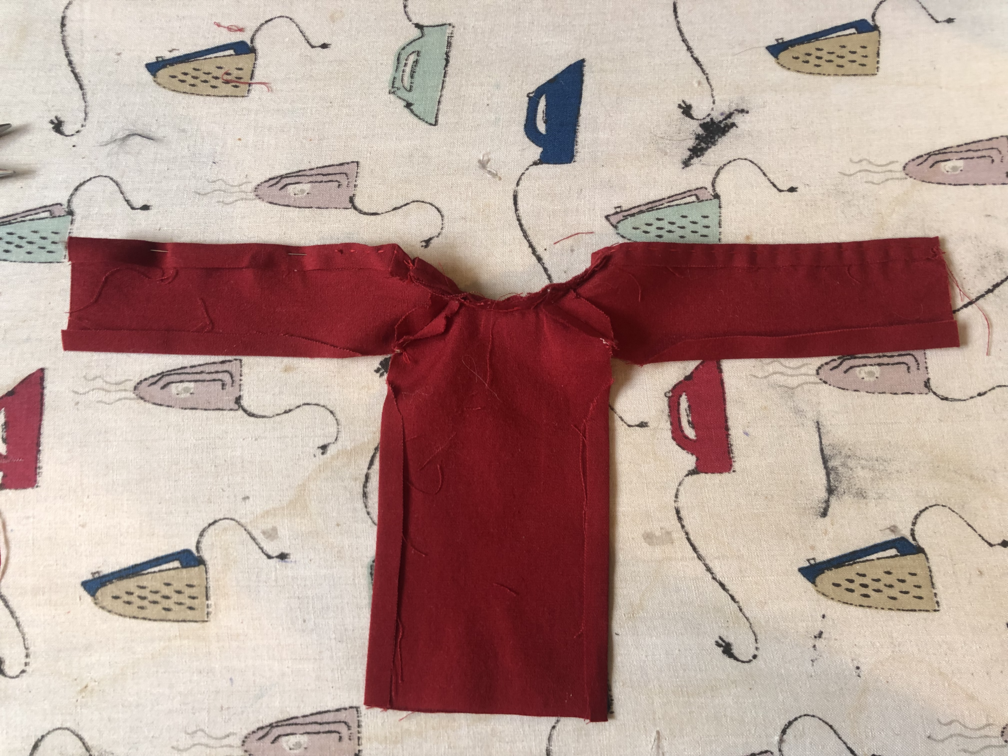
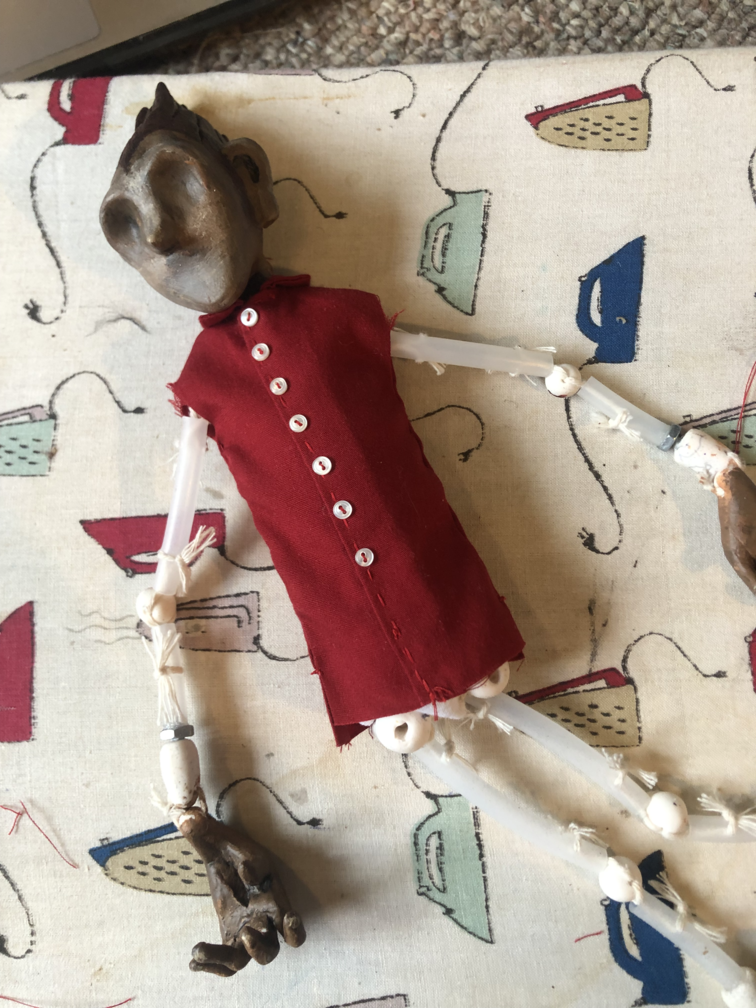
His hard sculpted limbs will make it difficult to pattern clothes that fit over his hands and shoes, and I don't plan on changing his outfit anyway, so I decided to make everything sewn in place. This meant his shirt didn't need to have sleeves, which has the added bonus of fewer layers of fabric to impede the movement of the joints. I started off by measuring his body and drafting the front and back of a shirt-vest, which got attached at the shoulders like normal. Next I measured the neck width so I could pattern and attach the collar.
I ironed over 1/4 inch seam allowance on either side of what would become the side seams, to make my process easier later. I also did this to either side of the shirt's front opening, and hand-stitched it in place.
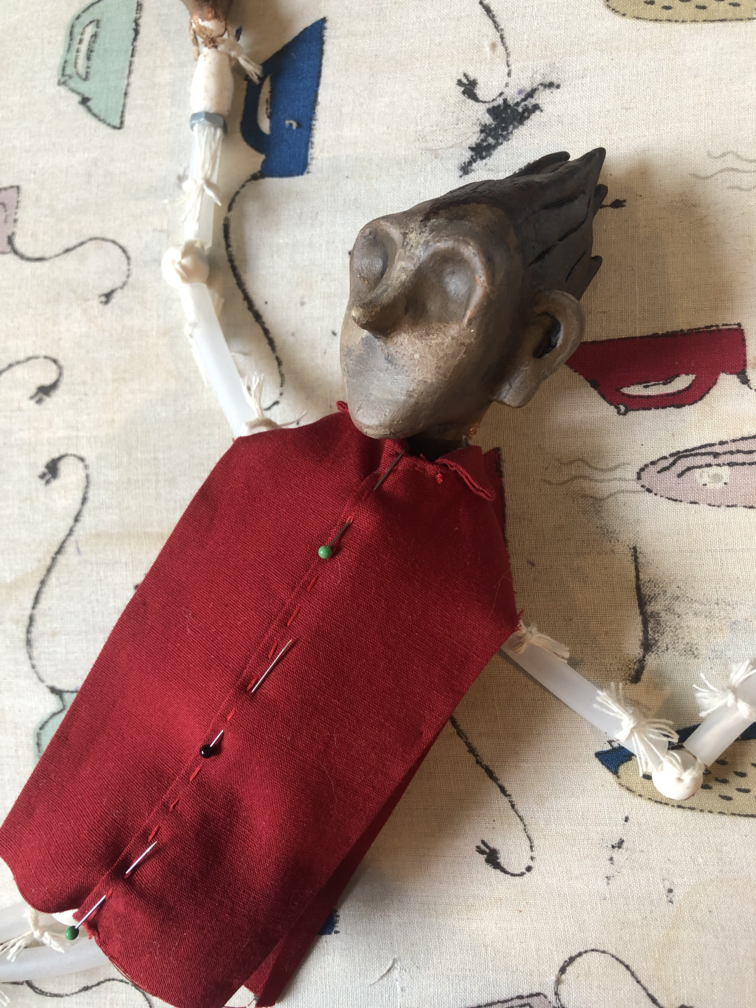
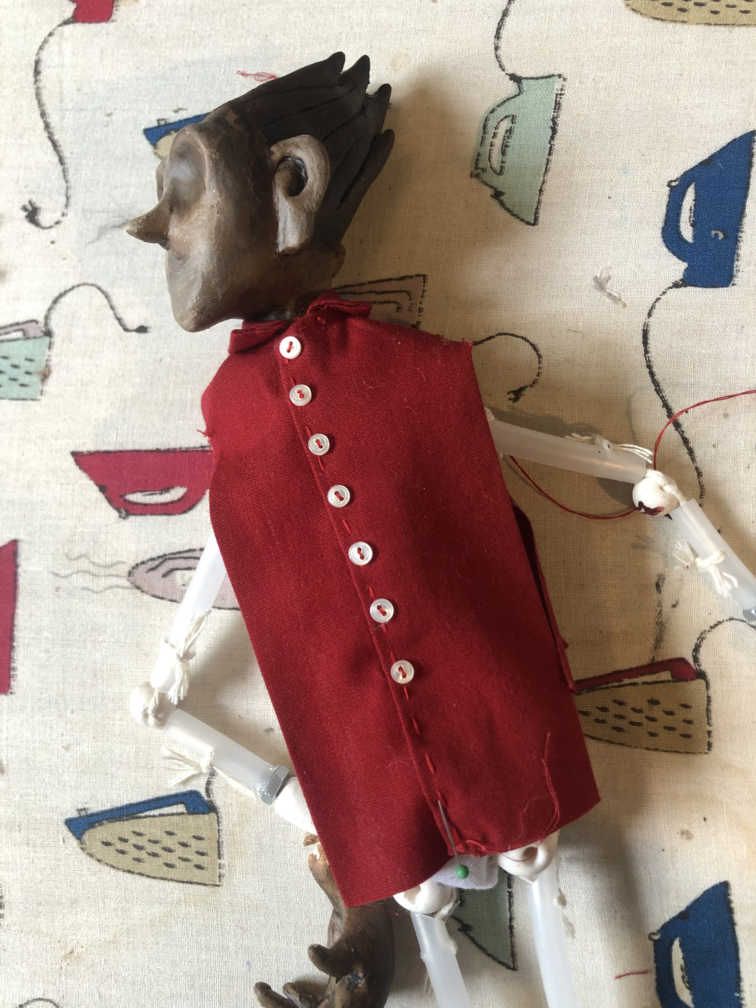
With the shirt pinned in place, I started by sewing the two sides of the front together. At each stitch, I added a tiny button.
I ladder-stiched up the sides of the shirt/vest to finish securing it to his body. The rough edges at the arm holes and the bottom of the pants will be covered by the rest of his clothes.
Then I sewed his clock in place. I used colored thread that matched the paint job underneath, and the holes becamse practically invisible. I love how sturdy this is; if I had simply glued it to the shirt it would easily shift around with the fabric.
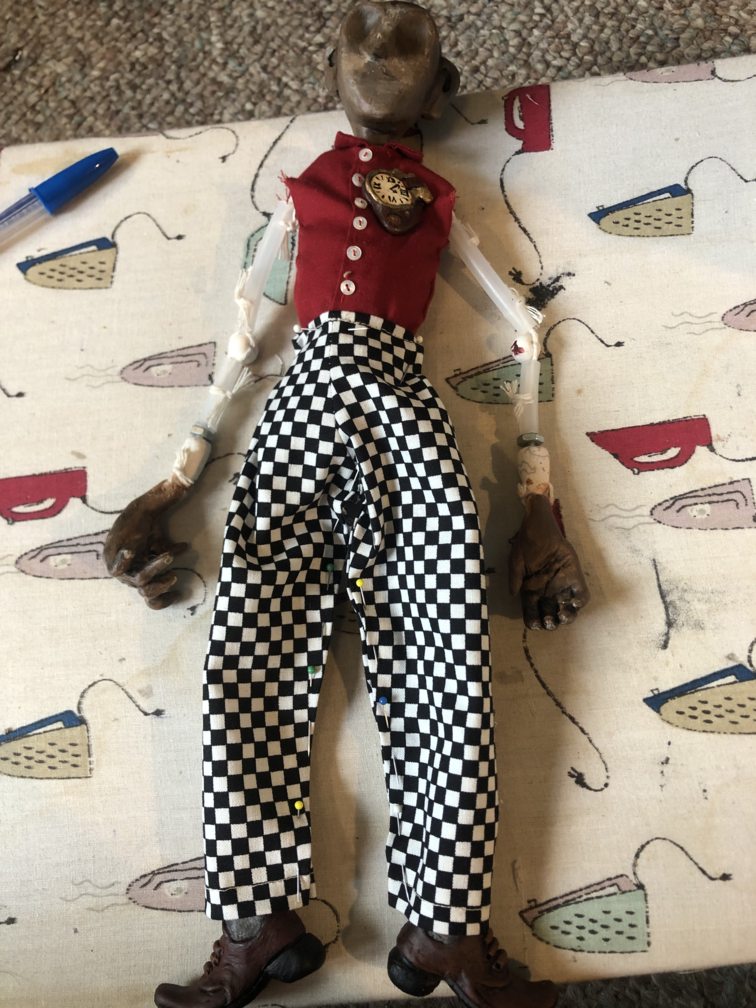
For his pants, I used the same pattern I had previoulsy used for Brúni. The only adjustement was lengthening the waist to give myself more room to work with if needed, and cutting the legs down to be a little thinner. I only sewed together the crotch, since the shoes wouldn't fit through the pant legs once sewn. I pinned everything in place for a fitting.
Now fit properly, I decided to hem the top of the waist and the bottom of the cuffs on the sewing machine first. With the pants on him, I hand-sewed ladder stitches down the inside seams. I also pulled in the sides of the waist, since it was a bit wide, and used a few small stitches to secure it..
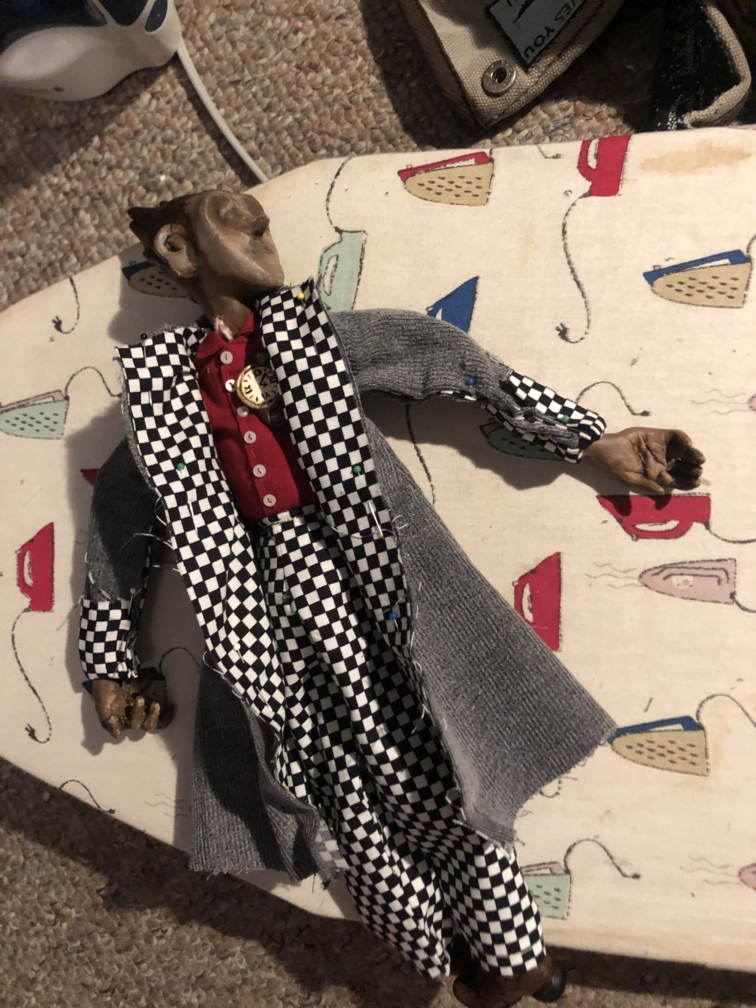
For his jacket, I could also take a pattern previously used for Brúni. The pattern had been for a tailcoat, so I adjusted the bottom to be wider like a trenchcoat. With some tests and fittings, I had the shoulder seams where I wanted them. I decided to line the coat with the same checkerboard fabric as the pants, and copied over my patterns to create the inner lining. I pinned the outer fabric and lining together for a test.
A few notes, a few changes. For one, the added lining on the sleeves made them too bulky, and would barely be seen anyway. The checkerboard on the lapels was too busy and distracting, so that would need to be switched out for the grey of the outer fabric. But otherwise, the fit looked good so far.
I startd off removing the sleeves from the lining. Next, I patterned a couple of strips of the grey and sewed them in place at either side of the front lining. This fixed the main issues, and I could go forward with adding the collar, sewing the lining to the outer fabric, and hand-sewing the bottom hem. I left the sleeves open until the last minute, knowing that like the shoes, the hands would be unable to fit through the fully sewn sleeves. Though I am just now realizing that I made removable hands for pupeteering purposes, and I could have just removed them to fit the coat on and saved the time. Oh well. I cut some small rectangles of the red shirt fabric, irond them in half, and attached them to the insides of each cuff. These are the fake cuffs of his undershirt. With everything pinned in place, I could now sew up the arms and finish the coat.
External Links
- Dionysos' Tais-toi mon coeur music video.

 Website template: